How to Restore an Intel-Based Mac with Apple Configurator
Users with an Intel-based Mac with a T2 security processor can restore or revive their device using Apple Configurator. Follow a detailed guide to do everything correctly, but remember that such a restore will not only upgrade your firmware. It will also erase macOS and recoveryOS on the internal storage making your data unrecoverable.
Глоссарий
- List of restore-supported devices
- Steps to Restore Intel-Based Macs with Apple Configurator
- Step 1: Connecting Two Macs
- Step 2: Preparation for Mac Restoring/Reviving
- Step 3: Reviving Firmware
- Step 4: Restoring Firmware (Data Will Be Lost)
List of restore-supported devices:
Что вам нужно:
- Good Internet connection;
- The most recent Apple Configurator version (make sure you have installed it on a Mac computer with macOS 12.4 or newer);
- A USB-C to USB-C cable or USB-A to USB-C cable supporting data and power (it is best if you use the original Apple cable; Thunderbolt 3 cable will not work);
- Ensure to configure your firewall or web proxy ports to permit the traffic from Apple gadgets to the 17.0.0.0/8 network that belongs to Apple.
If you need help determining what port your network uses, reach your internet provider or look up your router instructions. Search the official Apple website for details about the types of ports Apple devices use.
Steps to Restore Intel-Based Macs with Apple Configurator
The process requires several steps:
- Step 1. Connecting two Macs through a correct USB-C cable, finding the latest Apple Configurator version in Launchpad or Applications folder, and starting Apple Configurator on a working Mac (not the one that needs to be restored).
- Step 2. Restarting the computer that needs to be restored via a particular key combination. These keys will be different for different types of Macs.
- Step 3. Reviving a computer using Apple Configurator.
- Step 4. If the revive does not work, Apple Configurator can help you restore your computer.
Step 1: Connecting Two Macs
Use the USB-C connector and the adapters (if necessary) to connect two computers - one has to have Apple Configurator on it. But wait to start this tool until the two devices are connected.
Step 2: Preparation for Mac Restoring/Reviving
Depending on your Apple device model, do the following actions.
For iMac Pro 2017 version and iMac 2020 version:
- Turn off your computer and unplug it from the power source.
- Find the Thunderbolt port near the Ethernet port and connect the USB-C cable.
- Press Power while connecting the computer to power and hold that button for approximately three seconds.
For Mac mini 2018 version:
Users who need to understand when the process is over can connect a monitor to the Mac mini.
- Turn off the device for about 10 seconds.
- Connect the USB-C cable to the correct port. Use the Thunderbolt as near the HDMI port as possible.
- Press the Power and keep holding it for three seconds as you turn on the device.
For Intel-based portable Macs:
- Turn off the computer (power it off) by clicking its Sleep/Wake button (count to five).
- Locate the Thunderbolt port on the computer's left side (toward the back) and use it to connect your USB-C cable.
- Press-hold Power and the combination of right Shift + left Option + left Control keys for approximately three seconds simultaneously.
For All Macs with T2 Security Chip prepared for reviving/restoring:
The computer won't show you any initial display activity as you prepare it for restoring or reviving. But after the process starts, there will be an Apple logotype and a progress bar (unlike others, Mac mini users will see it only with a connected monitor).
Step 3: Reviving Firmware
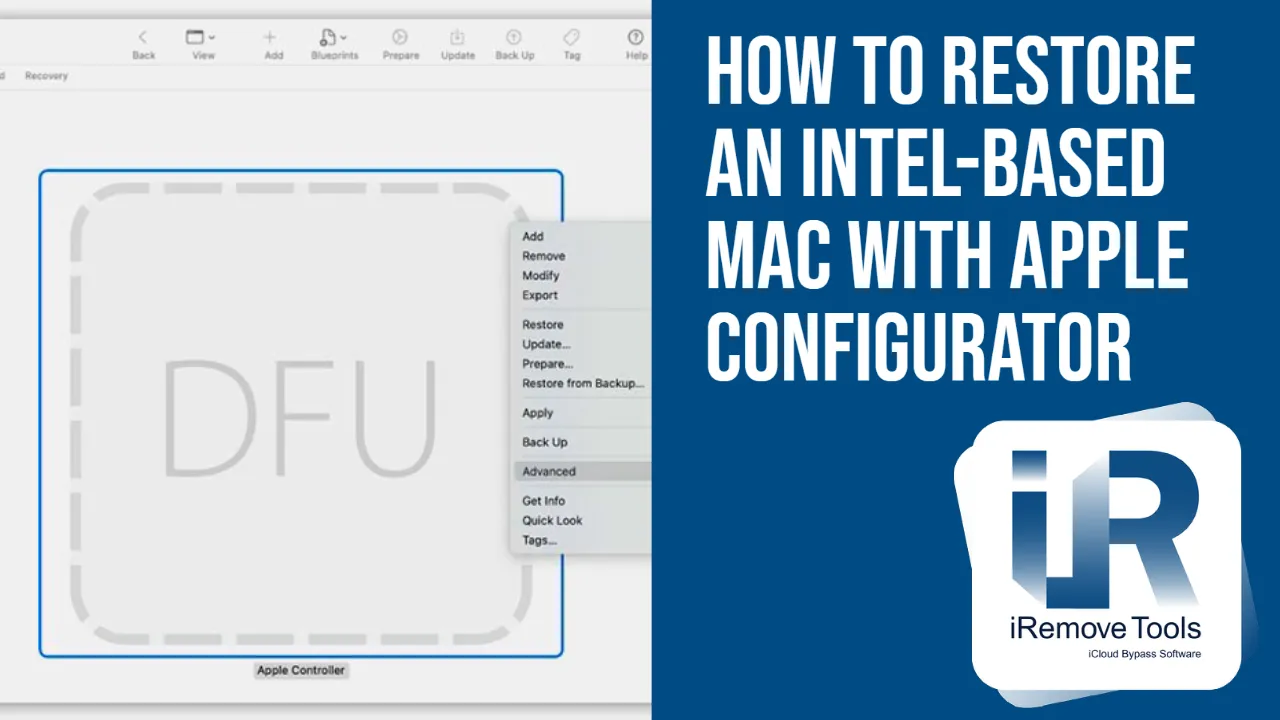
Use the Mac that has Apple Configurator on it. Its window will show the DFU icon you should choose for the computer, which chip firmware you wish to revive.
Your next action can be either the first or second:
- Select Actions - click on Advanced - choose Revive Device - press Revive.
- Control-click the DFU selected above and select Advanced - Revive Device - press Revive.
As reviving occurs, you will see the Apple logotype appearing and disappearing on your second device. In case of success, the Mac reboots. Users who wish to reinstall their macOS can do so via recoveryOS.
Ensure to exit Apple Configurator on your device before unplugging the cables/adapters.
Tips. It is necessary to start the whole procedure again if power is lost on any of the two Macs during the reviving.
Unsuccessful Revive: If the revive didn't work, you can restore your chip firmware through Step 4 below.")Step 4: Restoring Firmware (Data Will Be Lost)
It is essential to restore your chip firmware if reviving was not successful. Please note that this procedure will erase all your data. Look at your Apple Configurator screen on one Mac. Choose the restored-to-be Mac's DFU icon in it and perform the first or second action:
- Select Actions - choose Restore and press the Restore option.
- Control-click the DFU selected above and select Actions - Restore - press the Restore button.
As your firmware restores, you will see the Apple logotype appearing and disappearing on the second device, which will restart afterward. Tips. It is necessary to start the restoring procedure again if power is lost on any of the two Macs during the process.
After successful results, you can reinstall macOS by clicking the combination Shift + Option + Command R during startup from Recovery over the internet.
Ensure you have exited Apple Configurator after you are done, and then disconnect your cables/adapters.
Поделиться:
Программное обеспечение для разблокировки iPhone и iPad

![Обход экрана блокировки паролем [iPhone отключен]](/assets/img/banners/iphone-passcode-bypass.svg)

Программное обеспечение для разблокировки Mac


![Программное обеспечение для обхода удаленного управления MacOS [MDM]](/assets/img/banners/find-my-mac-unlock-without-icloud-password.svg)
iRemove Новости

USBLiter8 BootROM Exploit Explained | A12 & A13 Apple Devices
Learn how the USBLiter8 BootROM exploit works on Apple A12 and A13 devices. Explore SecureROM exploitation, Pwned DFU mode, supported devices, security implications, and research applications.
iCloud Unlock for iPhone 15 Series with iRemove Software
Unlock iCloud on iPhone 15 Series effortlessly with iRemove Software. Learn how to bypass Activation Lock on iPhone 15, 15 Plus, 15 Pro, and 15 Pro Max.
Bypass iCloud and Unlock iPhone 14 with the iRemove Software
Bypass the Activation Lock on any iCloud-locked iPhone 14 series model, including the 14 Plus, 14 Pro, and 14 Pro Max, using iRemove Software!
Bypass iCloud Lock from iPhone XR, XS, and XS Max
Use iRemove Software to Bypass iCloud Activation Lock on any iPhone XR, XS, and XS Max models. The fast and effective iCloud Unlock hardware method.

Bypass iCloud on iPhone 11 Series: 11, 11 Pro and 11 Pro Max
Bypass the iCloud Activation Lock on any iPhone 11 series model, including 11 Pro and 11 Pro Max, using the iRemove Activation Lock Bypass Tool!
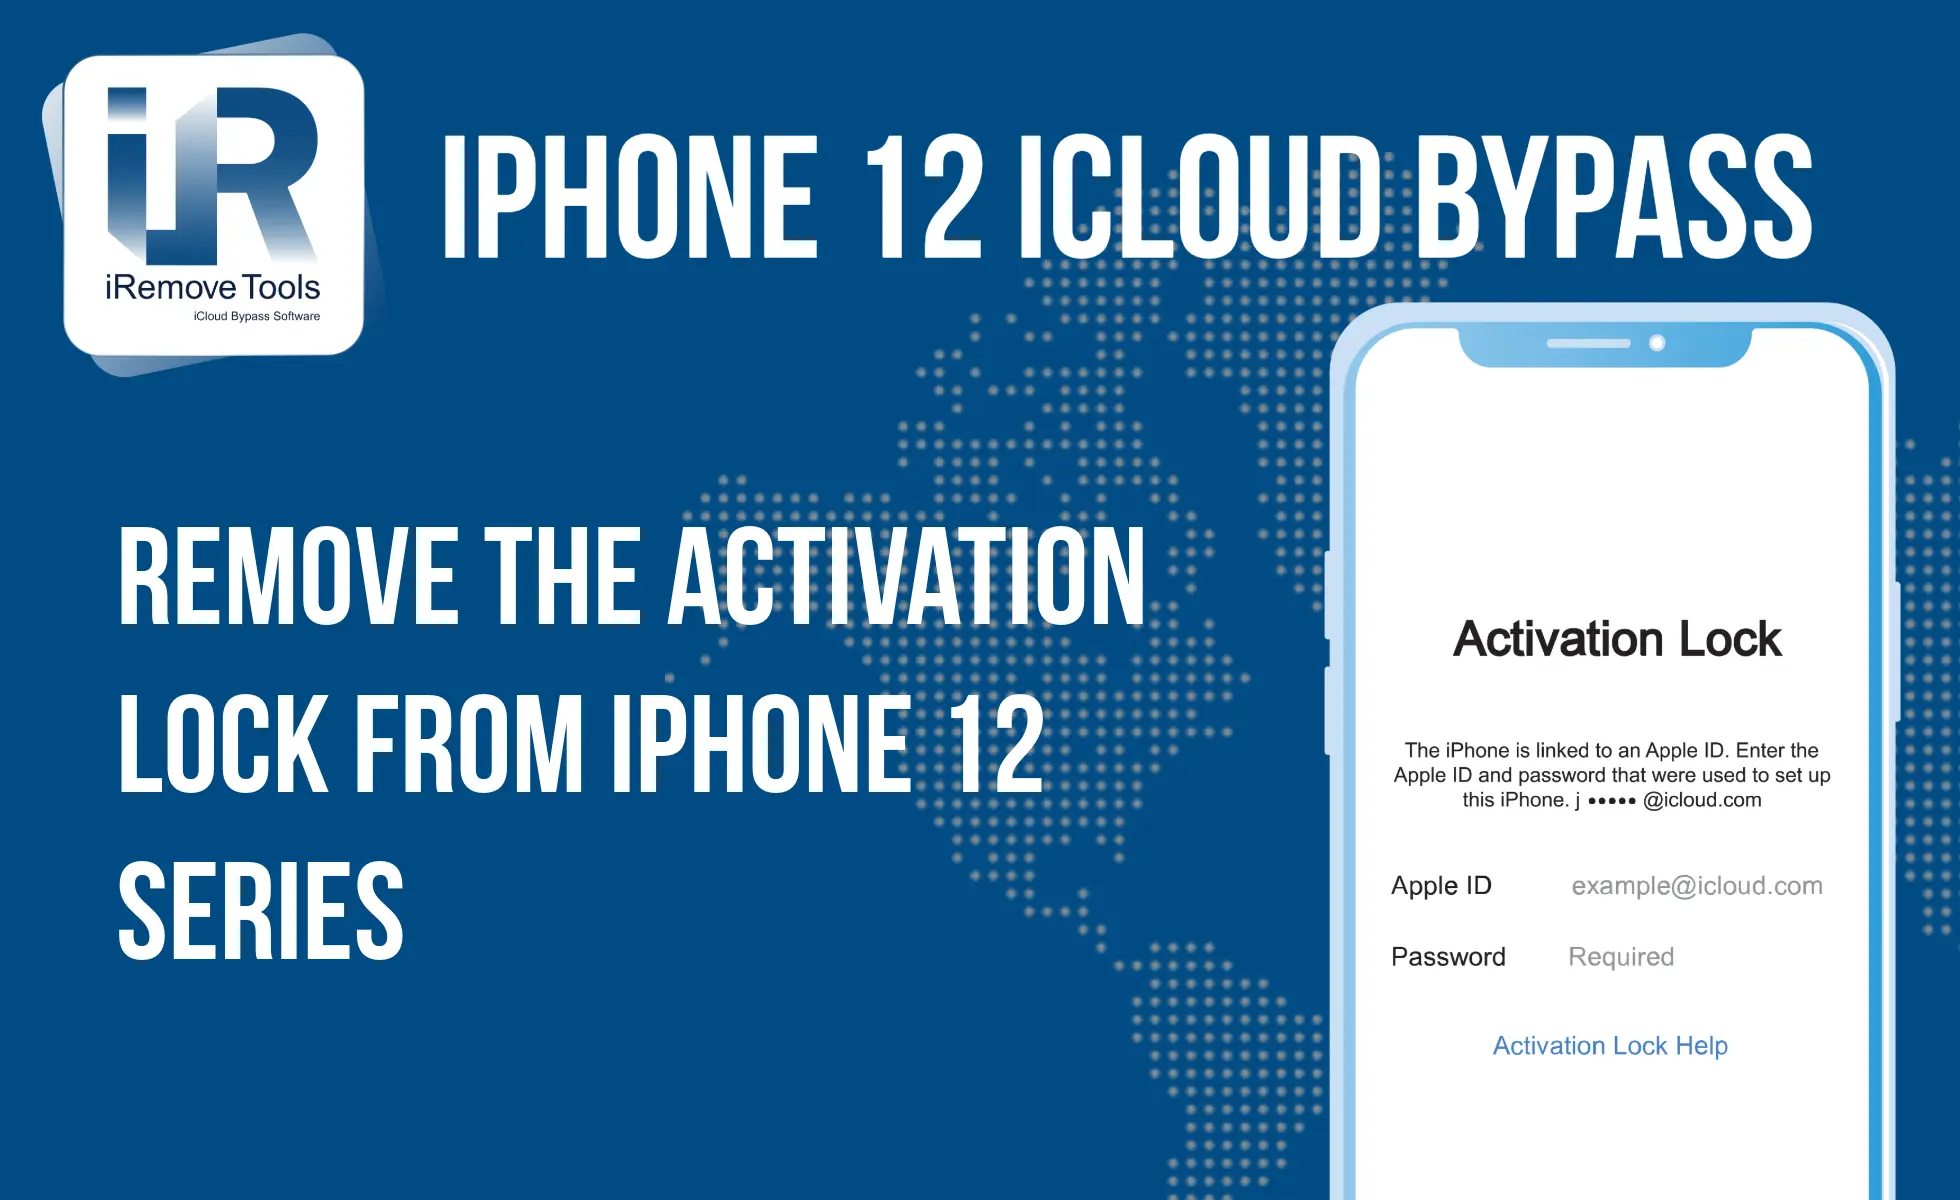
Remove - Bypass the Activation Lock on iPhone 12 Series
Unlock the Activation Lock on your iPhone 12, 12 Pro, 12 Pro Max, and 12 Mini quickly and easily with iRemove iCloud Bypass Software.
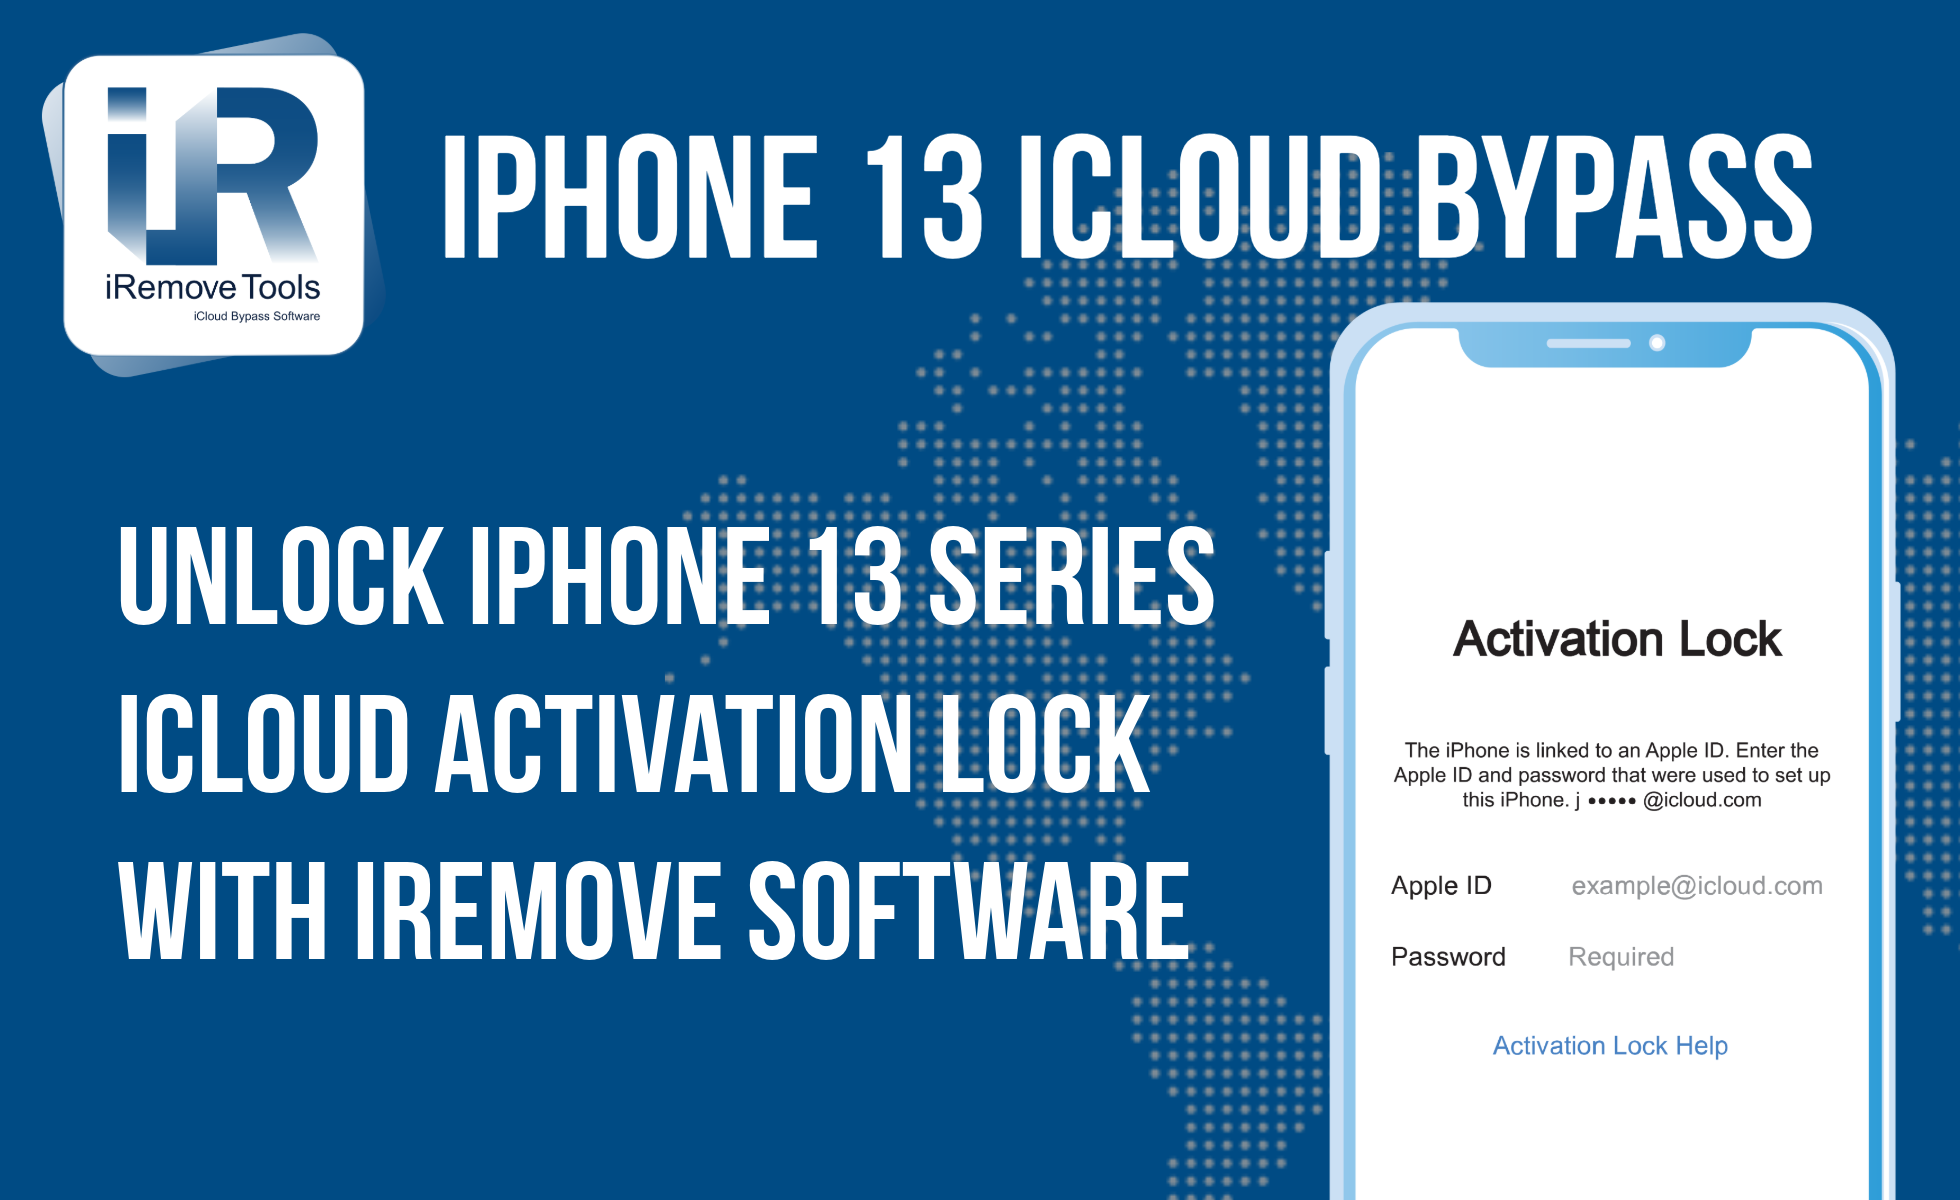
Unlock iPhone 13 with iRemove Software: Easy iCloud Bypass!
Learn how to bypass iCloud and remove Activation Lock from iPhone 13 series (13 Pro, 13 Pro Max) using iRemove Software. Guaranteed success in 2024!

Bypass iOS 16 iCloud Activation Lock Screen
Best iOS 16 iCloud Bypass solution for iPhone and iPad Devices with Activation Lock
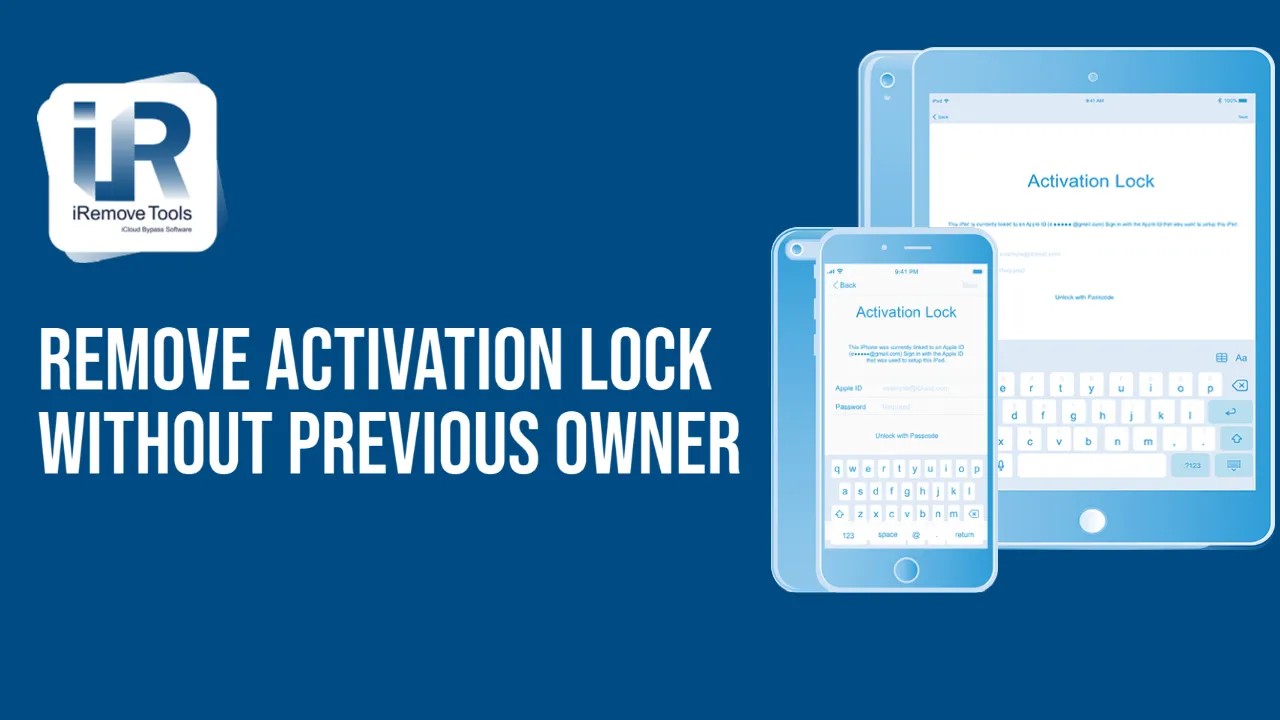
Remove Activation Lock without Previous Owner
All methods to ☆ REMOVE ACTIVATION LOCK WITHOUT PREVIOUS OWNER ☆ Ultimate how to guide for iPhone and other iOS users.

Bypass the Activation Lock on an iPad
Reliable Ways to Bypass the Activation Lock on an iPad without Apple ID Password and Previous Owner
Все еще ищете помощи?
Пожалуйста, не волнуйтесь. Пожалуйста, свяжитесь с нашей службой поддержки. Мы всегда рады помочь вам.
Свяжитесь с нашей дружной службой поддержки