Jailbreak für iOS auf Mac PC mit Checkra1n über iRemove Software
Ultimative Jailbreak-Anleitung
In dieser Anleitung finden Sie eine vollständige Anleitung, wie Sie iOS 12 bis iOS 14.8.1. mit Checkra1n Jailbreak auf Mac PC jailbreaken können. Checkra1n Jailbreak unterstützt A5-A11 iPhones und iPads. Bitte beachten Sie, dass Checkm8 Exploit iPhones XS / XR, 11, 11 Pro und 11 Pro Max nicht unterstützt.
iOS Jailbreak auf Mac PC mit Checkra1n Anwendung über iRemove Software
Checkra1n Jailbreak ist bereits in die iRemove Software integriert. Sie müssen es nicht als separate Software herunterladen. Die komplette iRemove Software prüft Ihr Gerät, sobald der Jailbreak-Prozess abgeschlossen ist und Sie können es verwenden, um Ihr Gerät von der iCloud-Aktivierungssperre zu befreien. Bitte beachten Sie, Checkra1n kann auch separat von iRemove Software verwendet werden. Alles, was Sie tun müssen, ist, es herunterzuladen von der offiziellen Website und zu Schritt 6 zu gehen. Wir empfehlen Ihnen auf jeden Fall, die iRemove Software für einen vollständigen Jailbreak auf Ihrem Gerät zu verwenden und die Umgehung des Aktivierungssperrbildschirms sofort mit unserer Software durchzuführen.
Checkra1n unterstützt offiziell Mac OS. Die Verwendung von Checkra1n auf Mac OS ist auch für unerfahrene Benutzer sehr einfach. Wir haben hart daran gearbeitet, eine vollständige Schritt-für-Schritt-Anleitung für Mac-Benutzer zu erstellen, um ihnen bei der Vorbereitung ihrer Geräte für den Jailbreak zu helfen. Bitte beachten Sie, dass Checkra1n Jailbreak iOS-Versionen von 12 bis 14.8.1 unterstützt. Wenn Ihr Apple-Gerät mit einer älteren iOS-Version läuft, aktualisieren Sie es bitte auf die letzte von Checkra1n unterstützte Version, d.h. iOS 14.8.1. iOS für Ihr Gerät kann von https://ipsw.iremove.tools
Was wir brauchen:
- Mac mit installiertem macOS;
- iRemove Software zur Umgehung des Aktivierungssperrbildschirms herunterladen.
iOS Jailbreak auf Windows mit Checkn1x Tool
Schritt-für-Schritt-Anleitung zum Jailbreak von iOS 12 bis 14.8.1. mit Checkra1n über iRemove Software auf Mac PC
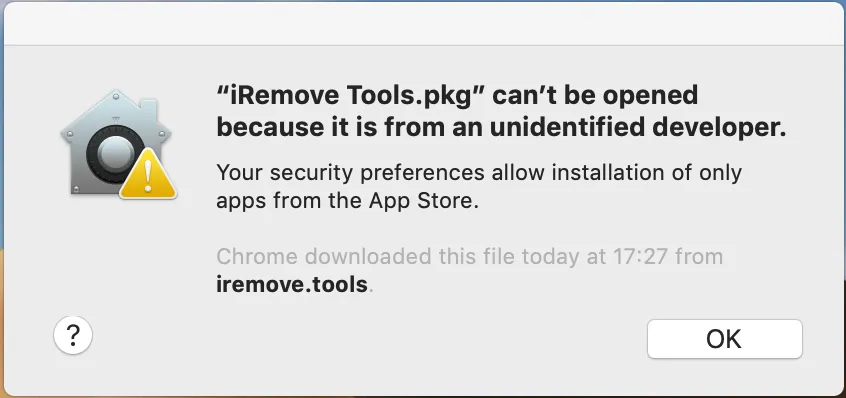
- Laden Sie die iRemove Software herunter und starten Sie sie. Klicken Sie dazu mit der rechten Maustaste auf das Symbol der Anwendung und wählen Sie "Öffnen". Vergewissern Sie sich, dass der App alle Berechtigungen gewährt werden und FileVault deaktiviert ist, falls die App mit Problemen läuft, während sie eingeschaltet ist
![iRemove Software - can't be opened because it is from an unidentified developer step 1]()
-
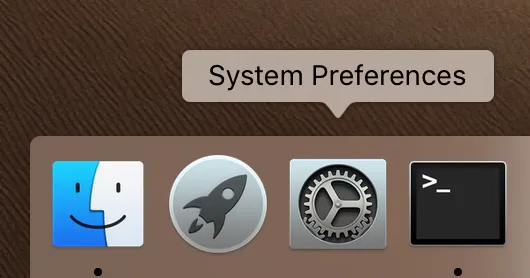
- Gehen Sie zu den Systemeinstellungen Ihres Macs:
![iRemove Software permissions granted to the app step 1]()
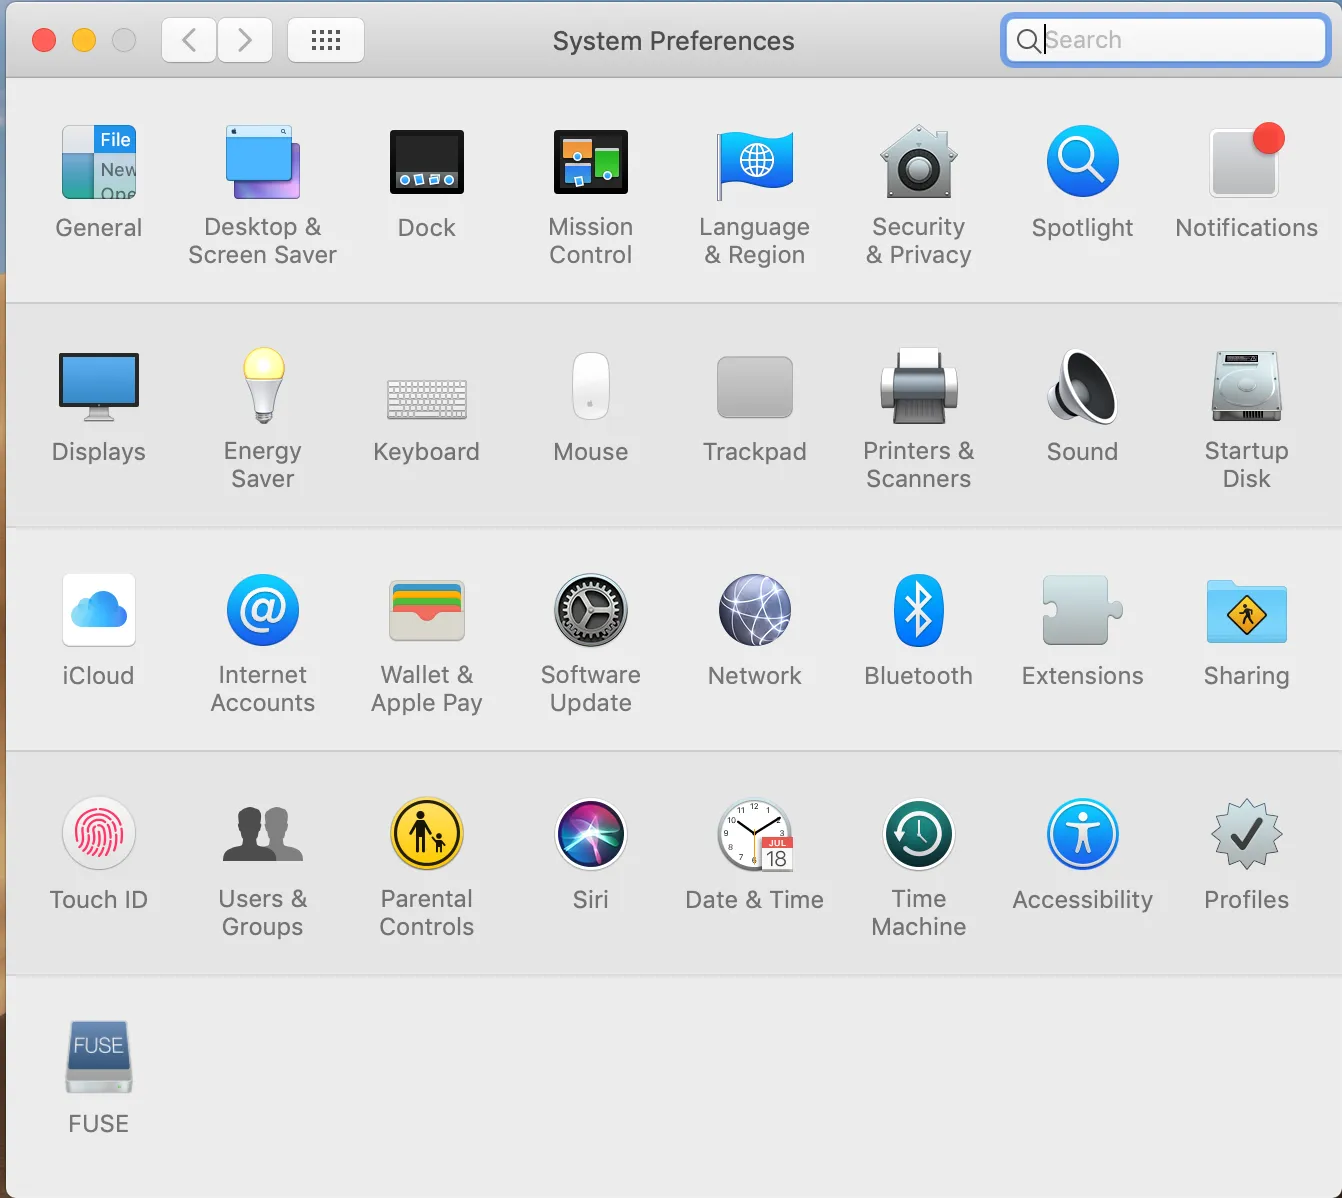
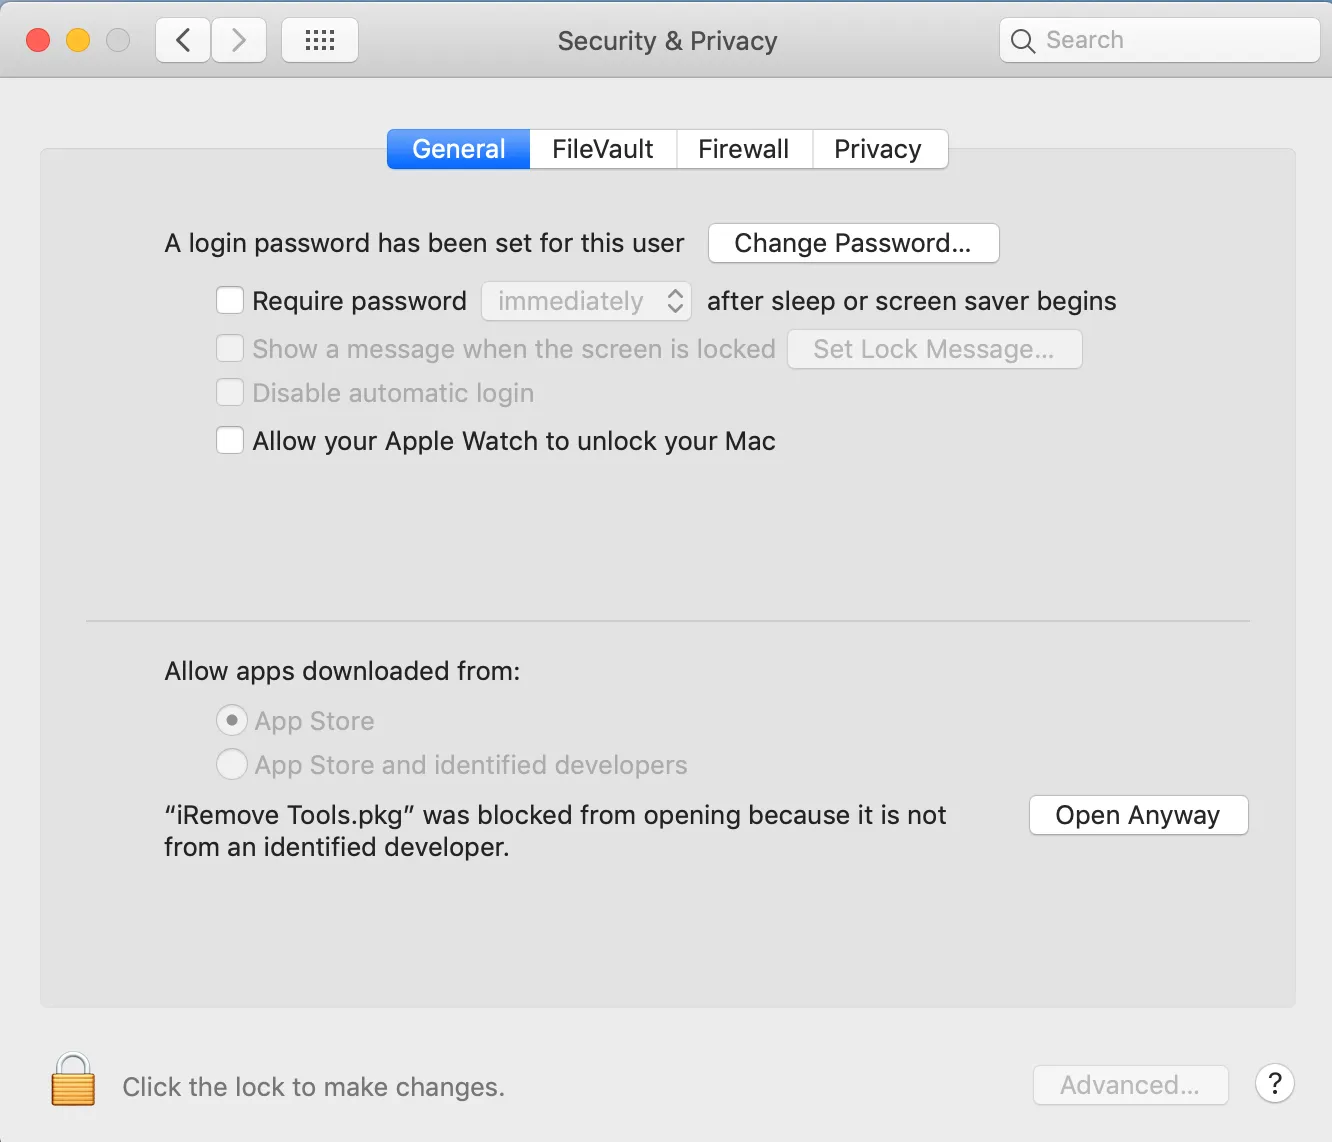
- Öffnen Sie Sicherheit und Datenschutz:
![iRemove Software permissions granted to the app step 2]()
- Öffnen Sie Sicherheit und Datenschutz:
![iRemove Software permissions granted to the app step 3]()
- Gehen Sie zu den Systemeinstellungen Ihres Macs:
- Installieren Sie die iRemove Software.
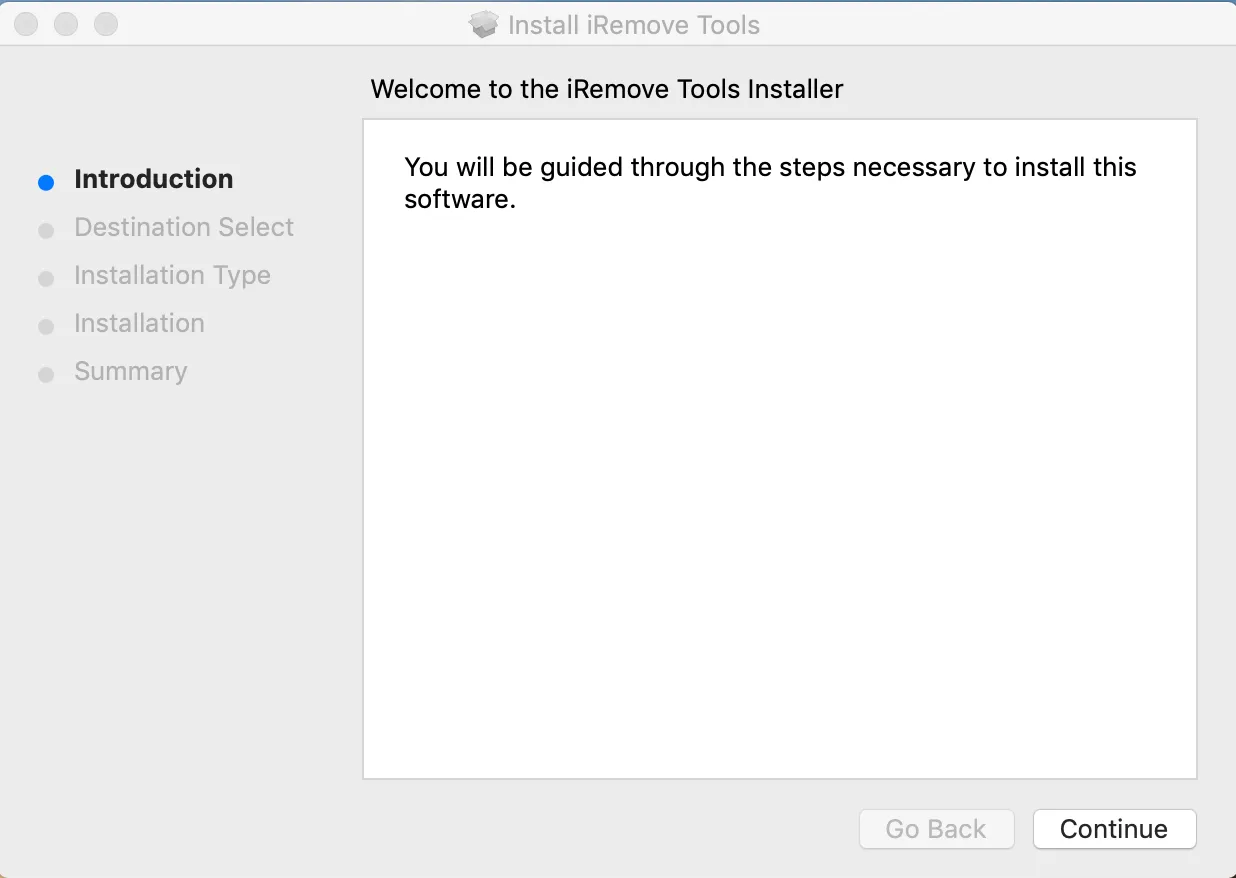
- Klicken Sie im Schritt Einführung auf die Schaltfläche "Weiter":
![How to install iRemove Software step 1]()
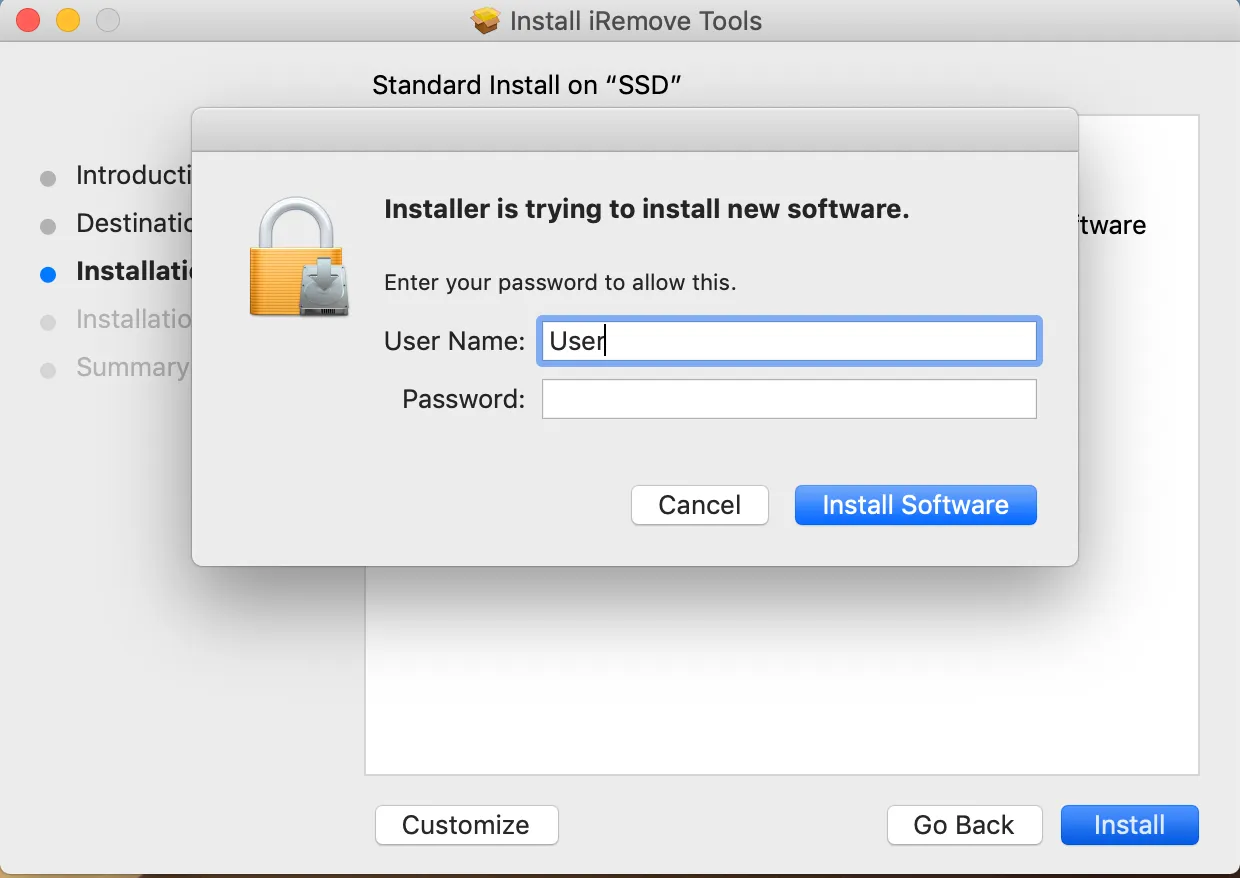
- Bei der Installationsart erlauben Sie die Installation der Software auf Ihrem Mac, indem Sie Ihr Passwort eingeben:
![How to install iRemove Software step 2]()
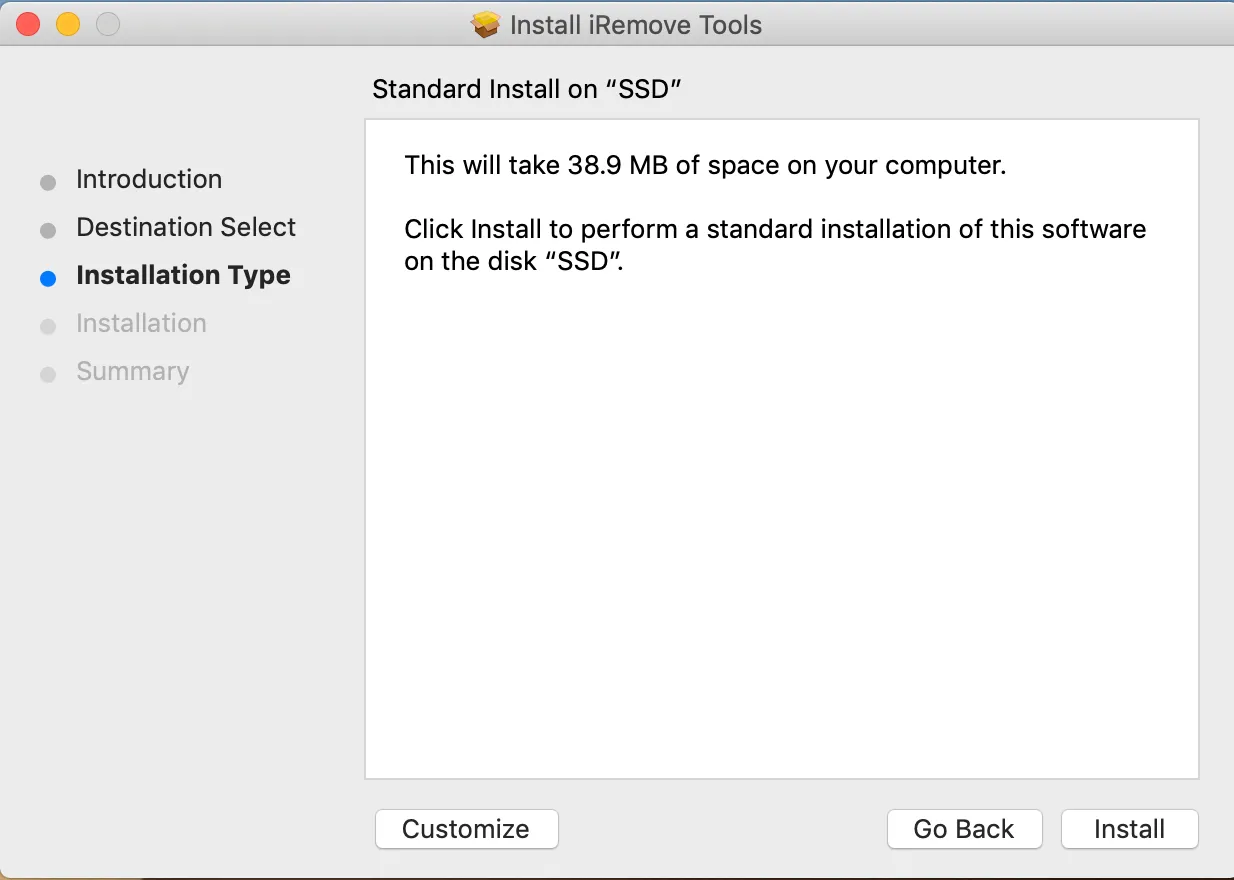
- Installieren Sie, indem Sie auf die Schaltfläche "Installieren" klicken:
![How to install iRemove Software step 3]()
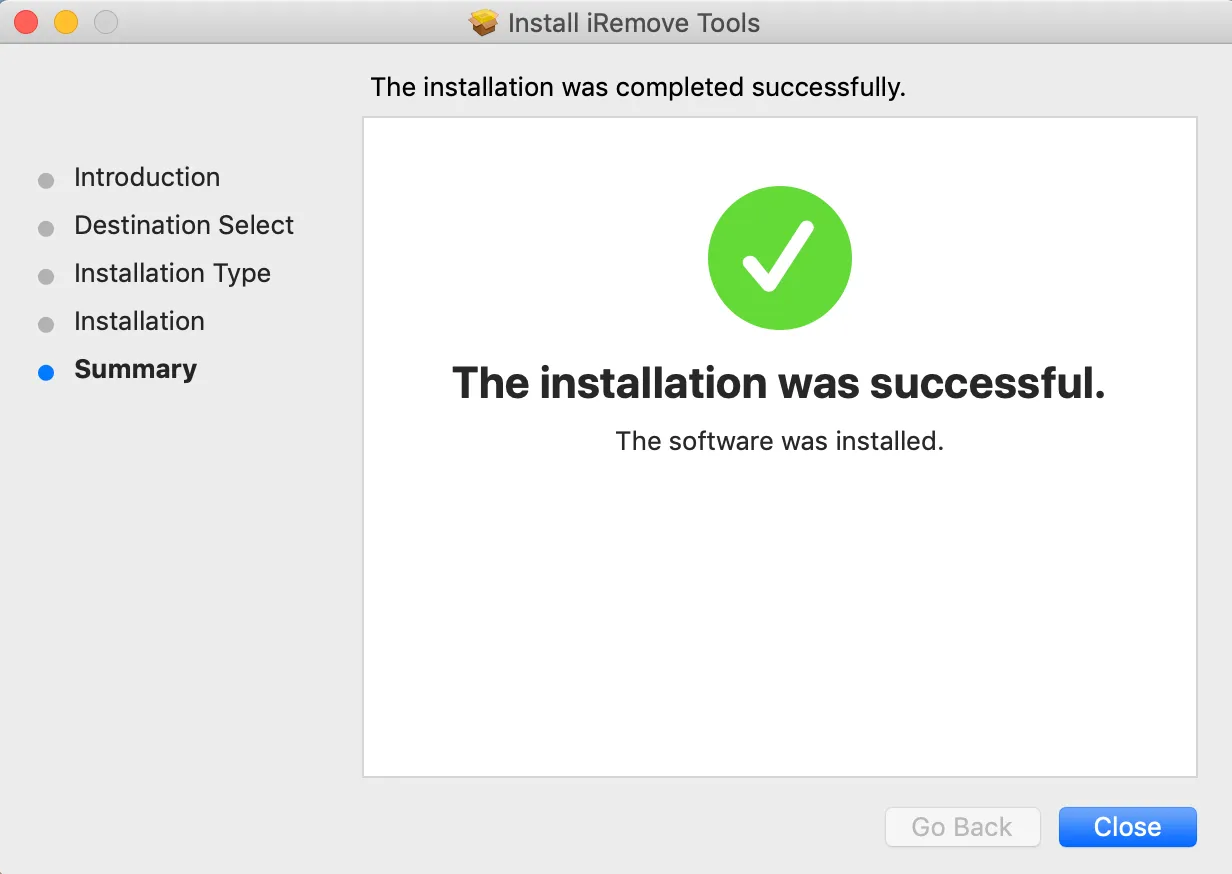
- Zusammenfassender Schritt - Schließen Sie die Installation ab, indem Sie auf die Schaltfläche "Schließen" klicken und iRemove Software aus dem App-Menü ausführen:
![How to install iRemove Software step 4]()
- Klicken Sie im Schritt Einführung auf die Schaltfläche "Weiter":
- Öffnen Sie die iRemove Software. Klicken Sie auf das Symbol der App oder das Launchpad-Symbol im Dock. Wenn Sie auf das Launchpad klicken, klicken Sie anschließend auf das iRemove Software-Symbol.
![]()
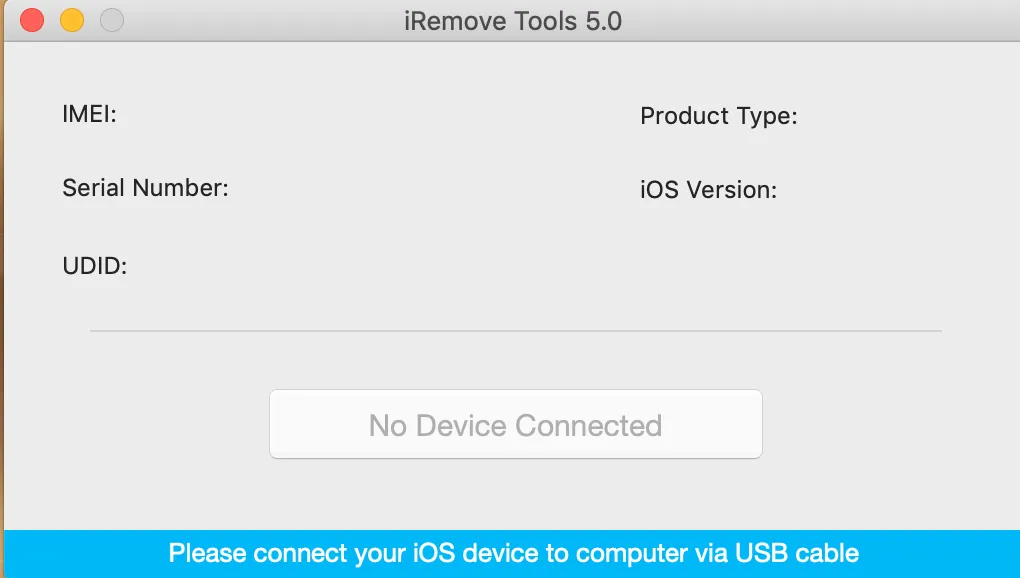
- Schließen Sie Ihr iPhone oder iPad mit einem USB-Kabel an Ihren Mac PC an. Ihr Gerät wird überprüft, sobald es von der iRemove Software erkannt wird.
- Die folgende Meldung erscheint, wenn Ihr Gerät unterstützt wird, aber nicht jailbroken ist:
![Run iRemove Software]()
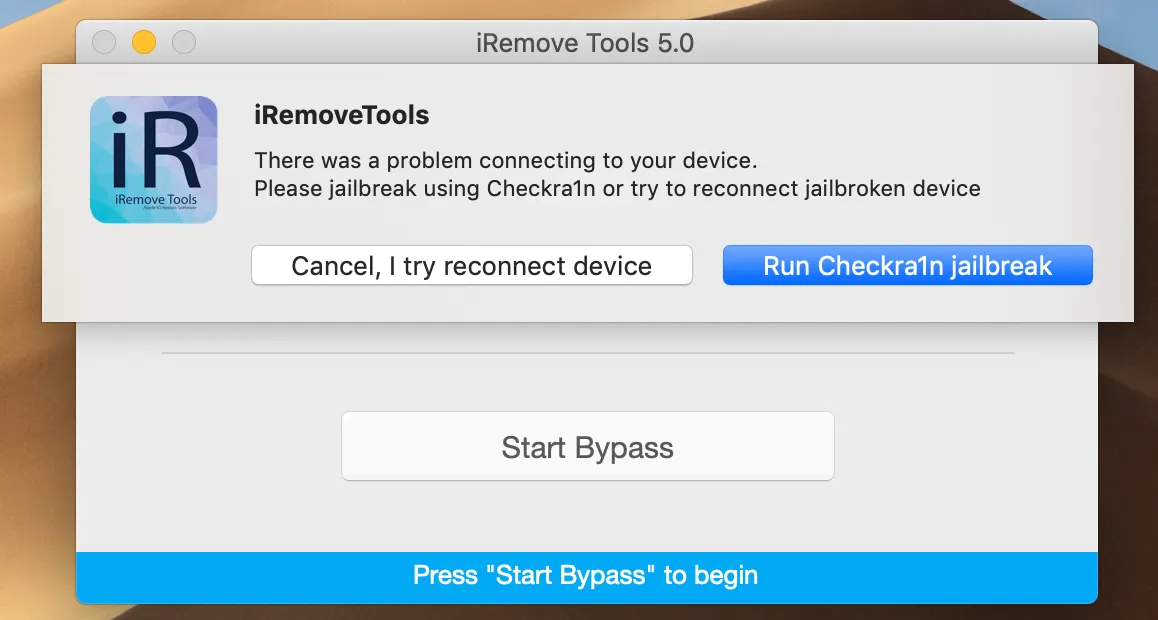
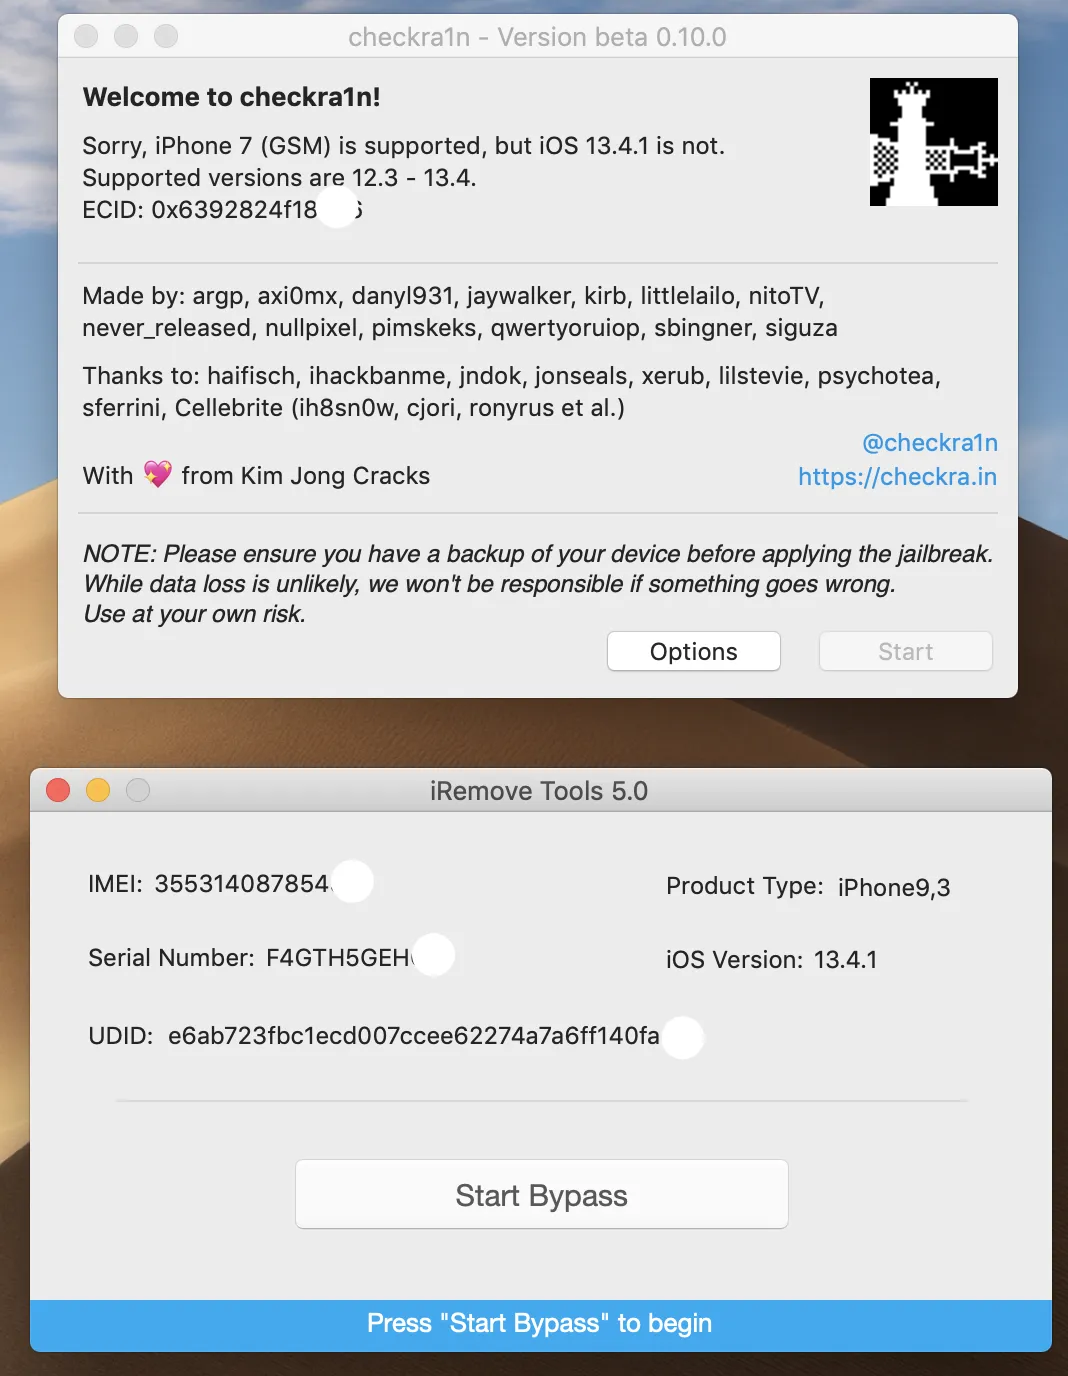
- Klicken Sie mit der rechten Maustaste, um Checkra1n zu starten. Checkra1n erkennt das an den Mac PC angeschlossene Gerät. Klicken Sie auf die Schaltfläche Start.
![Checkra1n - jailbreak iOS step 1]()
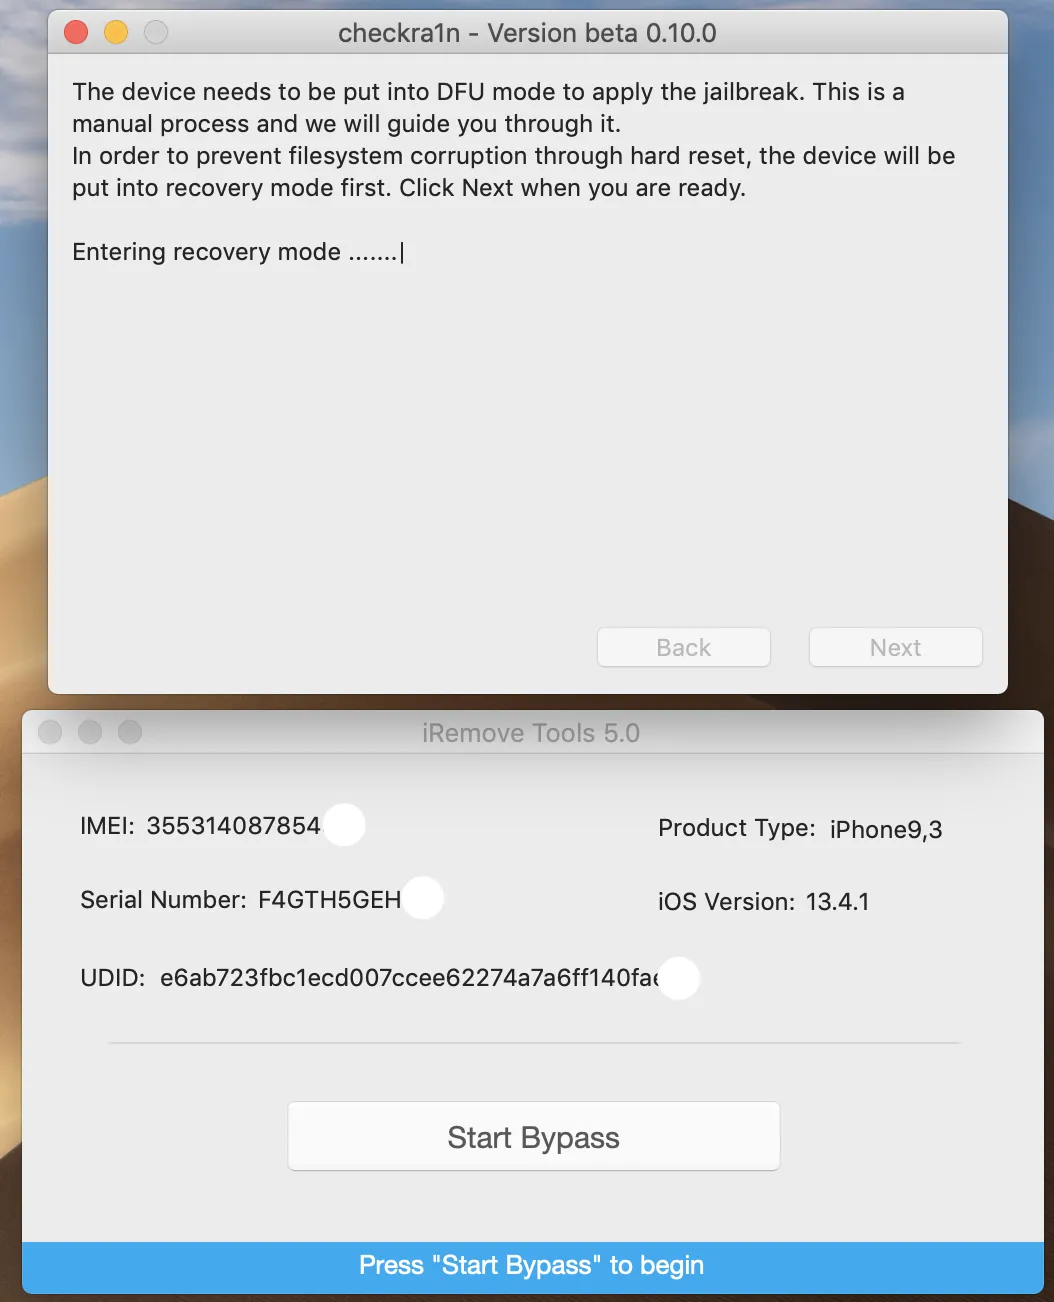
- Auf dem nächsten Bildschirm von Checkra1n werden Anweisungen angezeigt, wie Sie Ihr Gerät in den DFU-Modus schalten können, um den Jailbreaking-Prozess einzuleiten.
![Checkra1n Jailbreak iOS via iRemove step 1]()
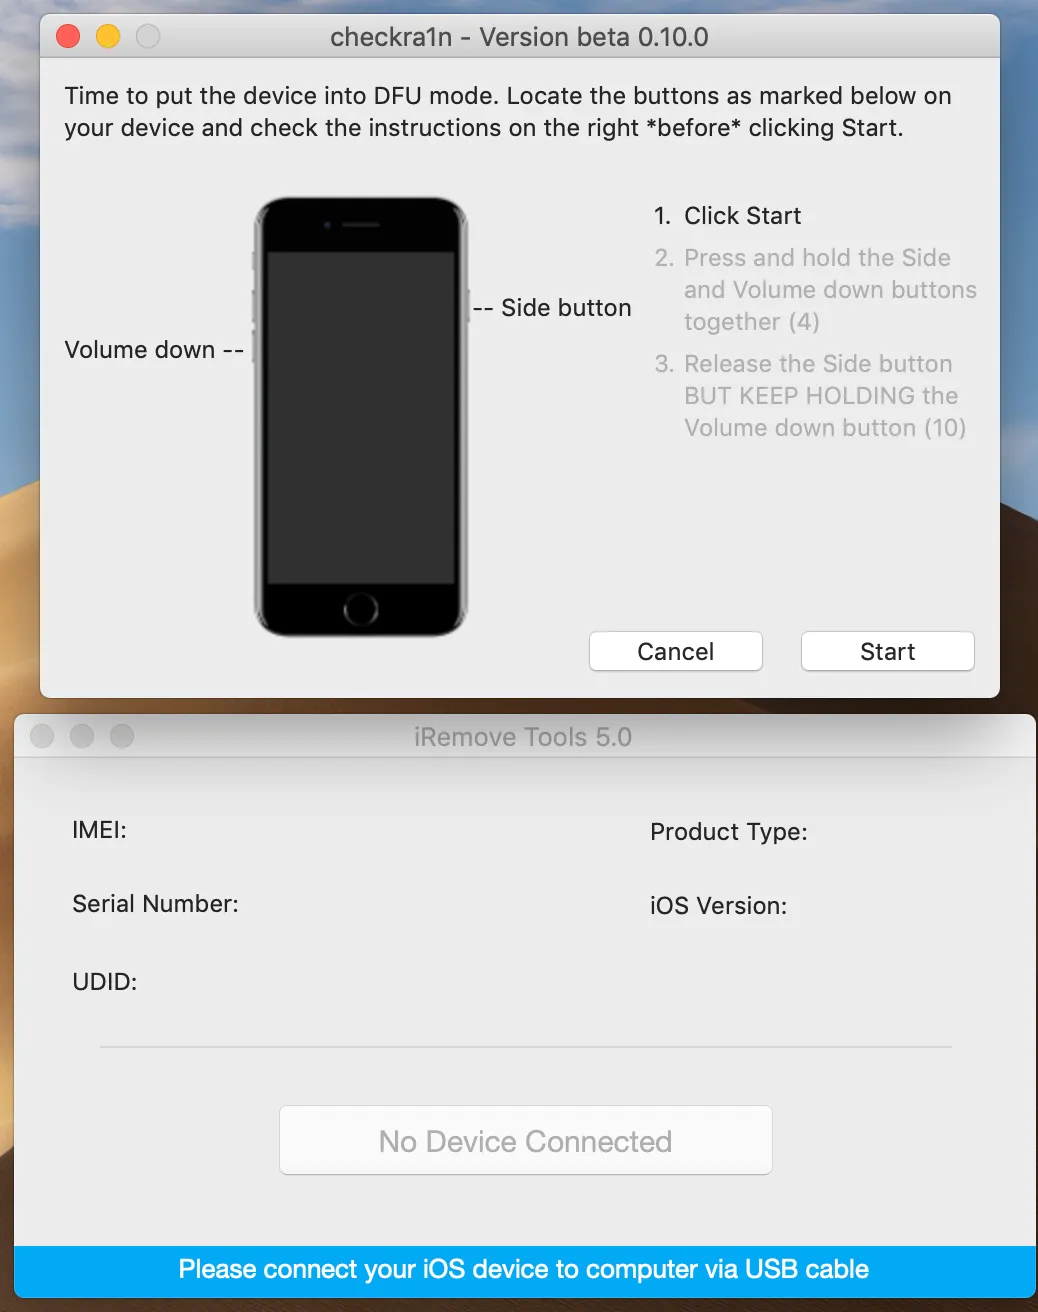
- Bitte folgen Sie der Anleitung auf dem Bildschirm, die Ihnen sagt, wie Sie Ihr Gerät in den DFU mode. Unsere eigenen Anweisungen, wie Sie Ihr Gerät in den DFU-Modus schalten, finden Sie hier, für den Fall, dass Sie Probleme mit der Anleitung auf dem Bildschirm haben.
![Checkra1n Jailbreak iOS via iRemove step 2]()
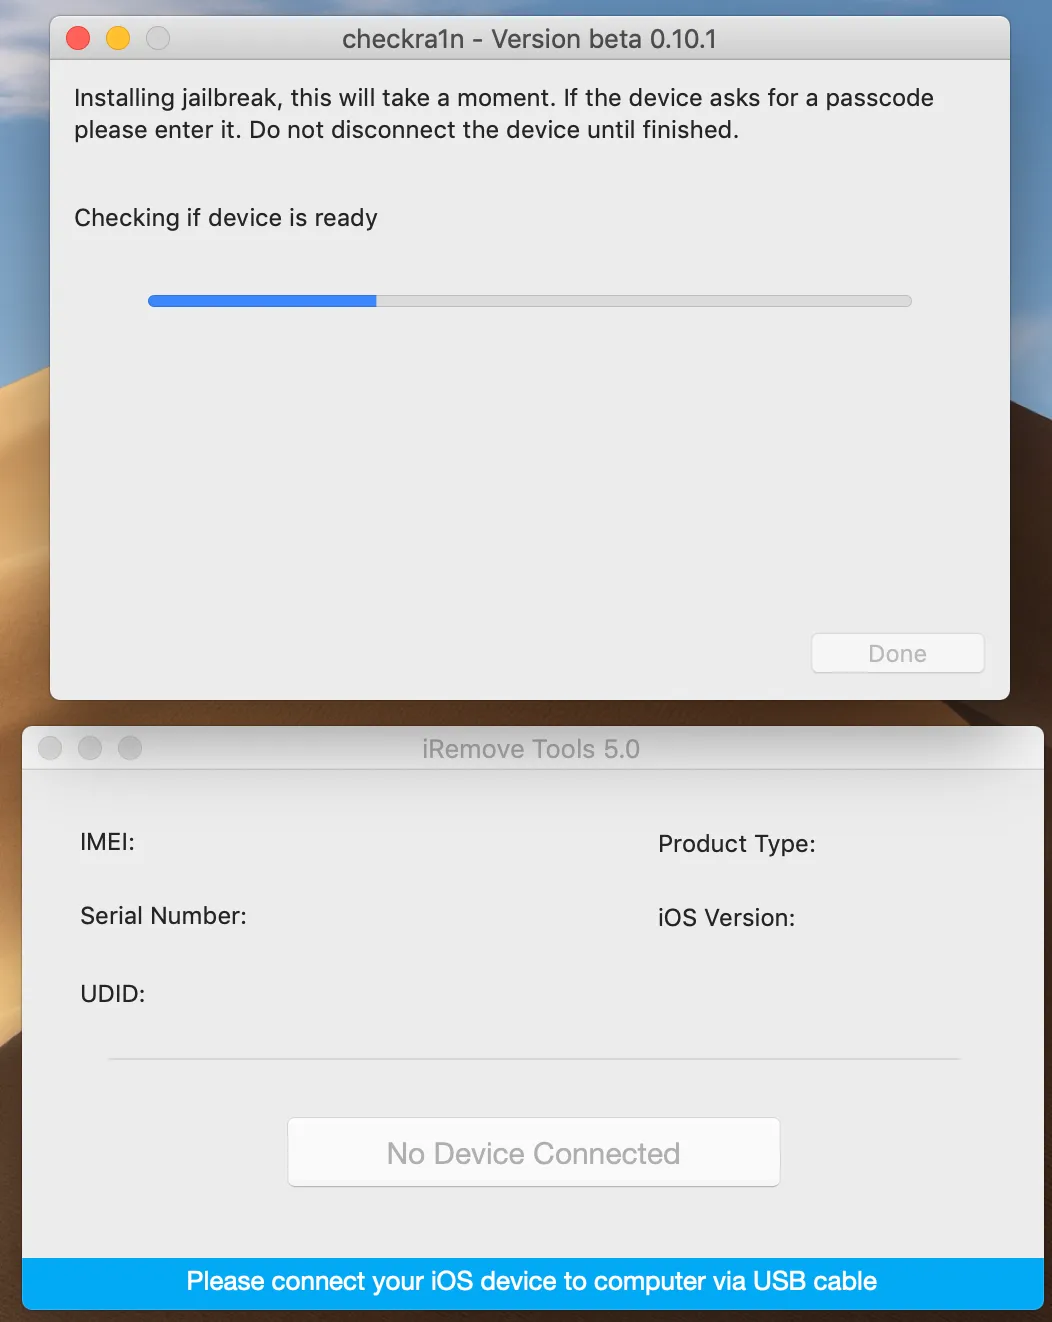
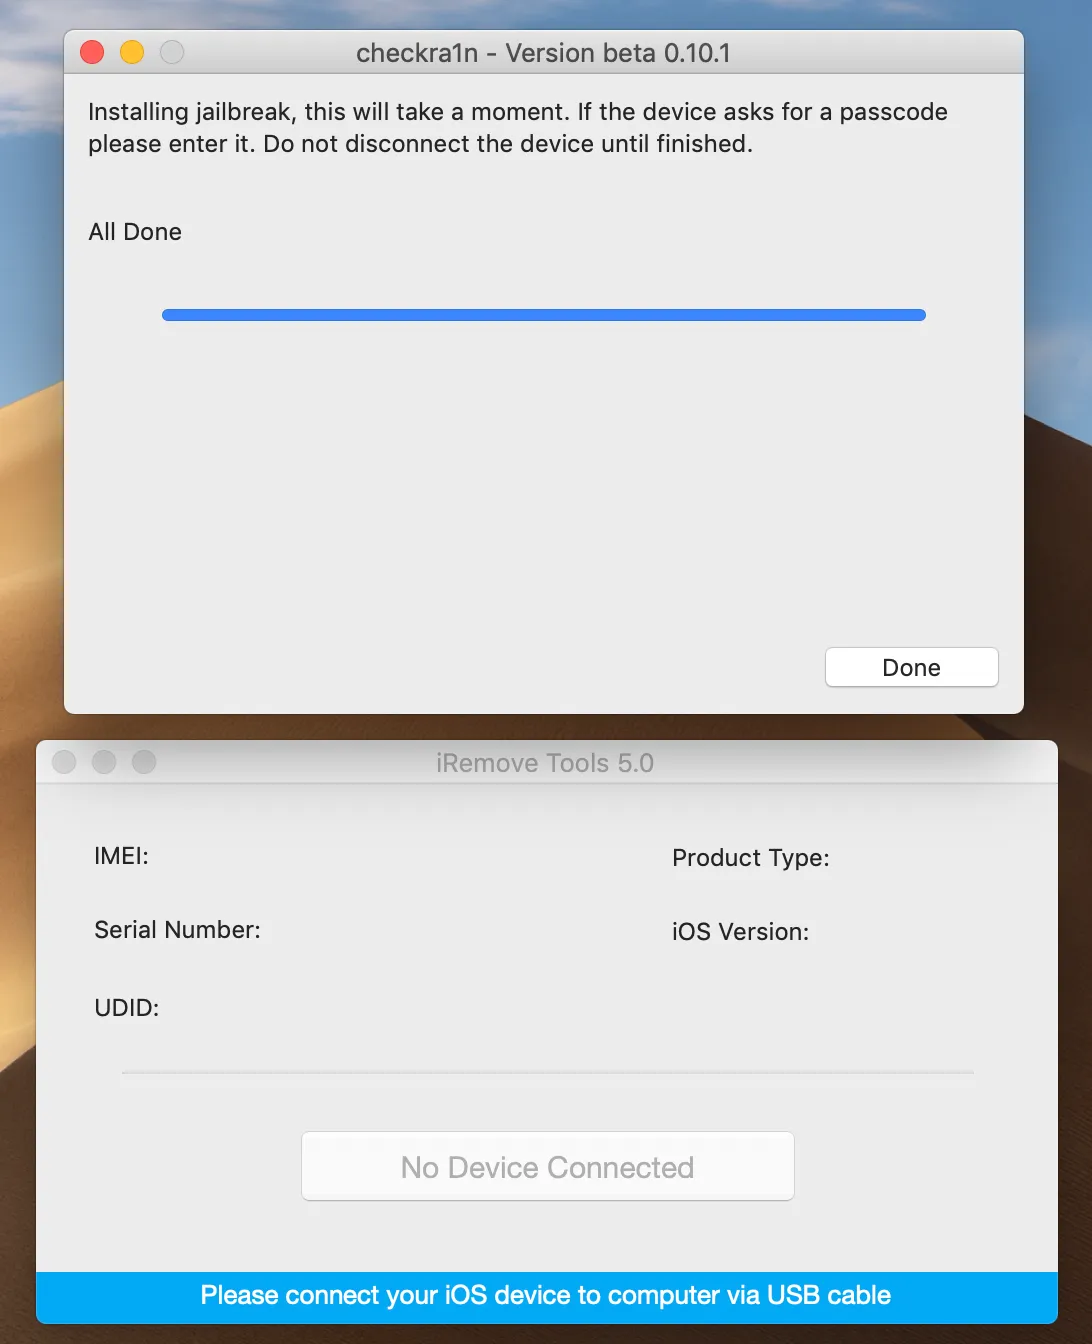
- Die Ausbeutung und der Jailbreaking-Prozess beginnen, sobald sich Ihr Gerät im DFU-Modus befindet. Ein ausführliches Protokoll des Jailbreaking-Prozesses wird auf dem Bildschirm des Geräts während des gesamten Jailbreaking-Prozesses angezeigt. Tun Sie NICHTS mit Ihrem mobilen Gerät und Mac PC. Seien Sie einfach geduldig und warten Sie ab, was die beiden tun. Wenn der Jailbreaking-Prozess erfolgreich abgeschlossen ist, wird die Meldung "All Done" angezeigt. Wenn Sie eine Fehlermeldung erhalten, lesen Sie bitte die Seite für allgemeine Probleme.
- Prüfen, ob Ihr Gerät bereit ist:
![Checkra1n Jailbreak iOS via iRemove step 3]()
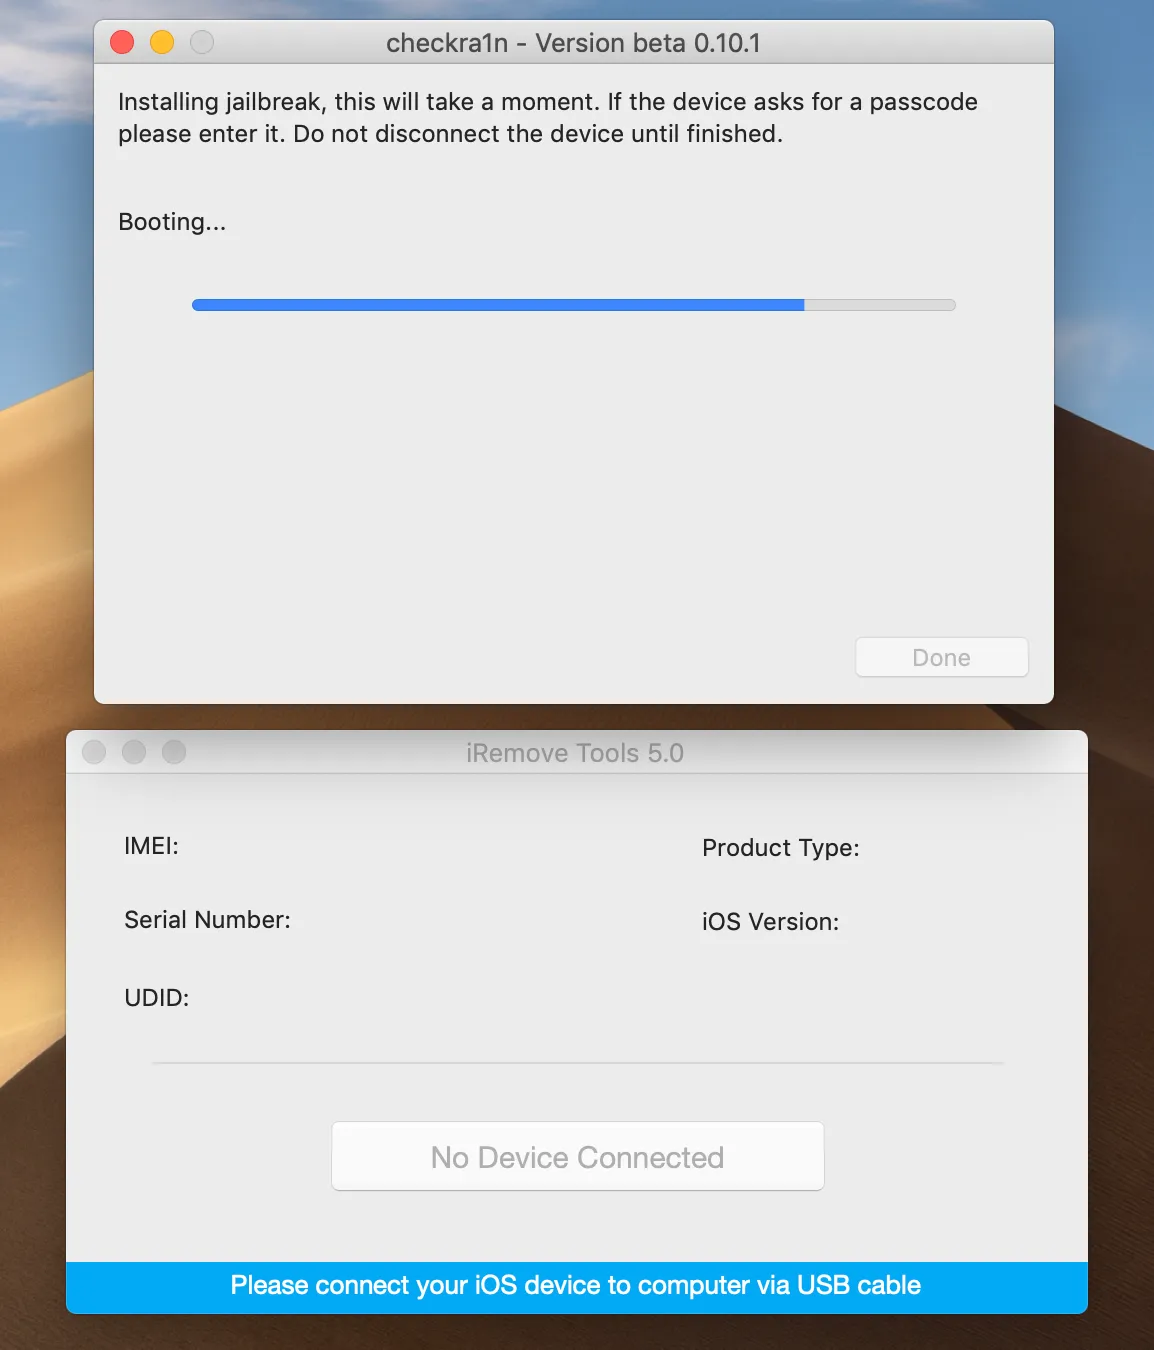
- Botting:
![Checkra1n Jailbreak iOS via iRemove step 4]()
- Der Jailbreaking-Prozess ist abgeschlossen:
![Checkra1n Jailbreak iOS via iRemove step 5]()
- Prüfen, ob Ihr Gerät bereit ist:
Teilen:
Software zum Entsperren von iPhone und iPad


Software zum Entsperren von Macs


![Umgehungssoftware für das MacOS-Fernmanagement [MDM]](/assets/img/banners/find-my-mac-unlock-without-icloud-password.svg)
iRemove Neuigkeiten

USBLiter8 BootROM Exploit Explained | A12 & A13 Apple Devices
Learn how the USBLiter8 BootROM exploit works on Apple A12 and A13 devices. Explore SecureROM exploitation, Pwned DFU mode, supported devices, security implications, and research applications.
iCloud Unlock for iPhone 15 Series with iRemove Software
Unlock iCloud on iPhone 15 Series effortlessly with iRemove Software. Learn how to bypass Activation Lock on iPhone 15, 15 Plus, 15 Pro, and 15 Pro Max.
Bypass iCloud and Unlock iPhone 14 with the iRemove Software
Bypass the Activation Lock on any iCloud-locked iPhone 14 series model, including the 14 Plus, 14 Pro, and 14 Pro Max, using iRemove Software!
Bypass iCloud Lock from iPhone XR, XS, and XS Max
Use iRemove Software to Bypass iCloud Activation Lock on any iPhone XR, XS, and XS Max models. The fast and effective iCloud Unlock hardware method.

Bypass iCloud on iPhone 11 Series: 11, 11 Pro and 11 Pro Max
Bypass the iCloud Activation Lock on any iPhone 11 series model, including 11 Pro and 11 Pro Max, using the iRemove Activation Lock Bypass Tool!
Remove - Bypass the Activation Lock on iPhone 12 Series
Unlock the Activation Lock on your iPhone 12, 12 Pro, 12 Pro Max, and 12 Mini quickly and easily with iRemove iCloud Bypass Software.
Unlock iPhone 13 with iRemove Software: Easy iCloud Bypass!
Learn how to bypass iCloud and remove Activation Lock from iPhone 13 series (13 Pro, 13 Pro Max) using iRemove Software. Guaranteed success in 2024!

Bypass iOS 16 iCloud Activation Lock Screen
Best iOS 16 iCloud Bypass solution for iPhone and iPad Devices with Activation Lock
Remove Activation Lock without Previous Owner
All methods to ☆ REMOVE ACTIVATION LOCK WITHOUT PREVIOUS OWNER ☆ Ultimate how to guide for iPhone and other iOS users.

Bypass the Activation Lock on an iPad
Reliable Ways to Bypass the Activation Lock on an iPad without Apple ID Password and Previous Owner
Bleiben Sie auf dem Laufenden
Erhalten Sie Sonderangebote zu den neuesten Entwicklungen vom iRemove-Team.
Sie suchen noch nach Hilfe?
Keine Sorge. Wenden Sie sich einfach an unser Support-Team. Wir helfen Ihnen immer gerne weiter.
Kontaktieren Sie unser freundliches Support-Team