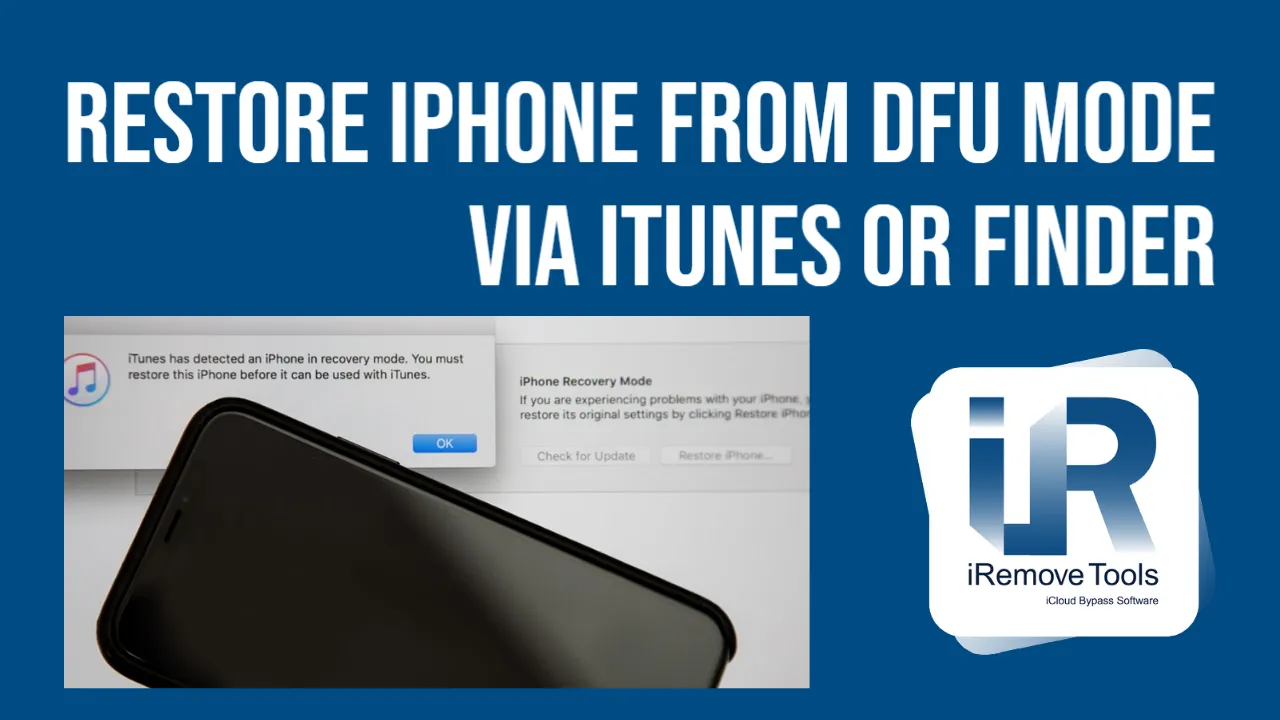
How to Restore iPhone from DFU Mode via iTunes or Finder
You can try an in-depth reset when a regular restore cannot fix your situation and bring your iPhone back to life. The iRemove team has prepared a guide on how to restore the iPhone from DFU mode via iTunes or Finder. Follow it step-by-step to completely erase your smartphone and reload its hardware and software control.
Glossario
- Reasons to Restore iPhone from DFU Mode
- Restore DFU iPhone 8, 8 Plus, X, SE (2nd Gen)
- DFU Restore iPhone 7 and 7 Plus
- DFU Ripristina iPhone 6S, 6, SE (1a generazione) e versioni precedenti
- Come uscire dalla modalità DFU di iPhone
Reasons to Restore iPhone from DFU Mode
You can try an in-depth reset when a regular restore cannot fix your situation and bring your iPhone back to life. The iRemove team has prepared a guide on how to restore the iPhone from DFU mode via iTunes or Finder. Follow it step-by-step to completely erase your smartphone and reload its hardware and software control.
Before we explain why you need to use iPhone DFU restore, it is a must to tell you more about this term. DFU stands for Device Firmware Upgrade. It is a special mode that helps restore any iPhone from any possible state.
Through DFU, your BootROM accepts iBSS, and it can accept APTicket if you own an A7+ smartphone. The thing is, your Device Firmware Upgrade is a SecureROM's part. You cannot remove it because it is burned into your iPhone hardware.
Restore DFU iPhone 8, 8 Plus, X, SE (2nd Gen)
Find your USB to Lightning cable and a working computer. Ensure that your Windows PC or Mac running Mojave or an earlier version than macOS 10.14 has the most recent iTunes. If you have a computer with macOS 10.15 (Catalina) or newer, you will use Finder.
- With your iPhone 8, X, or newer version, connect to Mac or PC, launch iTunes or Finder.
- Click once your Volume Up on the smartphone. Then click once your Volume Down button.
- Click-hold the Side button. Do so and watch how the display becomes black.
- With a black screen, you should keep holding your Side button and press-hold the Volume Down button for approximately five seconds.
- Let go of only the Side button but still keep pressing Volume Down. Release it when your smartphone is visible in iTunes or Finder.
- Restore DFU iPhone 8 or newer Apple handset.
DFU Restore iPhone 7 and 7 Plus
Use your computer, Mac Mojave or older Apple computer or Windows PC, a USB to Lightning cable, and the most recent iTunes. Work with Finder instead of iTunes if you have Mac Catalina or a most recent macOS device.
- After your iPhone 7/7 Plus (powered on or off) is connected to a computer, launch iTunes or Finder.
- Press these two buttons at once (hold them too), Power (Sleep/Wake) + Volume Down.
- After counting to eight, release only the Power (Sleep/Wake) button while still pressing the Volume Down.
- When your iTunes or Finder shows the iPhone, you can let go of Volume Down. The phone screen must be black. Only when it is dark, have you successfully entered DFU. If you see the Apple logo on your handset screen or iTunes asks you to connect your smartphone, you should repeat all the steps.
- Once in DFU, restore iPhone 7 or 7 Plus.
DFU Ripristina iPhone 6S, 6, SE (1a generazione) e versioni precedenti
Avrai bisogno di un computer (Mac o PC), un cavo da Lightning a USB e il software iTunes. Funzionerà per tutti i computer Windows e Mac macOS Mojave (o precedenti). I proprietari di Mac Catalina utilizzeranno Finder invece di iTunes (funziona in modo simile).
- Avvia iTunes dopo aver collegato il tuo iPhone 6S, 6, SE (1a generazione) al computer. Tieni presente che il tuo iPhone può essere acceso o spento (non importa ora).
- Devi tenere premuti due pulsanti contemporaneamente, Home + Side (On/Off/Blocco). Conta fino a otto e rilascia Side (On/Off/Blocco) mentre tieni premuto Home.
- Rilascia il pulsante Home solo quando iTunes (o Finder) mostra il tuo smartphone. Lo schermo dell'iPhone deve essere nero senza loghi quando entra in modalità DFU. Pertanto, se vedi un logo o il display non è nero, non hai successo. Segui le istruzioni sopra per risolvere la situazione.
- Dopo aver inserito DFU, ripristina il tuo iPhone 6S, SE (1a generazione), 6.
Nota bene! Supponiamo che iTunes o Finder impieghi più di 15 minuti per ripristinare il tuo iPhone dalla modalità DFU e che il tuo smartphone esca dall'aggiornamento del firmware del dispositivo stesso. Quindi, è necessario ripetere nuovamente i passaggi precedenti. È necessario accedere alla modalità DFU e provare a ripristinarlo da zero.
Ricorda che un iPhone con un componente rotto potrebbe non completare correttamente il ripristino DFU in alcune situazioni. Se hai un dispositivo danneggiato, entrare in modalità DFU può romperlo.
Come uscire dalla modalità DFU di iPhone
Vuoi uscire tu stesso dalla modalità? Sarebbe utile se si forzasse il riavvio dello smartphone Apple utilizzando le seguenti combinazioni di pulsanti:
- iPhone 8, 8 Plus, X: fai clic su Volume su, fai clic su Volume giù, fai clic su tieni premuto Side in attesa che il telefono si riavvii;
- iPhone 7, 7 Plus: tieni premuti due pulsanti, Power (Sleep/Wake) + Volume giù, fino al riavvio del cellulare;
- iPhone 6S, 6, SE: tieni premuti i pulsanti Home + Side (On/Off/Blocco) in attesa del riavvio del telefono.
Eccoci qui! Il tuo smartphone dovrebbe funzionare come se fosse nuovo. È meglio caricarlo e scaricarlo alcune volte, lasciarlo ricalibrare e i suoi problemi software spariranno. Si spera che il ripristino DFU riporti in vita il tuo iPhone e ti faccia godere il suo lavoro impeccabile.
Condividere:
Software di sblocco per iPhone e iPad


Software di sblocco per Mac


![Software di bypass per la gestione remota di MacOS [MDM].](/assets/img/banners/find-my-mac-unlock-without-icloud-password.svg)
iRemove Notizia

USBLiter8 BootROM Exploit Explained | A12 & A13 Apple Devices
Learn how the USBLiter8 BootROM exploit works on Apple A12 and A13 devices. Explore SecureROM exploitation, Pwned DFU mode, supported devices, security implications, and research applications.
iCloud Unlock for iPhone 15 Series with iRemove Software
Unlock iCloud on iPhone 15 Series effortlessly with iRemove Software. Learn how to bypass Activation Lock on iPhone 15, 15 Plus, 15 Pro, and 15 Pro Max.
Bypass iCloud and Unlock iPhone 14 with the iRemove Software
Bypass the Activation Lock on any iCloud-locked iPhone 14 series model, including the 14 Plus, 14 Pro, and 14 Pro Max, using iRemove Software!
Bypass iCloud Lock from iPhone XR, XS, and XS Max
Use iRemove Software to Bypass iCloud Activation Lock on any iPhone XR, XS, and XS Max models. The fast and effective iCloud Unlock hardware method.

Bypass iCloud on iPhone 11 Series: 11, 11 Pro and 11 Pro Max
Bypass the iCloud Activation Lock on any iPhone 11 series model, including 11 Pro and 11 Pro Max, using the iRemove Activation Lock Bypass Tool!
Remove - Bypass the Activation Lock on iPhone 12 Series
Unlock the Activation Lock on your iPhone 12, 12 Pro, 12 Pro Max, and 12 Mini quickly and easily with iRemove iCloud Bypass Software.
Unlock iPhone 13 with iRemove Software: Easy iCloud Bypass!
Learn how to bypass iCloud and remove Activation Lock from iPhone 13 series (13 Pro, 13 Pro Max) using iRemove Software. Guaranteed success in 2024!

Bypass iOS 16 iCloud Activation Lock Screen
Best iOS 16 iCloud Bypass solution for iPhone and iPad Devices with Activation Lock
Remove Activation Lock without Previous Owner
All methods to ☆ REMOVE ACTIVATION LOCK WITHOUT PREVIOUS OWNER ☆ Ultimate how to guide for iPhone and other iOS users.

Bypass the Activation Lock on an iPad
Reliable Ways to Bypass the Activation Lock on an iPad without Apple ID Password and Previous Owner
Stai ancora cercando aiuto?
Per favore, non preoccuparti. Si prega di contattare il nostro team di supporto. Siamo sempre felici di aiutarti.
Contatta il nostro amichevole team di supporto