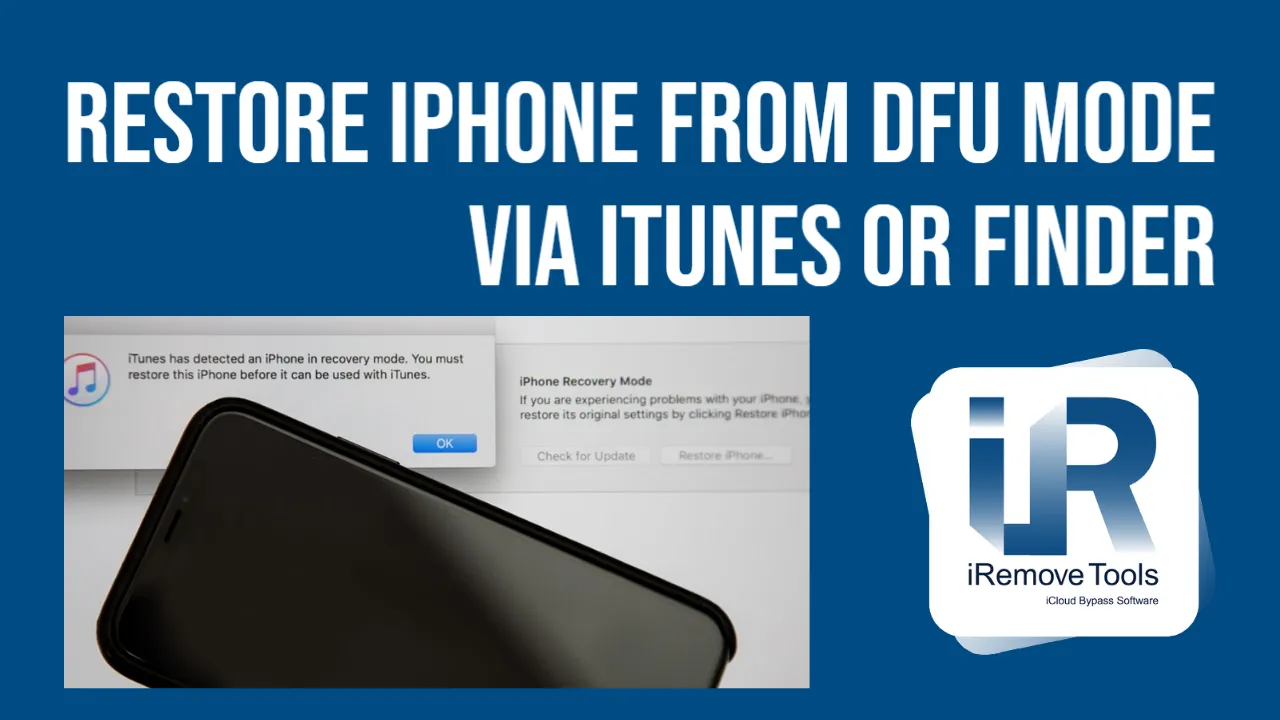
How to Restore iPhone from DFU Mode via iTunes or Finder
You can try an in-depth reset when a regular restore cannot fix your situation and bring your iPhone back to life. The iRemove team has prepared a guide on how to restore the iPhone from DFU mode via iTunes or Finder. Follow it step-by-step to completely erase your smartphone and reload its hardware and software control.
Glossaire
- Reasons to Restore iPhone from DFU Mode
- Restore DFU iPhone 8, 8 Plus, X, SE (2nd Gen)
- DFU Restore iPhone 7 and 7 Plus
- Restauration DFU de l'iPhone 6S, 6, SE (1ère génération), et des versions précédentes
- Comment quitter le mode DFU de l'iPhone
Reasons to Restore iPhone from DFU Mode
You can try an in-depth reset when a regular restore cannot fix your situation and bring your iPhone back to life. The iRemove team has prepared a guide on how to restore the iPhone from DFU mode via iTunes or Finder. Follow it step-by-step to completely erase your smartphone and reload its hardware and software control.
Before we explain why you need to use iPhone DFU restore, it is a must to tell you more about this term. DFU stands for Device Firmware Upgrade. It is a special mode that helps restore any iPhone from any possible state.
Through DFU, your BootROM accepts iBSS, and it can accept APTicket if you own an A7+ smartphone. The thing is, your Device Firmware Upgrade is a SecureROM's part. You cannot remove it because it is burned into your iPhone hardware.
Restore DFU iPhone 8, 8 Plus, X, SE (2nd Gen)
Find your USB to Lightning cable and a working computer. Ensure that your Windows PC or Mac running Mojave or an earlier version than macOS 10.14 has the most recent iTunes. If you have a computer with macOS 10.15 (Catalina) or newer, you will use Finder.
- With your iPhone 8, X, or newer version, connect to Mac or PC, launch iTunes or Finder.
- Click once your Volume Up on the smartphone. Then click once your Volume Down button.
- Click-hold the Side button. Do so and watch how the display becomes black.
- With a black screen, you should keep holding your Side button and press-hold the Volume Down button for approximately five seconds.
- Let go of only the Side button but still keep pressing Volume Down. Release it when your smartphone is visible in iTunes or Finder.
- Restore DFU iPhone 8 or newer Apple handset.
DFU Restore iPhone 7 and 7 Plus
Use your computer, Mac Mojave or older Apple computer or Windows PC, a USB to Lightning cable, and the most recent iTunes. Work with Finder instead of iTunes if you have Mac Catalina or a most recent macOS device.
- After your iPhone 7/7 Plus (powered on or off) is connected to a computer, launch iTunes or Finder.
- Press these two buttons at once (hold them too), Power (Sleep/Wake) + Volume Down.
- After counting to eight, release only the Power (Sleep/Wake) button while still pressing the Volume Down.
- When your iTunes or Finder shows the iPhone, you can let go of Volume Down. The phone screen must be black. Only when it is dark, have you successfully entered DFU. If you see the Apple logo on your handset screen or iTunes asks you to connect your smartphone, you should repeat all the steps.
- Once in DFU, restore iPhone 7 or 7 Plus.
Restauration DFU de l'iPhone 6S, 6, SE (1ère génération), et des versions précédentes
Vous aurez besoin d'un ordinateur (Mac ou PC), d'un câble Lightning vers USB et du logiciel iTunes. Cela fonctionnera pour tous les ordinateurs Windows et les MacOS Mojave (ou plus anciens). Les propriétaires de Macs Catalina utiliseront Finder au lieu d'iTunes (le fonctionnement est similaire).
- Lancez iTunes une fois que vous avez connecté votre iPhone 6S, 6, SE (1ère génération) à votre ordinateur. Veuillez noter que votre iPhone peut être allumé ou éteint (cela n'a pas d'importance maintenant).
- Vous devez appuyer et maintenir enfoncés deux boutons à la fois, Accueil + Côté (Marche/Arrêt/Verrouillage ). Comptez jusqu'à huit et lâchez le bouton latéral (Marche/Arrêt/Verrouillage) tout en maintenant le bouton Accueil.
- Ne relâchez le bouton Accueil que lorsque iTunes (ou Finder) affiche votre smartphone. L'écran de l'iPhone doit être noir et sans logo lorsqu'il entre en mode DFU. Ainsi, si vous voyez un logo ou si l'écran n'est pas noir, vous n'avez pas réussi. Suivez les instructions ci-dessus pour remédier à la situation.
- Après être entré en mode DFU, restaurez votre iPhone 6S, SE (1ère génération), 6.
Veuillez noter ! Supposons qu'il faille plus de 15 minutes à iTunes ou Finder pour restaurer votre iPhone à partir du mode DFU, et que votre smartphone quitte lui-même la mise à niveau du logiciel. Dans ce cas, vous devez répéter les étapes ci-dessus à nouveau. Il est indispensable d'entrer en mode DFU et d'essayer de le restaurer en mode DFU à partir de zéro.
N'oubliez pas qu'un iPhone dont un composant est cassé peut ne pas réussir la restauration DFU dans certaines situations. Si vous avez un appareil endommagé, le fait d'entrer en mode DFU peut le briser.
Comment quitter le mode DFU de l'iPhone
Vous souhaitez quitter le mode vous-même ? Il serait utile que vous redémarriez de force le smartphone Apple en utilisant les combinaisons de boutons suivantes :
- iPhone 8, 8 Plus, X : Cliquez sur le volume vers le haut, cliquez sur le volume vers le bas, cliquez sur le côté en attendant que le téléphone redémarre ;
- iPhone 7, 7 Plus : Cliquez et maintenez enfoncés deux boutons, Alimentation (veille/réveil) + Volume bas, jusqu'à ce que votre téléphone redémarre ;
- iPhone 6S, 6, SE : Appuyez sur les boutons Accueil + Côté (Marche/Arrêt/Verrouillage) en attendant que votre téléphone redémarre.
C'est parti ! Votre smartphone devrait fonctionner comme s'il était neuf. Il est préférable de le charger et de le décharger plusieurs fois, de le laisser se recalibrer, et ses problèmes logiciels auront disparu. Avec un peu de chance, la restauration DFU ramènera votre iPhone à la vie et vous permettra de profiter de son fonctionnement irréprochable.
Partager :
Logiciel de déblocage iPhone et iPad


Logiciel de déverrouillage Mac


iRemove Nouvelles

USBLiter8 BootROM Exploit Explained | A12 & A13 Apple Devices
Learn how the USBLiter8 BootROM exploit works on Apple A12 and A13 devices. Explore SecureROM exploitation, Pwned DFU mode, supported devices, security implications, and research applications.
iCloud Unlock for iPhone 15 Series with iRemove Software
Unlock iCloud on iPhone 15 Series effortlessly with iRemove Software. Learn how to bypass Activation Lock on iPhone 15, 15 Plus, 15 Pro, and 15 Pro Max.
Bypass iCloud and Unlock iPhone 14 with the iRemove Software
Bypass the Activation Lock on any iCloud-locked iPhone 14 series model, including the 14 Plus, 14 Pro, and 14 Pro Max, using iRemove Software!
Bypass iCloud Lock from iPhone XR, XS, and XS Max
Use iRemove Software to Bypass iCloud Activation Lock on any iPhone XR, XS, and XS Max models. The fast and effective iCloud Unlock hardware method.

Bypass iCloud on iPhone 11 Series: 11, 11 Pro and 11 Pro Max
Bypass the iCloud Activation Lock on any iPhone 11 series model, including 11 Pro and 11 Pro Max, using the iRemove Activation Lock Bypass Tool!
Remove - Bypass the Activation Lock on iPhone 12 Series
Unlock the Activation Lock on your iPhone 12, 12 Pro, 12 Pro Max, and 12 Mini quickly and easily with iRemove iCloud Bypass Software.
Unlock iPhone 13 with iRemove Software: Easy iCloud Bypass!
Learn how to bypass iCloud and remove Activation Lock from iPhone 13 series (13 Pro, 13 Pro Max) using iRemove Software. Guaranteed success in 2024!

Bypass iOS 16 iCloud Activation Lock Screen
Best iOS 16 iCloud Bypass solution for iPhone and iPad Devices with Activation Lock
Remove Activation Lock without Previous Owner
All methods to ☆ REMOVE ACTIVATION LOCK WITHOUT PREVIOUS OWNER ☆ Ultimate how to guide for iPhone and other iOS users.

Bypass the Activation Lock on an iPad
Reliable Ways to Bypass the Activation Lock on an iPad without Apple ID Password and Previous Owner
Vous cherchez toujours de l'aide ?
Ne vous inquiétez pas. Prenez contact avec notre équipe d’assistance technique. Nous sommes toujours heureux de vous aider.
Prenez contact avec notre équipe d'assistance technique.