Customer Guide
Unlock Find My Mac without iCloud password on Mac computer having access to the Apple ID System Preferences.T2 & M1 Chip Supported
This guide will take you through the Find My Mac unlocking process without a need to enter Apple ID password on MacBook, iMac, and Mac Mini upon condition that you have access to the Apple ID System Preferences.

Step-by-step User’s Guide
First of all, you should be aware that iRemove Unlock Find My Mac Software supports only Mac computers with Apple’s T2 security chips and M1 chip.
Step 1. Download iRemove Software on Your Mac PC and Install It.
Having access to the Apple ID System Preferences is the main condition! Permanent unlock Find My Mac from Mac without Apple ID iCloud password is possible only upon this condition.
Download iRemove Software on Mac PC and launch it
Start by downloading the iRemove Find My Mac Activation Lock bypass software. Install it on the macOS computer you want to unlock.
This can be done via right click on the app icon and left click on “Open”. Ensure full permissions for the app and, in case if iRemove App runs with any issues with FileVault on, disable FileVault. The screen below will appear.
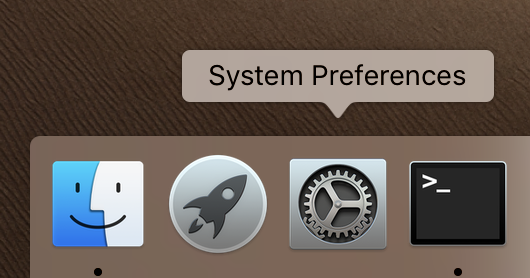
Now you should open the System Preferences:
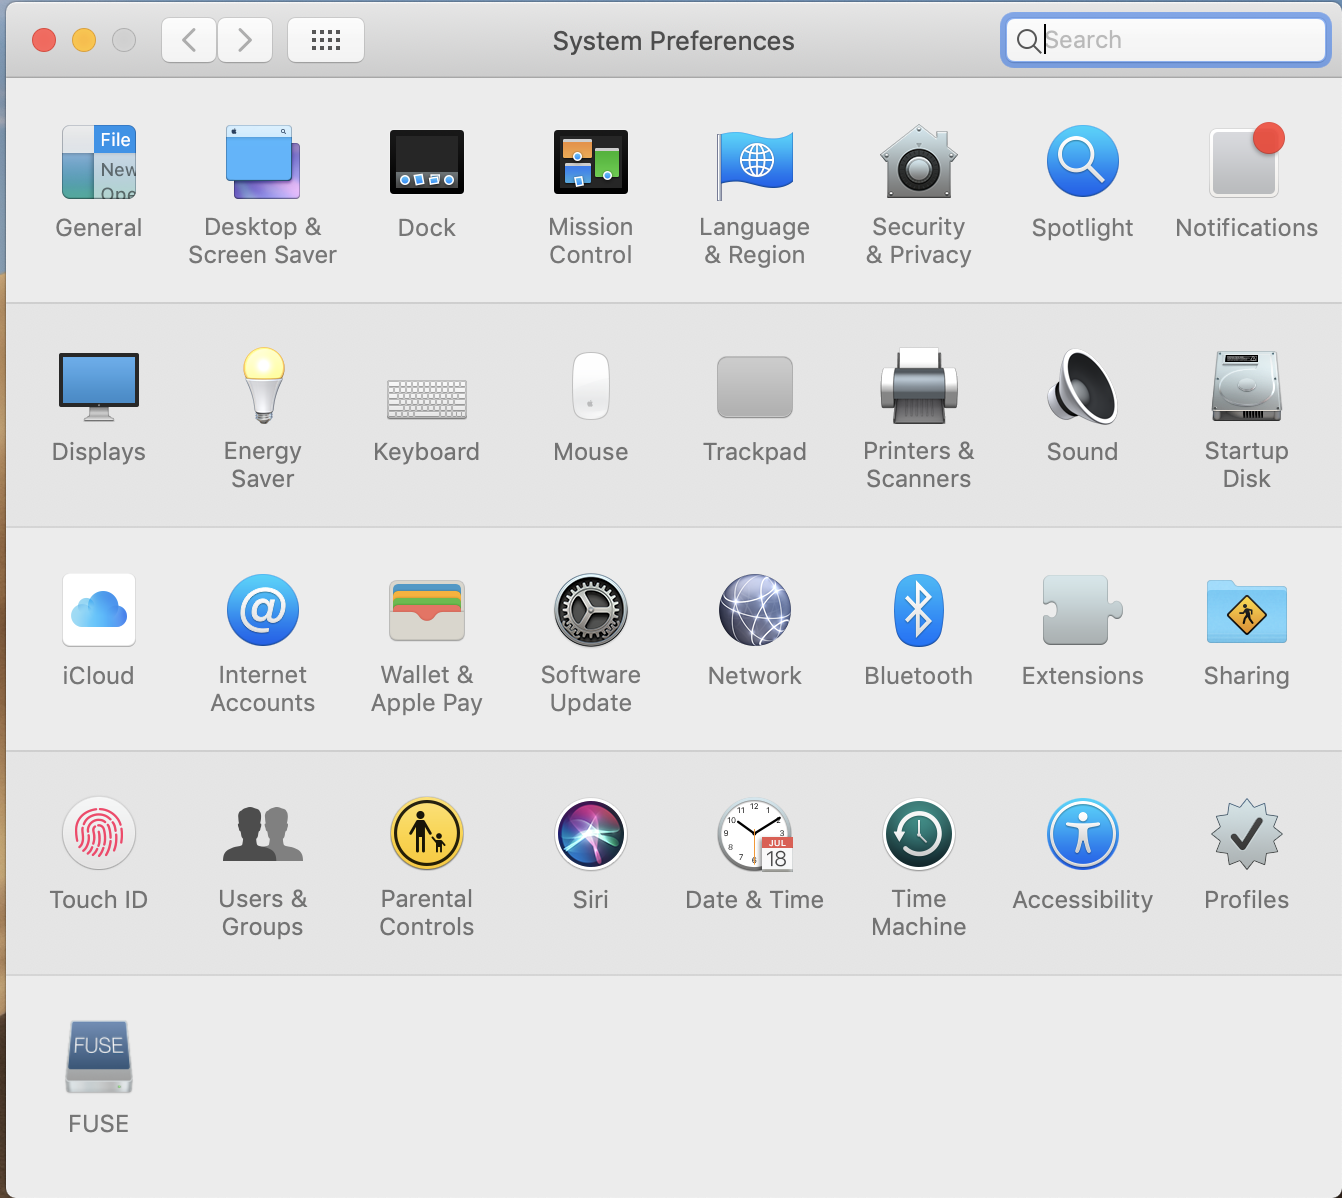
Click on Security and Privacy:
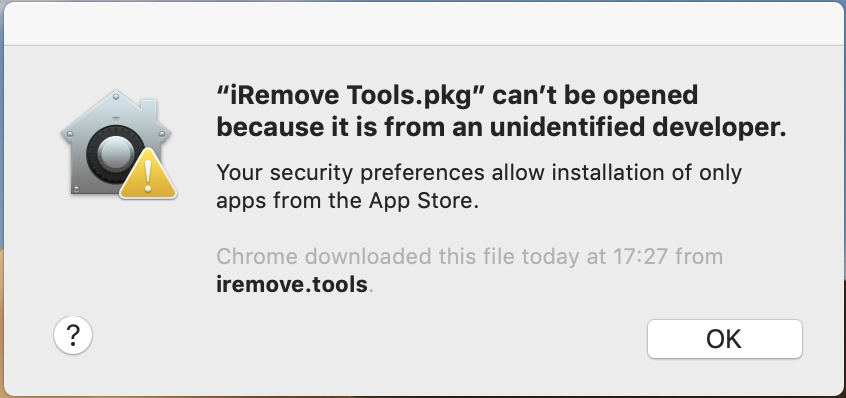
Once new screen appears, you’ll see the message saying "iRemove Software was blocked from opening because it is not from an identified developer”. Here you click on “Open anyway”.

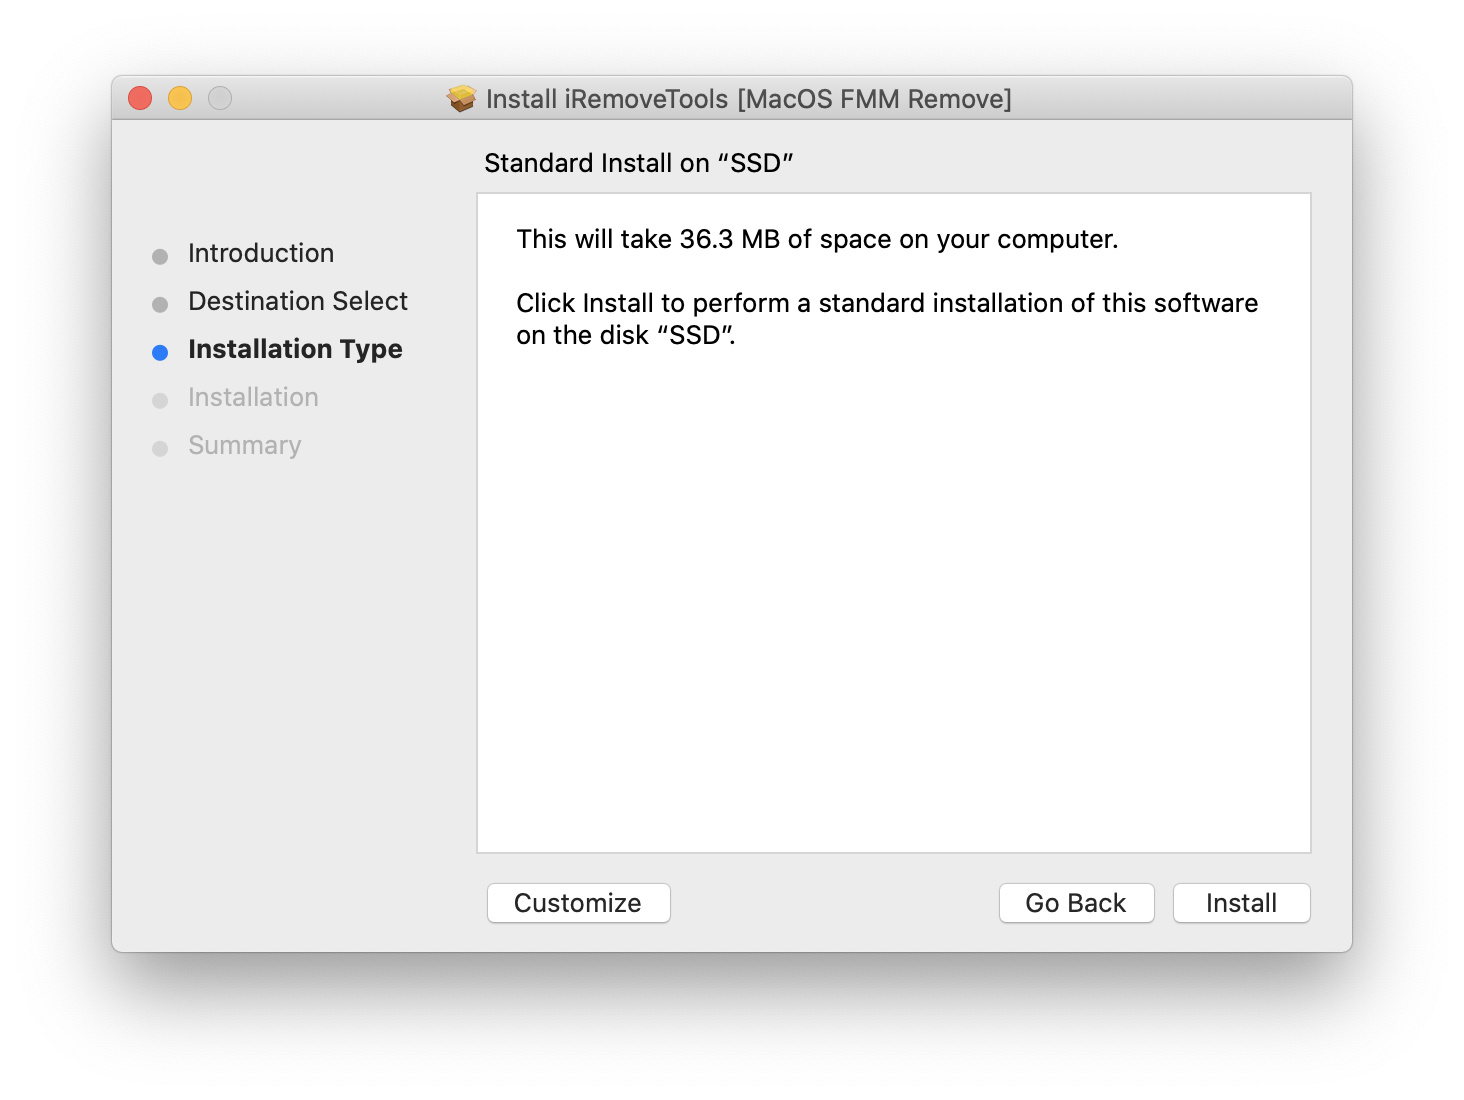
Complete iRemove Software Installation
Once introduction step appears, click on “Continue”:

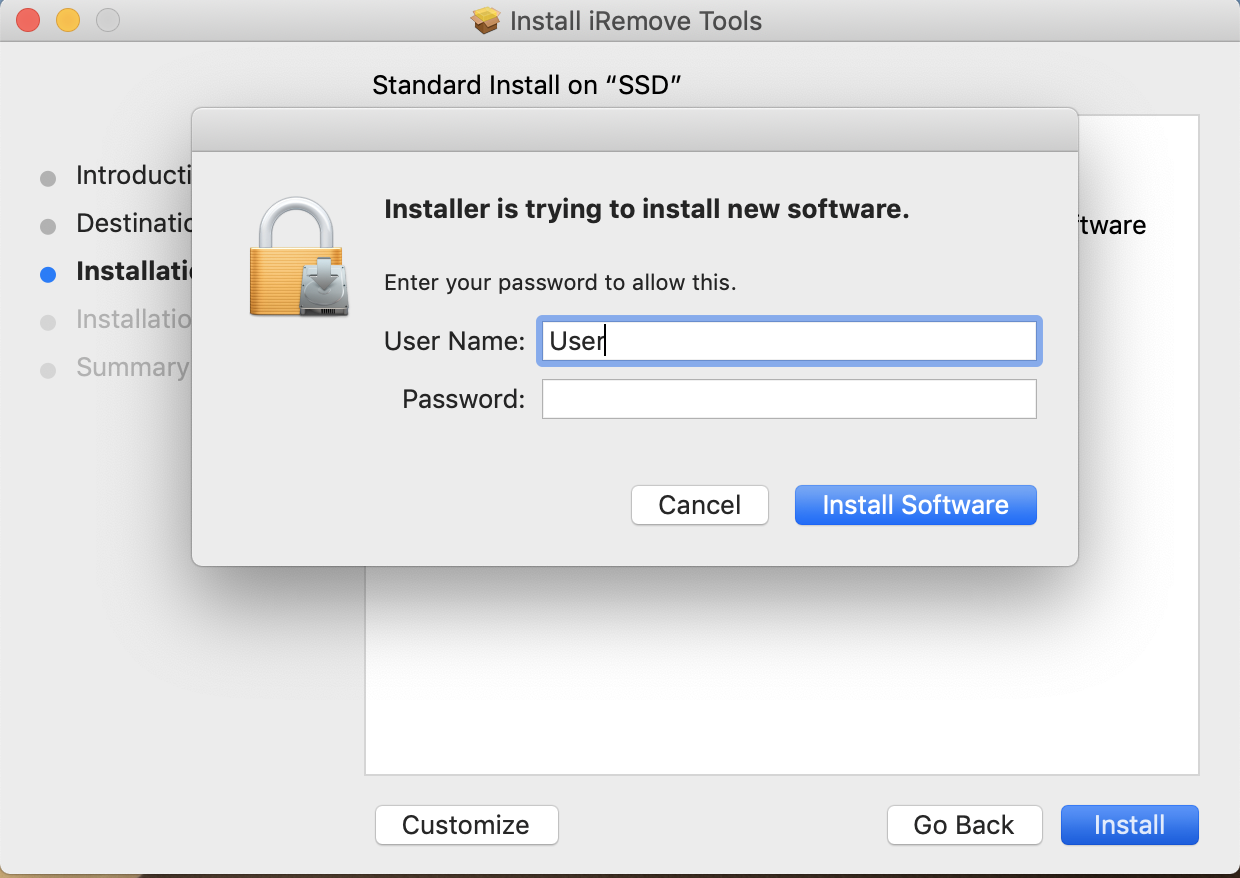
Enter your password and allow the iRemove Software installation on Installation Type screen:
Click on “Install” button to actually install the software:
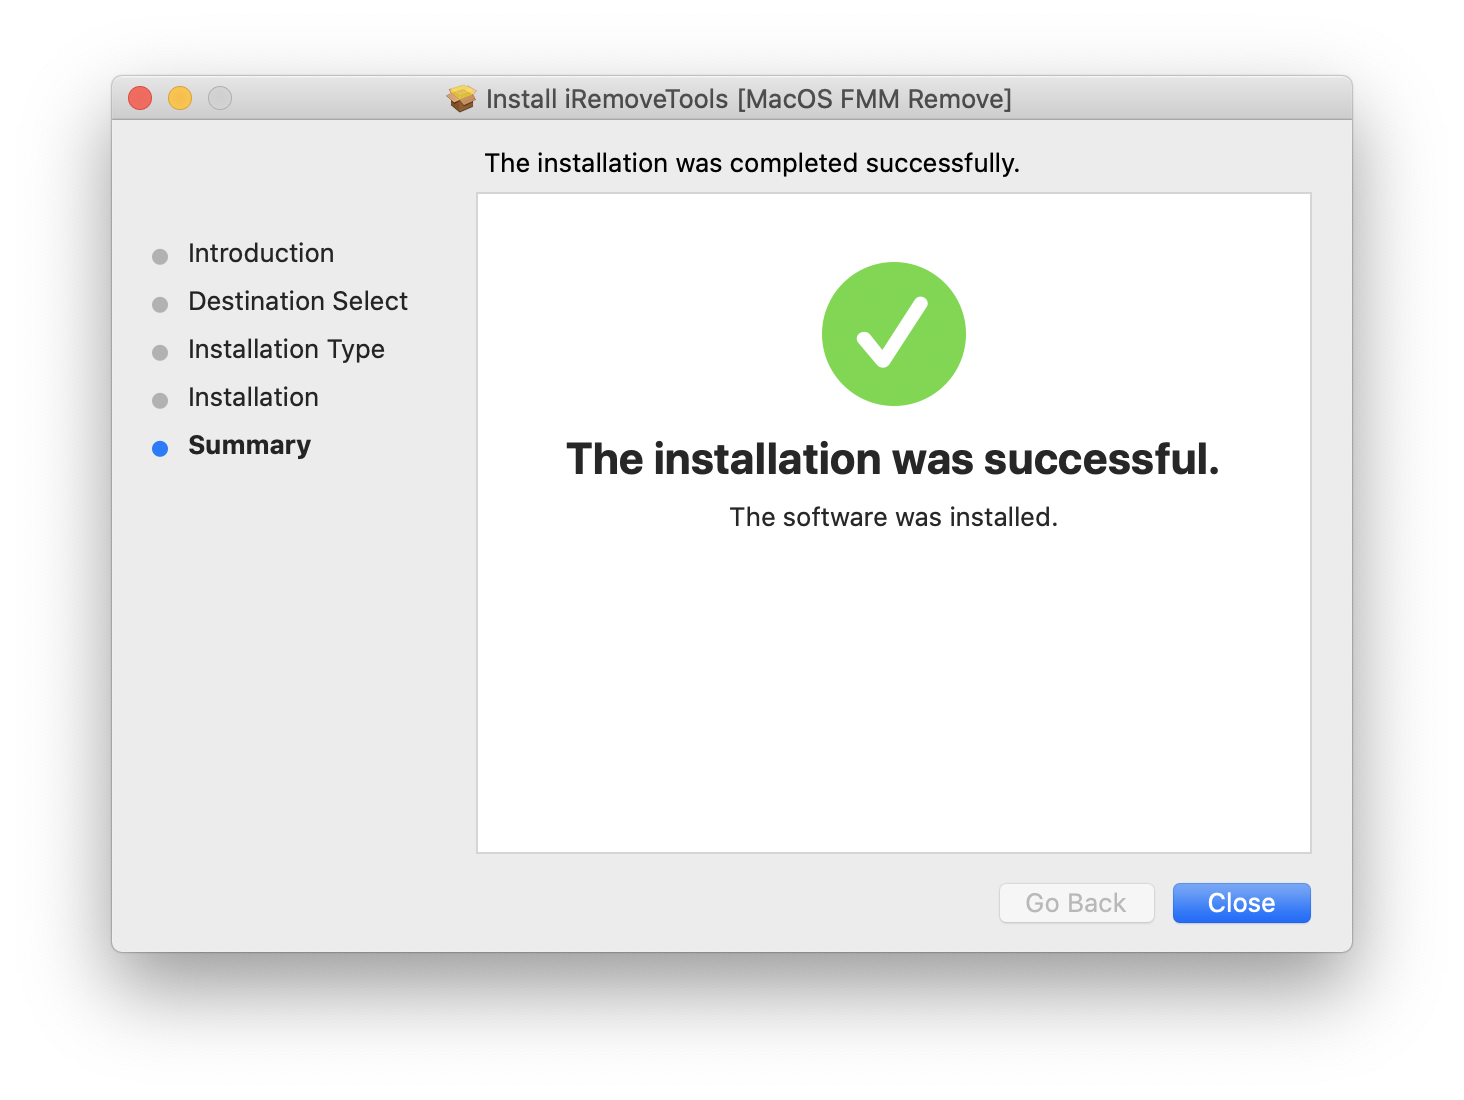
Summary step completes the software installation. Click on “Close” button and launch iRemove software from the App Menu.
Launch iRemove Find My Mac Unlock Software.
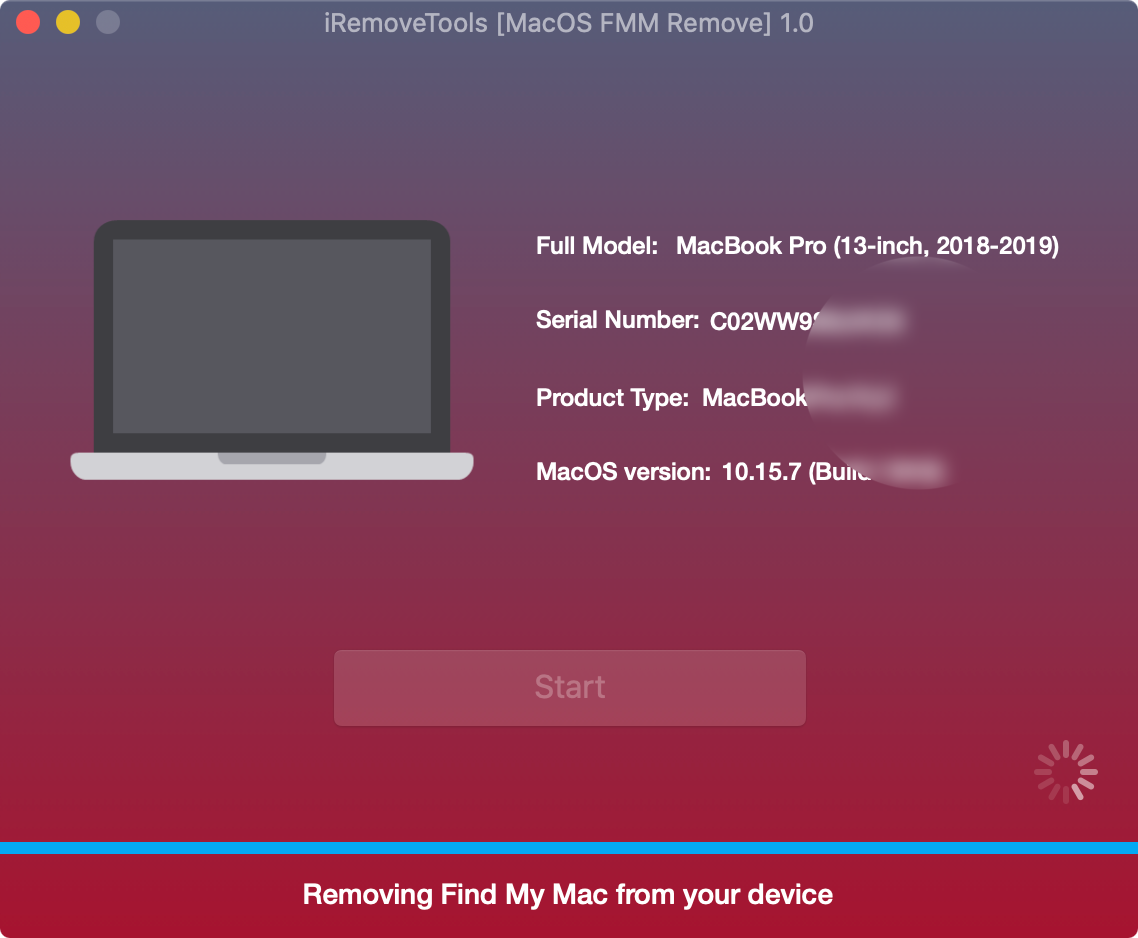
Launch iRemove Find My Mac Unlock Software on the Mac computer you wish to unlock. The software will automatically recognize and check your computer. If it's supported, you’ll be redirected to the checkout page.

Important note!
In the event that your Mac is running on macOS Catalina when you start the unlocking process, you’ll be asked to start your Mac from the built-in macOS Recovery System where you’ll have to open the terminal and enter the specified command.

How to access Terminal using Mac’s Recovery Mode?
Step 1. Enter macOS Recovery Mode in a regular mode by holding the Command (⌘)-R while the system is starting.
Step 2. On the “macOS Utilities” screen, pull down the “Utilities” menu from the top of the screen.
Step 3. Select “Terminal” to run the Terminal app from Recovery Mode.

The Terminal app will be launched in Recovery Mode and it will be ready for your commands:
Terminal Commannd
csrutil disable
nvram boot-args="amfi_get_out_of_my_way=0x1"
reboot
Your Mac will automatically reboot after the commands running in the Terminal.
Note: Once your Mac computer is started, reopen Find My Mac Unlock Software. iRemove Software will successfully recognize your computer and service ordering will become available to you.
Important!
Some Mac computers may also have EFI firmware password lock!
Here is how you can check it:
1. Restart your Mac and hold down the Command and R keys while system is starting
2. If your device has EFI firmware protection, following screen will appear:

If your Mac has no EFI Firmware Passcode, it will enter the recovery mode. Now you should reboot your device one more time and launch iRemove Software to start verification of your Mac computer.
In case your Mac computer is EFI firmware password locked, this is not good news. But this is definitely not a reason to fall into despair. There is another tool developed by iRemove team for cases like this which will easily remove EFI firmware password lock in 1 click!
This software is paid. Therefore, if you have access to the Apple ID System Preferences and aim to remove Find My Mac lock along with Apple ID, EFI Firmware password should be removed first. To do so, you should use iRemove’s EFI Unlock Tool with DATA SAVE!
Please, be attentive while ordering EFI Unlock service and do not order this service without data save by mistake. If you order this service without a data save option, it will remove the EFI firmware password from your Mac, but it will also erase all the data you have on your device along with it. After device reboot you will get Find My Mac Activation Lock Screen as well. In this case, only one iRemove tool will bypass Find My Mac Activation Lock Screen on your device.
Step 3. Place the Order
If your Mac is confirmed as supported upon the verification, you can order Unlock Find My Mac iRemove Software license.
Now, you can make your payment. Once it’s cleared, your Mac computer’s serial number will be entered to the iRemove database which will grant you the lifetime license to use iRemove Software. iRemove accepts following payment methods: VISA, Master Card, American Express, Cryptocurrency or Z3X dongle box credits. We guarantee a 100% refund.
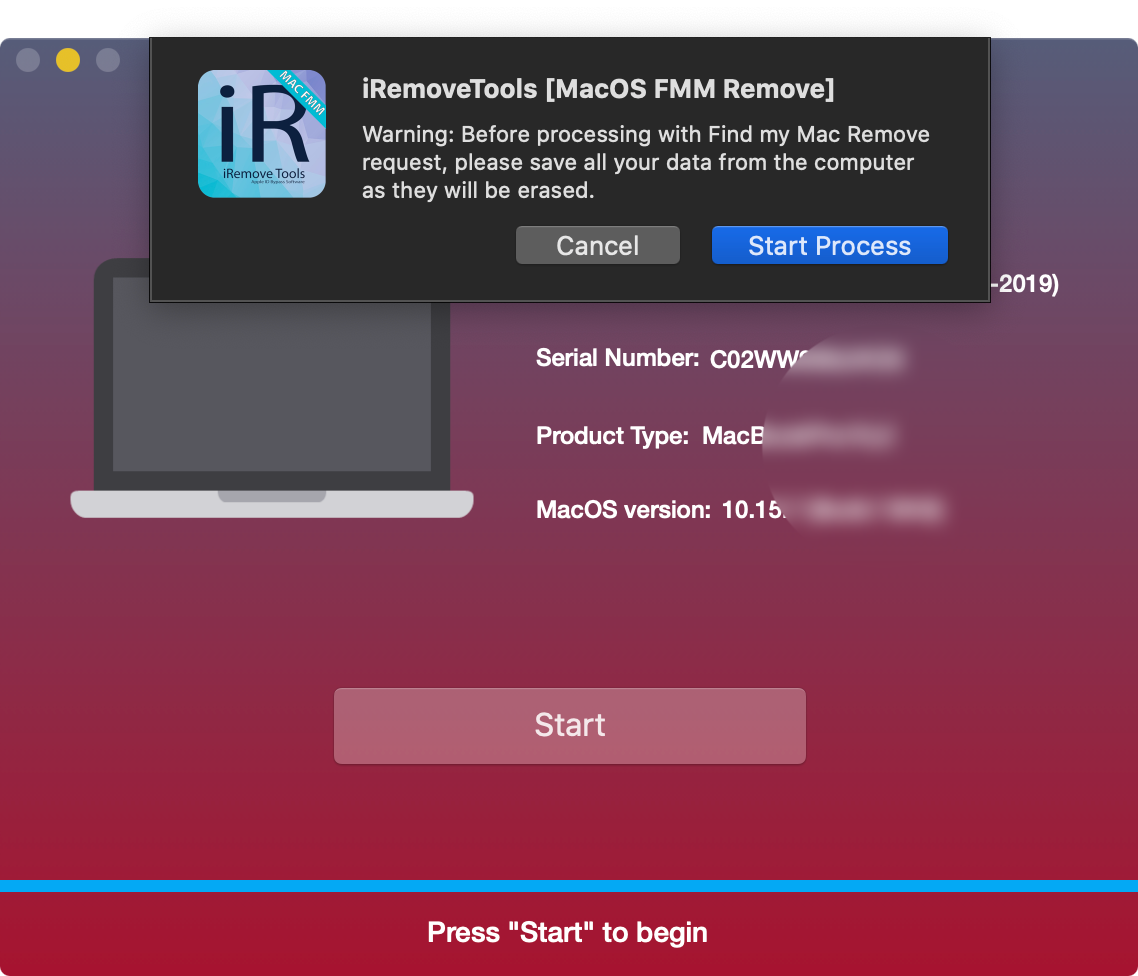
Start Find My Mac unlocking process.
Once your payment is received, you’ll be able to click the “Start” button which will unlock Find My Mac on your computer without a need to enter Apple ID iCloud password. You should wait for the process completion. You’ll see the result notification on the screen.

In case of successful unlocking process, the following message will be displayed:
“Find My Mac has been successfully removed from your device. After you click on the OFF button, your Mac will be rebooted and you’ll need to enter the Recovery Mode and perform a fresh MacOS installation!”

Complete the FMM unlocking process.
Your Mac will automatically reboot after you click on the OK button.
ATTENTION! Immediately press and hold Command (⌘)-R keys until you see an Apple logo or other image. Select Reinstall macOS option from the utilities window in macOS Recovery, click on the Continue button and follow the onscreen instructions, or use our guide How to Reinstall macOS.
Please make sure to back up all the important data you have on your Mac before you start the Find My Mac unlocking process. All the data on the Mac computer will be erased after Find My Mac is unlocked.
After iRemove Software usage, Find My Mac will be disabled on your Mac and it will be permanently unlocked! Now you can use it with your Apple ID, install apps from the App Store, surf the Internet and so on without any restrictions.
How to Reinstall macOS?
You need to use macOS recovery to reinstall the operating system on your Mac.
Start up you Mac computer from macOS Recovery by holding Command (⌘)-R keys.
Apple Silicon (M1 Chip)
Apple started transition from Intel processors to own Apple Silicon processors on certain models of their Mac computers in late 2020.
Turn on your Mac and keep holding the power button until the startup options window appears. Now click on the gear icon Options and then click on Continue.
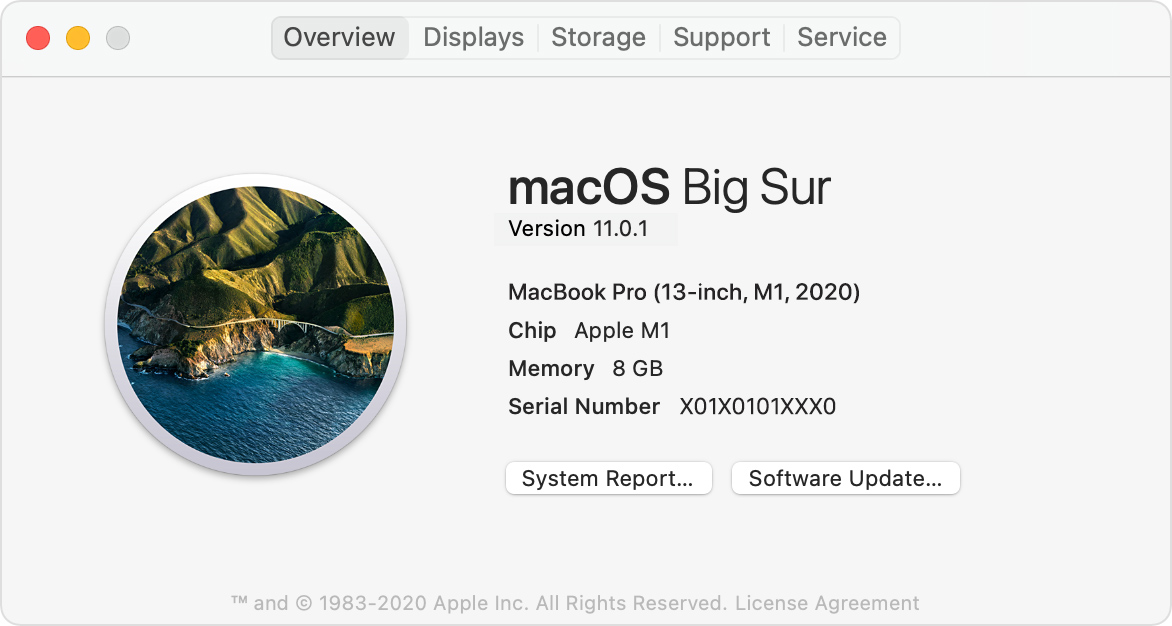
To open About This Mac menu, select Apple Menu and click on About This Mac.
Intel Processor (T2 Security Chip)
Your Mac computer must be connected to the Internet. Turn your Mac on and press the Command (⌘)-R keys right away. Hold the keys pressed until the Apple logo or other image appears.
Select Reinstall macOS option in the utilities window in macOS Recovery, click on the Continue button and follow the onscreen instructions.

Please follow the guidelines below during macOS installation:
- If the installer will request you to unlock your disc, you should enter the password you use to log in to your Mac computer.
- If the installer can’t see your disc, or if it can’t install macOS on your computer or volume, it is possible that you might need to erase your disc before the installation. (https://support.apple.com/en-us/HT208496).
Do not put your Mac computer to sleep and do not close its until macOS installation is complete. Your Mac computer will probably restart and display a progress bar several times. Its screen may also be empty for a few minutes several times. Once installation is complete, your Mac might restart to a setup assistant.


Free Check Tools
Enjoy an free check tools created by the iRemove Dev Team.
Check the Mac unlock opportunities
Check online your Mac by serial number for free and get the complete technical specifications, and find out if your Mac supports unlock.
Check iPhone SIM Lock Status
Use our free online iPhone SIM Lock check to see if iPhone has carrier lock and if SIM unlock is supported.
Check iPhone Blacklist Status
With our online blacklist checker tool, you can find out if your iPhone is blacklisted or not (LOST or STOLEN), completely free of charge!
Check iPhone iCloud Status
Using our online iCloud ON \ OFF, you can check if Find My iPhone is enabled on your iPhone for free!
Still looking for help?
Please do not worry. Contact our support team. We are always happy to help you.