How to Bypass the Passcode Lock on an A12–A13 iPhone or iPad
Follow this step-by-step guide to prepare your RP2350 module and complete the iOS passcode bypass process using iRemove Software and the USBLiter8 exploit.
iOS Passcode Bypass Guide
Important
Use this procedure only with an iPhone or iPad that you own or are legally authorized to service.
Before You Begin
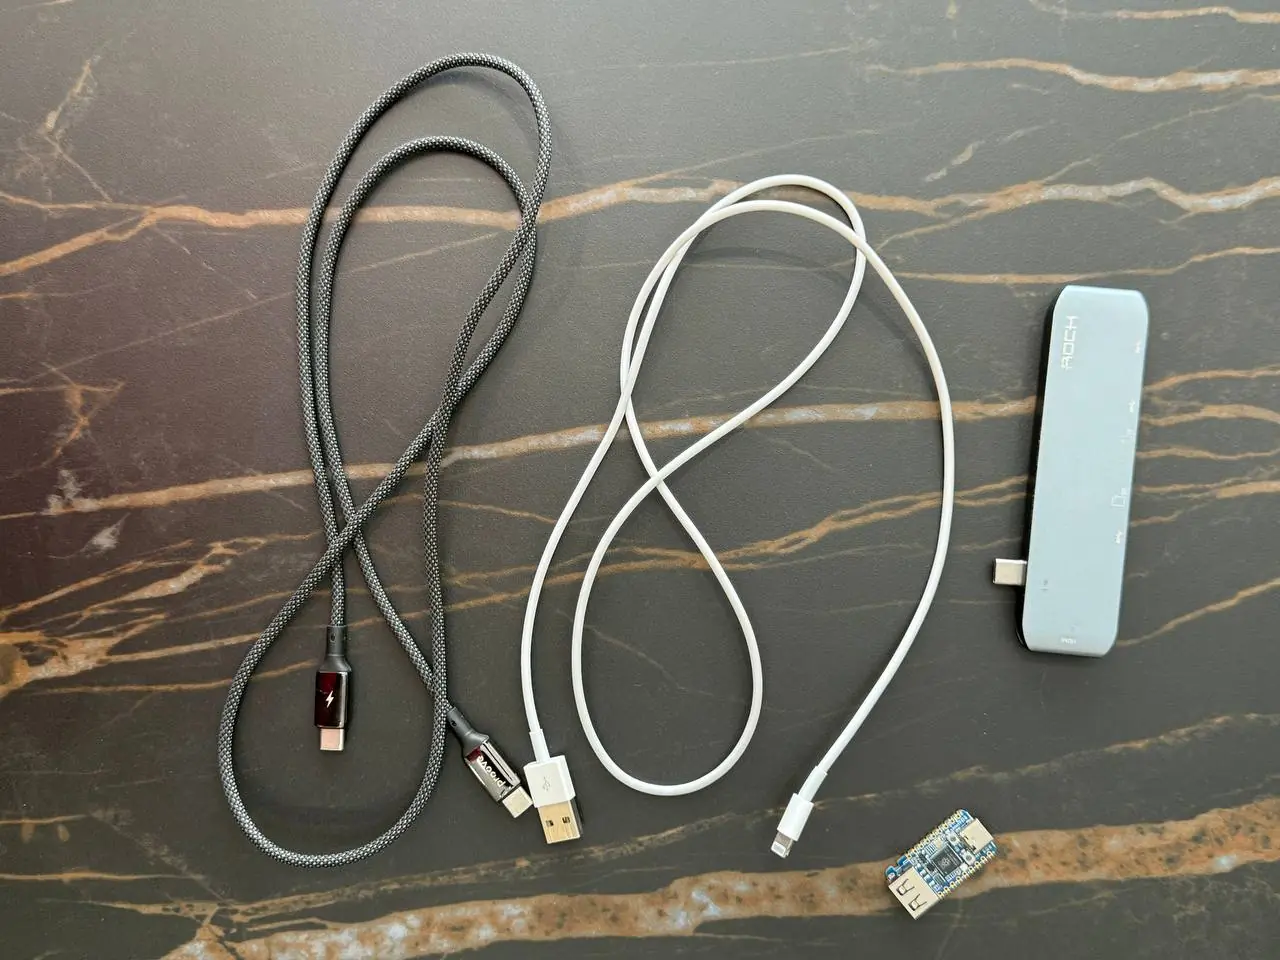
Before starting the process, make sure you have the following equipment:
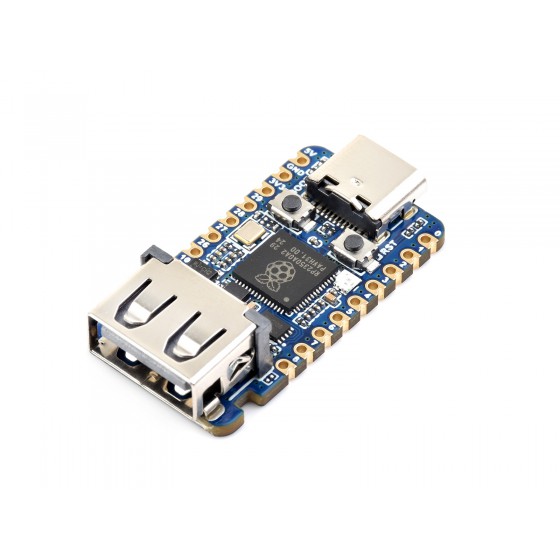
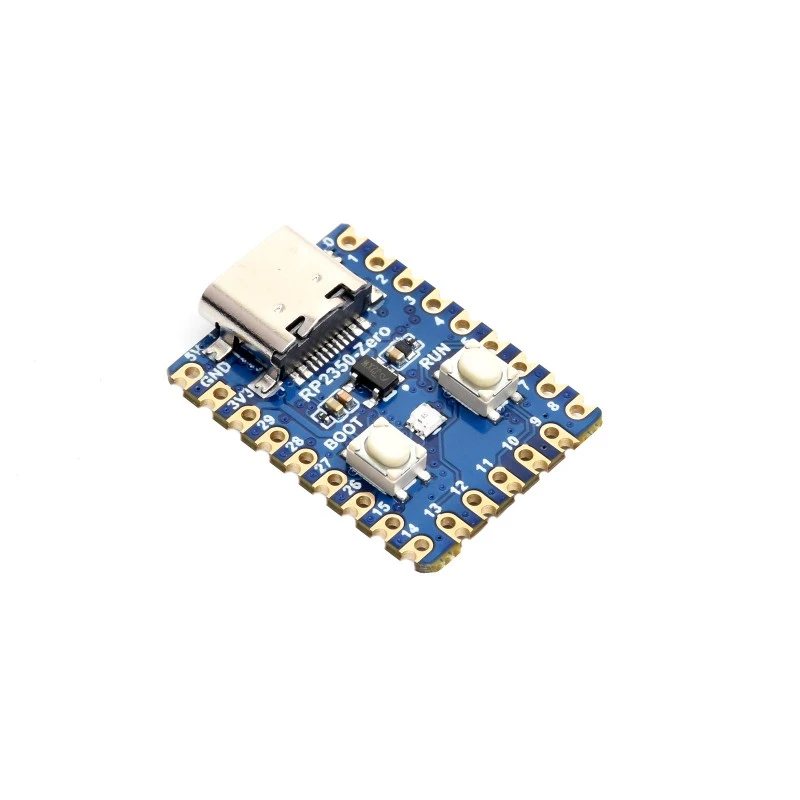
- Waveshare RP2350 USB-A module
- USB Type-C to USB Type-C data cable
- USB Type-A to Lightning cable
- Latest version of the iRemove Passcode Bypass Tool
- Stable internet connection
![Connect the locked iPhone or iPad to iRemove Software]()
The Process Has Two Parts
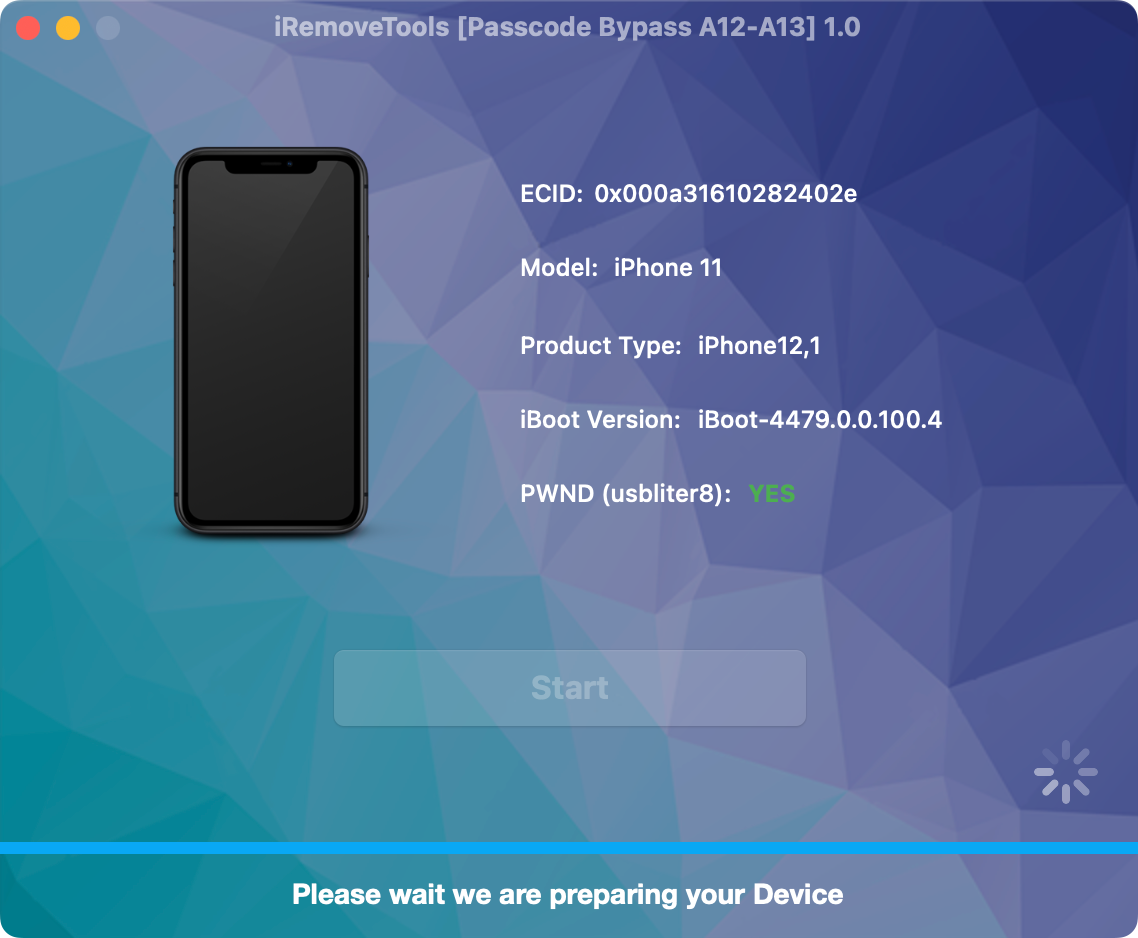
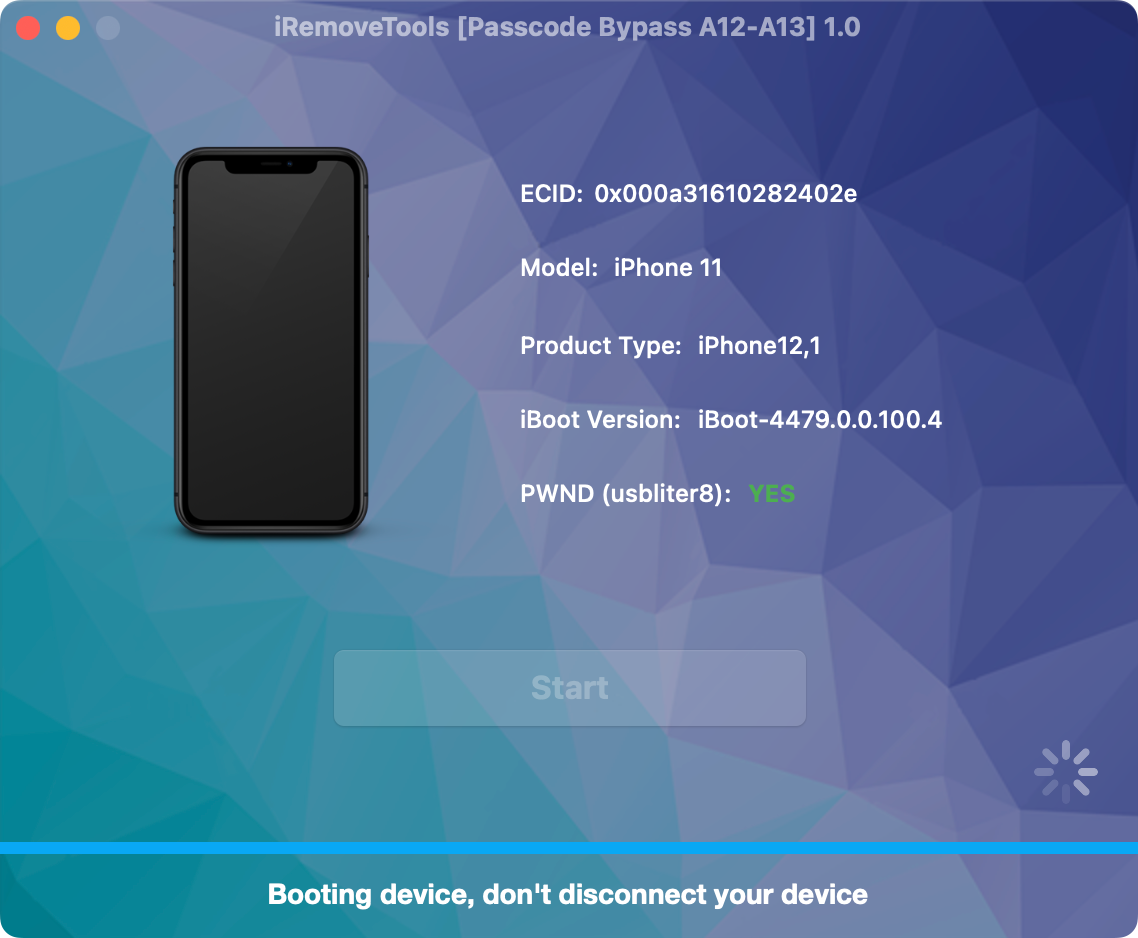
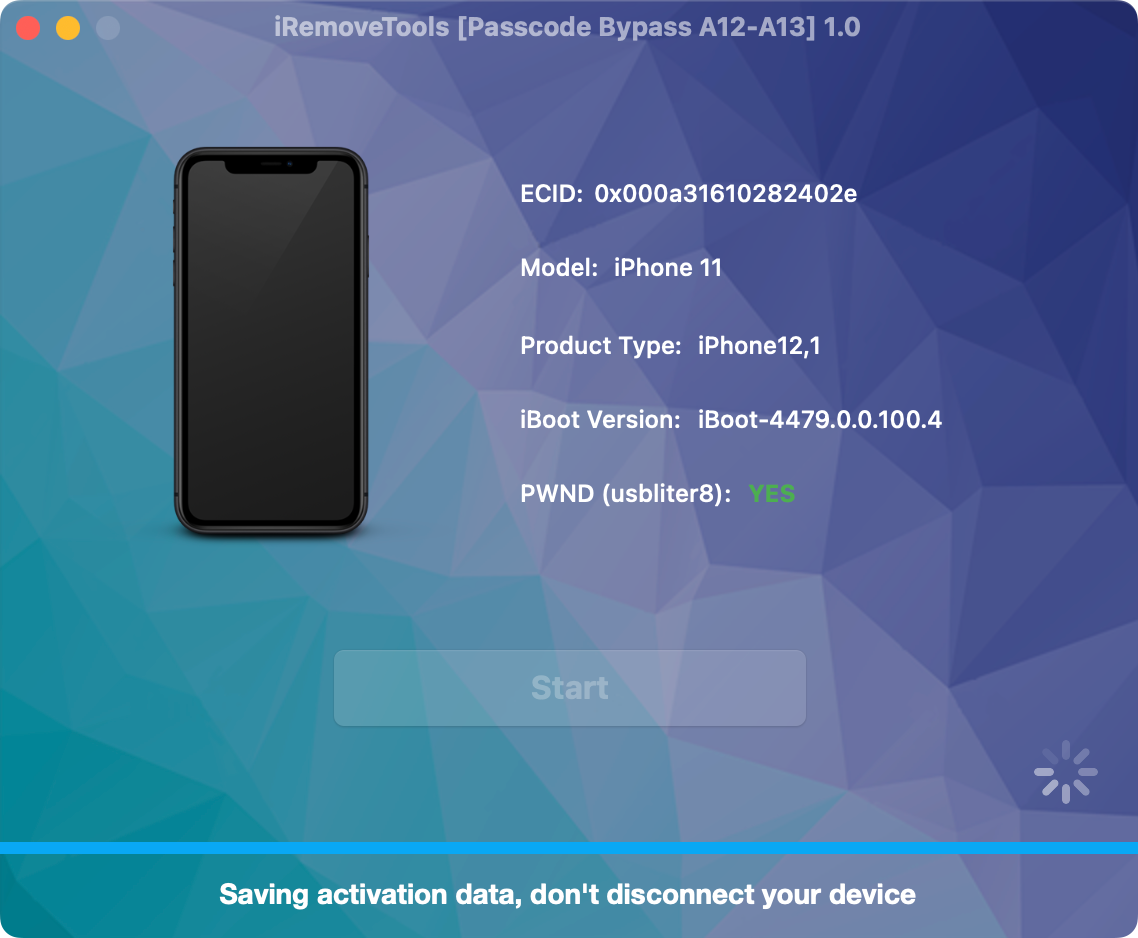
During Part 2, you must repeat Steps 1–3 and Steps 11–15 before completing Step 16. You do not need to flash the RP2350 module again.
Part 1: Prepare the RP2350 Module and Run the First Process
-
1
Connect the Locked Device
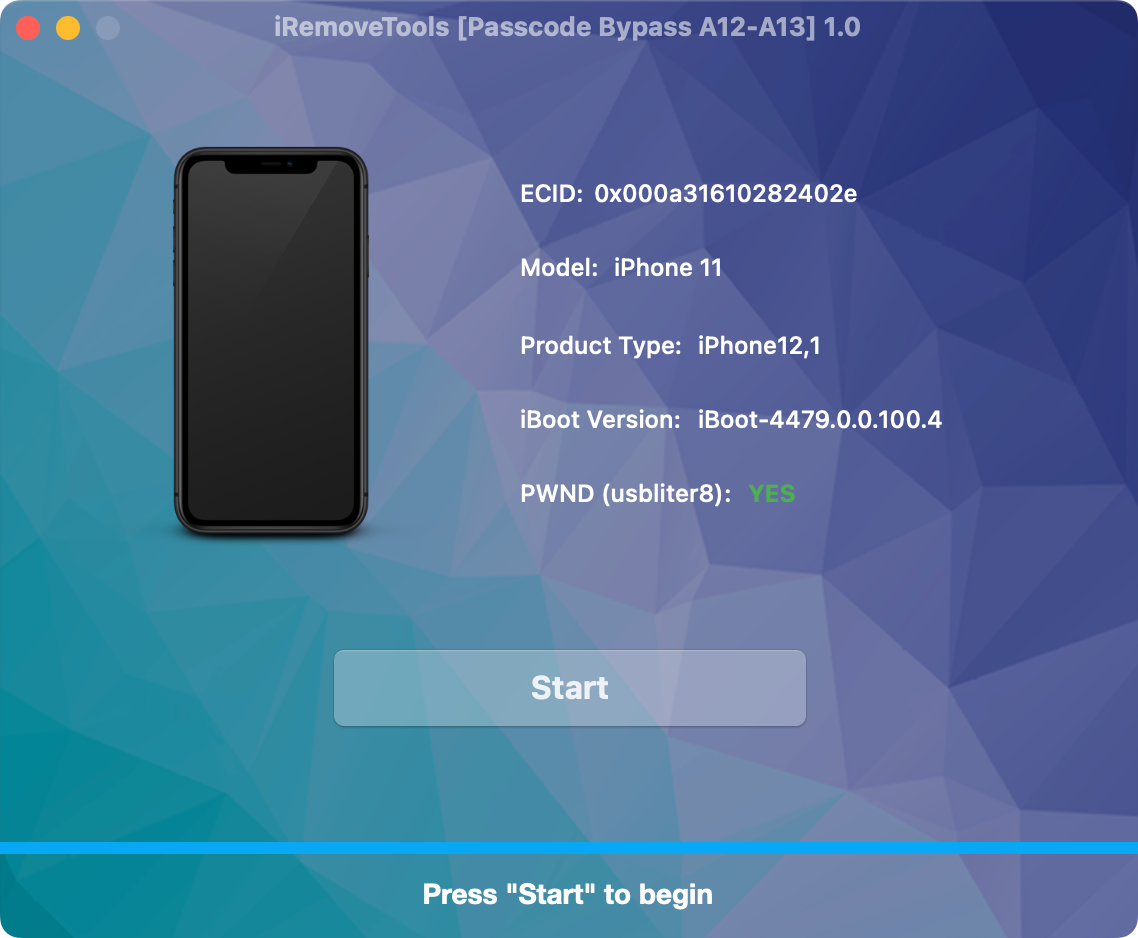
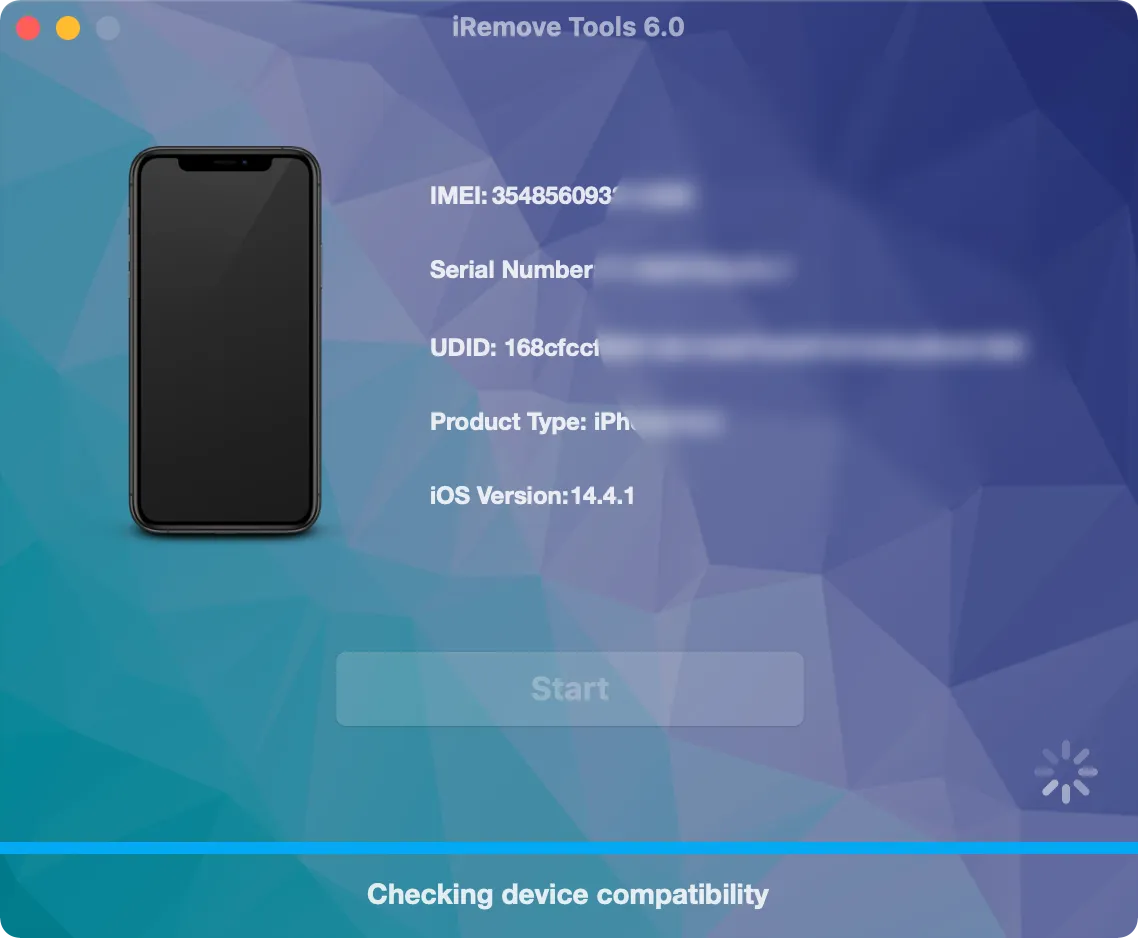
Connect the locked iPhone or iPad to your Mac or Windows PC and launch the iRemove Software.
![Connect the locked iPhone or iPad to iRemove Software]()
-
2
Enter DFU Mode
The software will recognize the device and prompt you to put it into DFU Mode. Carefully follow the on-screen instructions.
![Put the iPhone or iPad into DFU Mode]()
![Exploit not Found]()
-
3
Connect the RP2350 Module
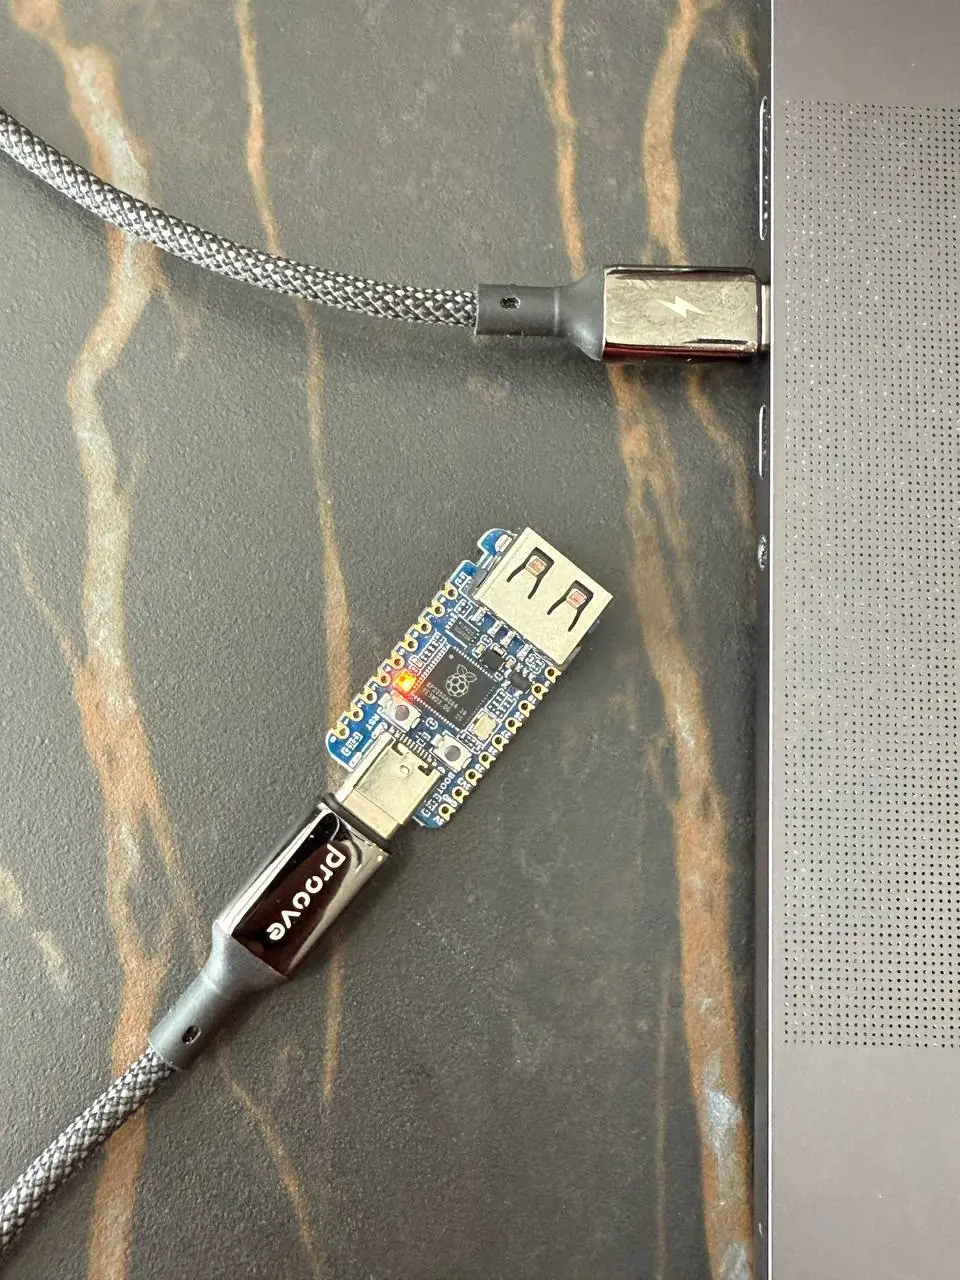
Connect the Raspberry Pi Pico RP2350 module to your computer using a USB Type-C data cable.
![Connect the RP2350 module using a USB Type-C cable]()
-
4
Open the RP2350 Flashing Section
Follow the instructions displayed in the software to open the RP2350 flashing section.
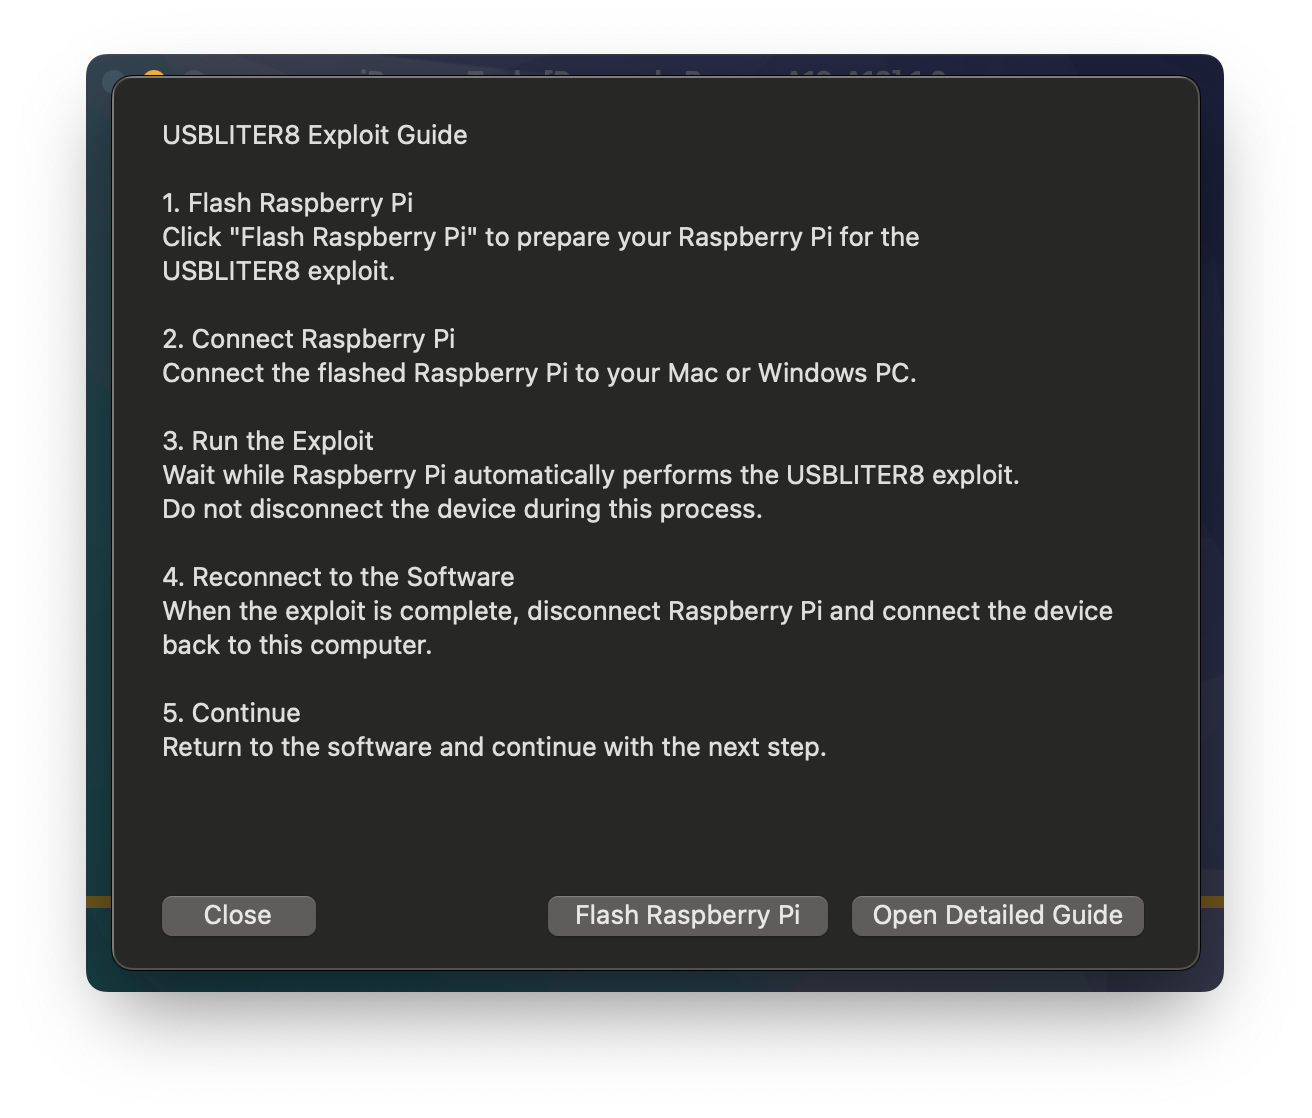
![Open the RP2350 flashing section in iRemove Software]()
![Open the RP2350 flashing section in iRemove Software]()
-
5
Select Your RP2350 Model
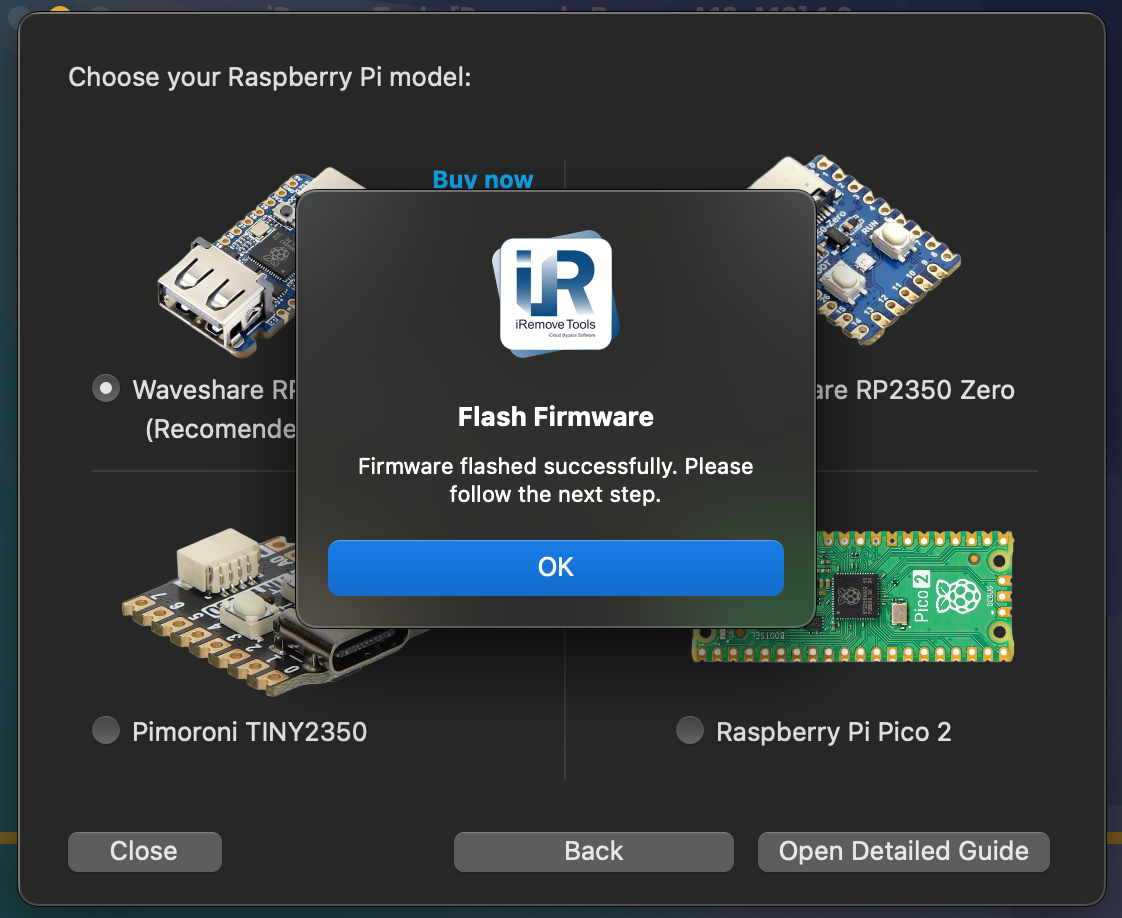
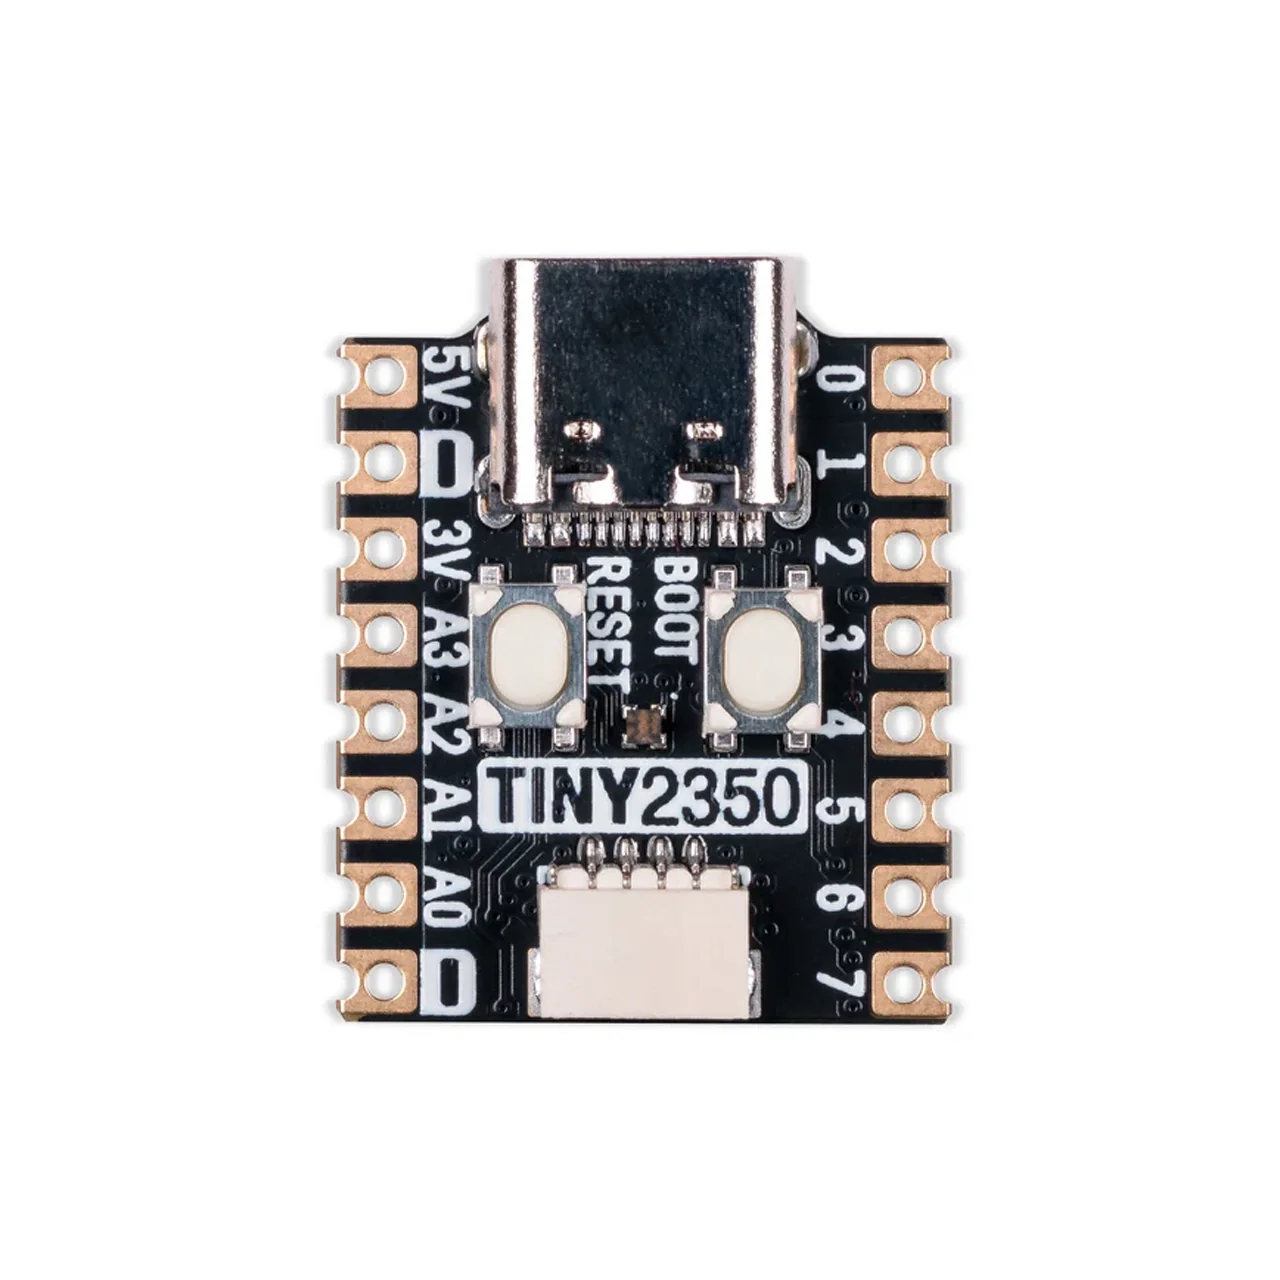
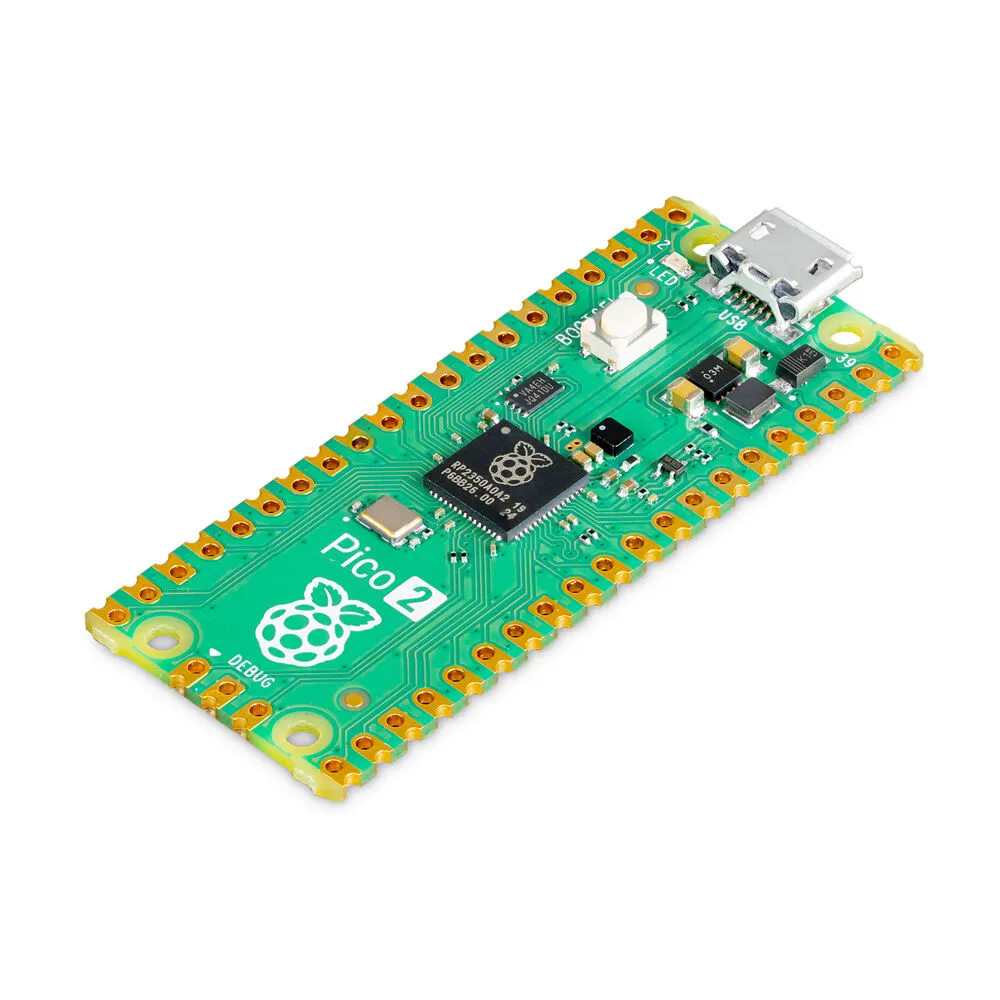
Select the correct Raspberry Pi Pico or RP2350 module model from the list.
![Select the correct RP2350 module model]()
Recommended RP2350 Module
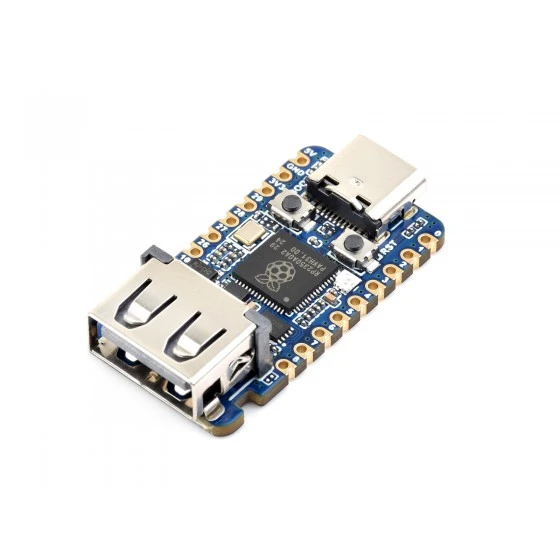
We recommend using the Waveshare RP2350 USB-A model. It has a built-in USB-A port, allowing you to connect the locked device directly without soldering a cable to the board.
If you use a standard Raspberry Pi Pico board, you may need to prepare and solder a compatible USB cable to it.
-
6
Check the Module Type
Confirm that the module selected in the software matches the RP2350 model connected to your computer.
-
7
Flash the RP2350 Module
Make sure the RP2350 module is connected via USB Type-C and that the correct model is selected. Click the Flash button.
![Flash the RP2350 module using iRemove Software]()
-
8
Wait for Flashing to Finish
Wait until the flashing process is complete. Your RP2350 module is now flashed and ready to use.
![RP2350 module flashing completed]()
-
9
Disconnect the USB Type-C cable from both the computer and the Pico module.
Disconnect the USB Type-C cable from both the computer and the RP2350 module.
![Connect the locked device to the RP2350 USB-A port]()
-
10
Connect the Device to the RP2350 Module
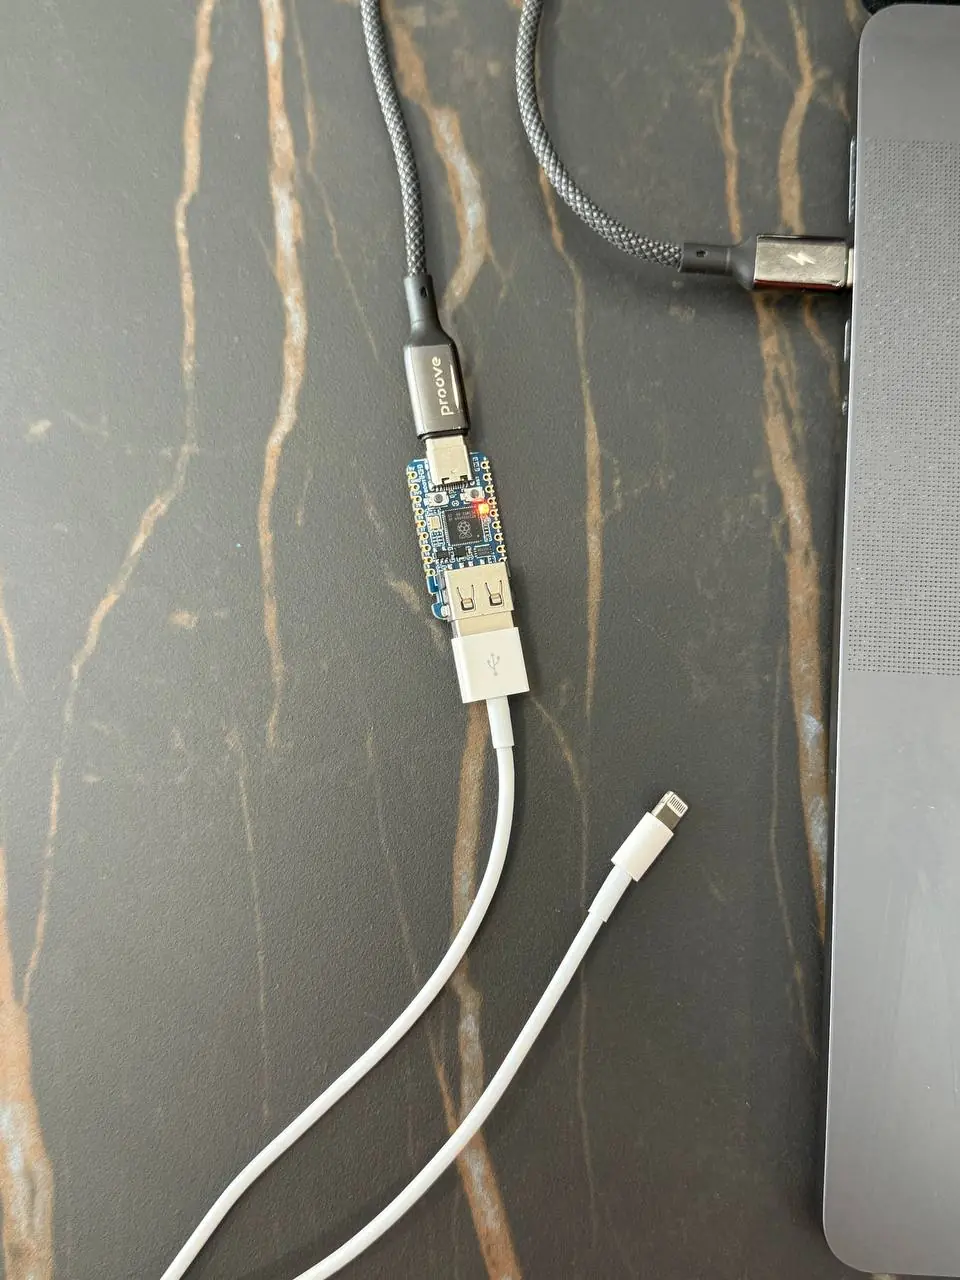
Connect the locked device cable to the USB Type-A port on the RP2350 module.
![Connect the locked device to the RP2350 USB-A port]()
Attention: Check DFU Mode
Make sure the locked device is still in DFU Mode before connecting it to the RP2350 module.
If you are unsure, reconnect the device directly to your computer and check it using the software. If the software recognizes the device and displays its information, it is in the correct mode.
-
11
Start the RP2350 Process
Connect the locked device to the RP2350 module using the appropriate USB cable. The process should start automatically.
![Start the RP2350 process on the locked device]()
-
12
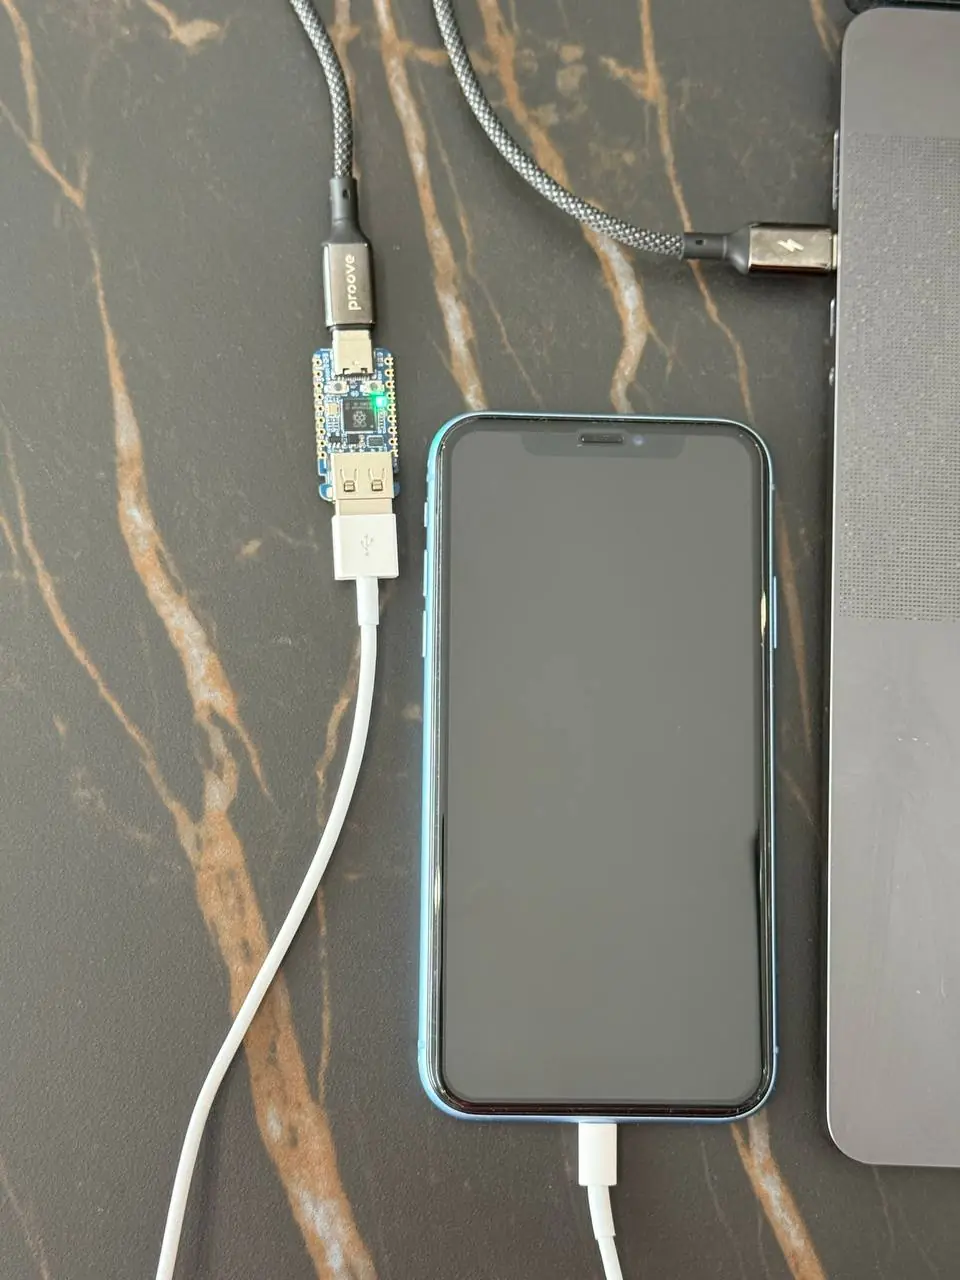
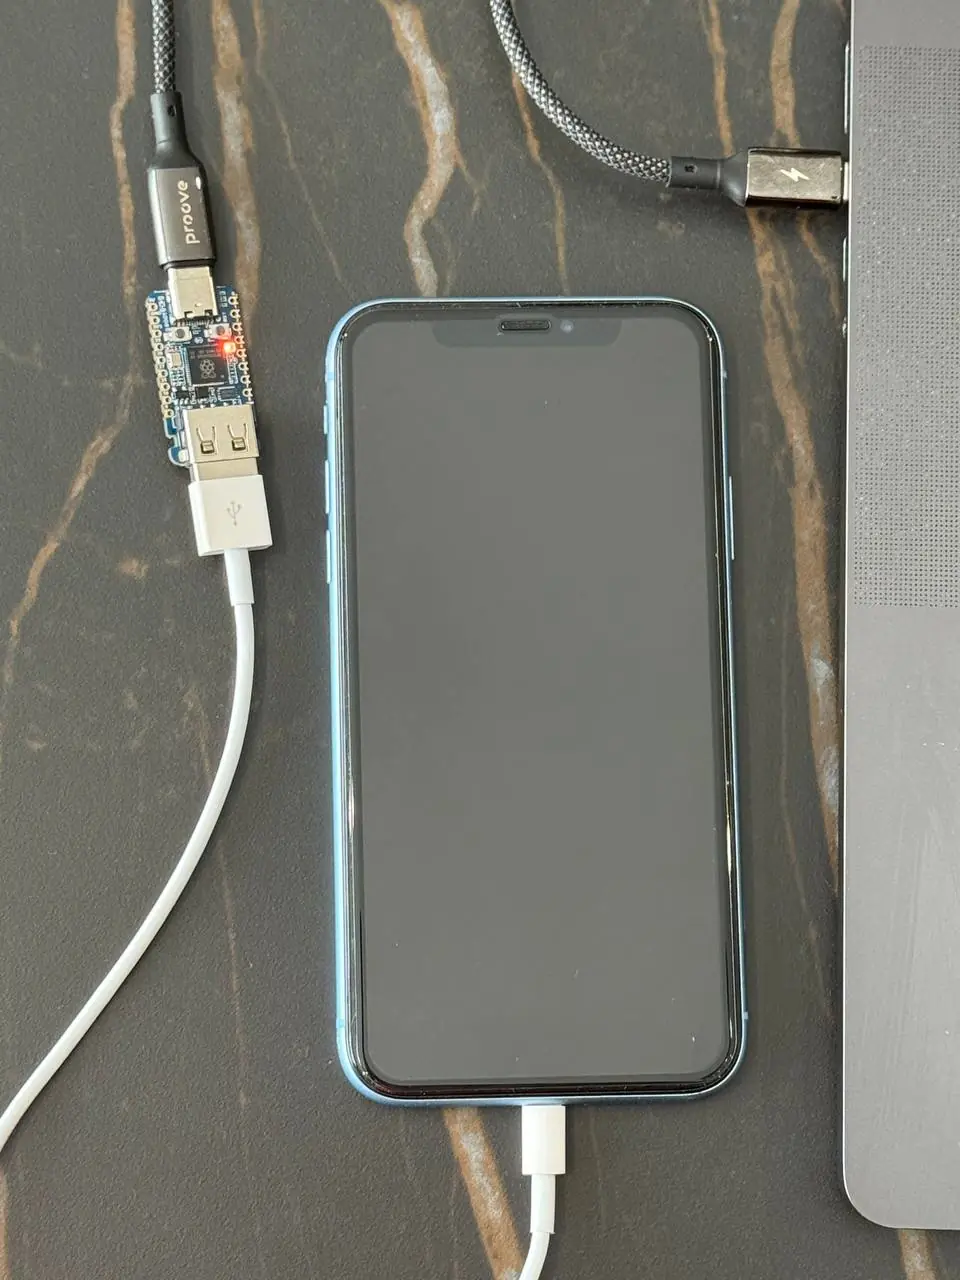
Check the RP2350 Status Light
The status light on the RP2350 module indicates the current stage of the process:
-
Orange:
Ready to start
-
Blue:
Process in progress
-
Green:
Process completed successfully
-
Red:
Process failed
![RP2350 module status light colors]()
If the Process Fails
Disconnect the RP2350 module from both the computer and the locked device. Connect the RP2350 module to the computer first, and then reconnect the locked device to the module. The process should restart automatically.
-
13
Reconnect the Device to the Computer
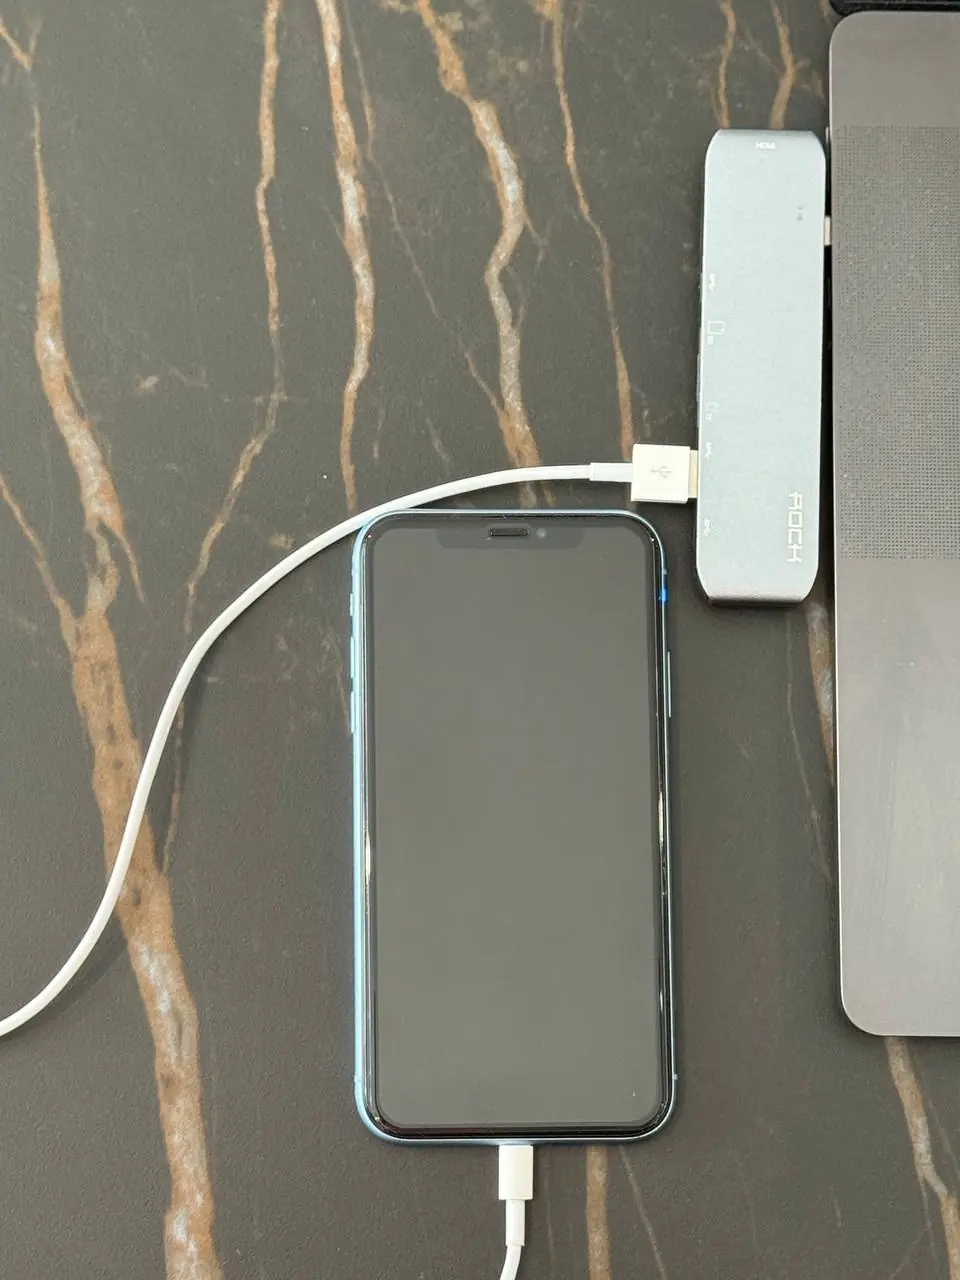
Once the process has completed successfully, disconnect the locked device from the RP2350 module and reconnect it directly to your computer.
![Reconnect the device directly to the computer]()
-
14
Continue in iRemove Software
The software will recognize the device and prompt you to start the passcode bypass process or order the required service.
![Start the passcode bypass service in iRemove Software]()
-
Part 2: Repeat the Required Steps
The procedure must now be completed a second time. Repeat the following steps in the same order:
-
Repeat Step 1: Connect the locked device to your computer and launch the software.
-
Repeat Step 2: Follow the on-screen instructions to put the device into DFU Mode.
-
Repeat Step 3: Disconnect the device after DFU Mode has been confirmed.
-
Repeat Steps 11–15: Reconnect the RP2350 module and device, wait for a successful result, reconnect the device to your computer, and complete the second software process.
Do Not Flash the Module Again
Do not repeat Steps 4–9. The RP2350 module has already been flashed and is ready for the second process.
-
16
Complete the Procedure
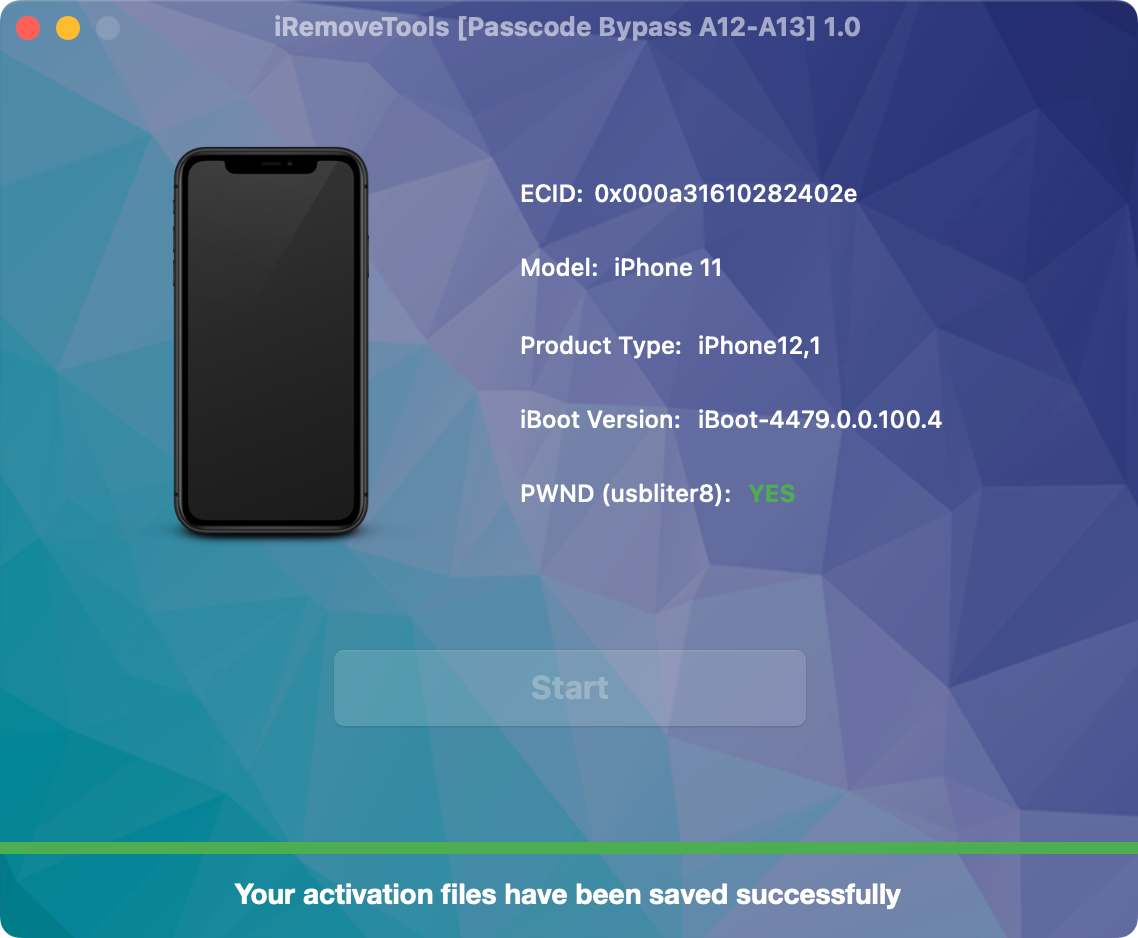
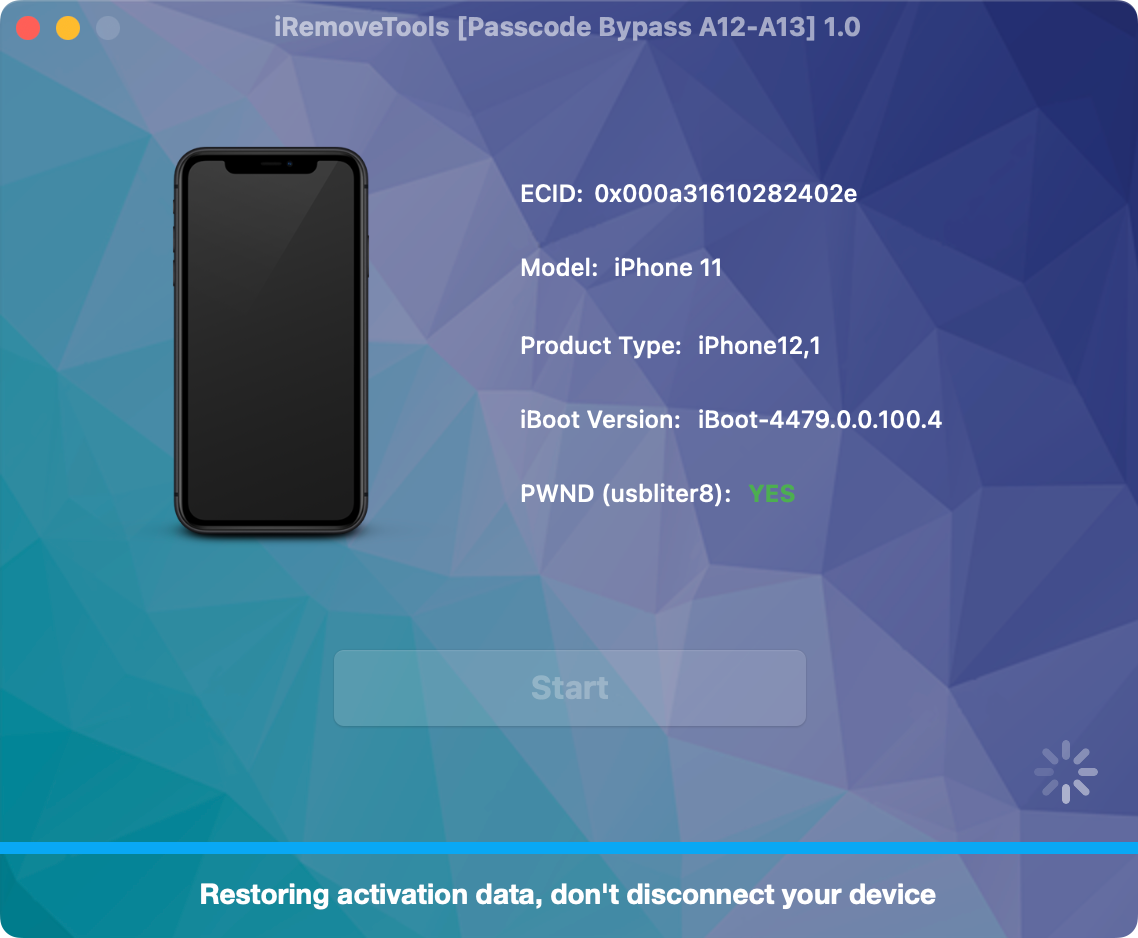
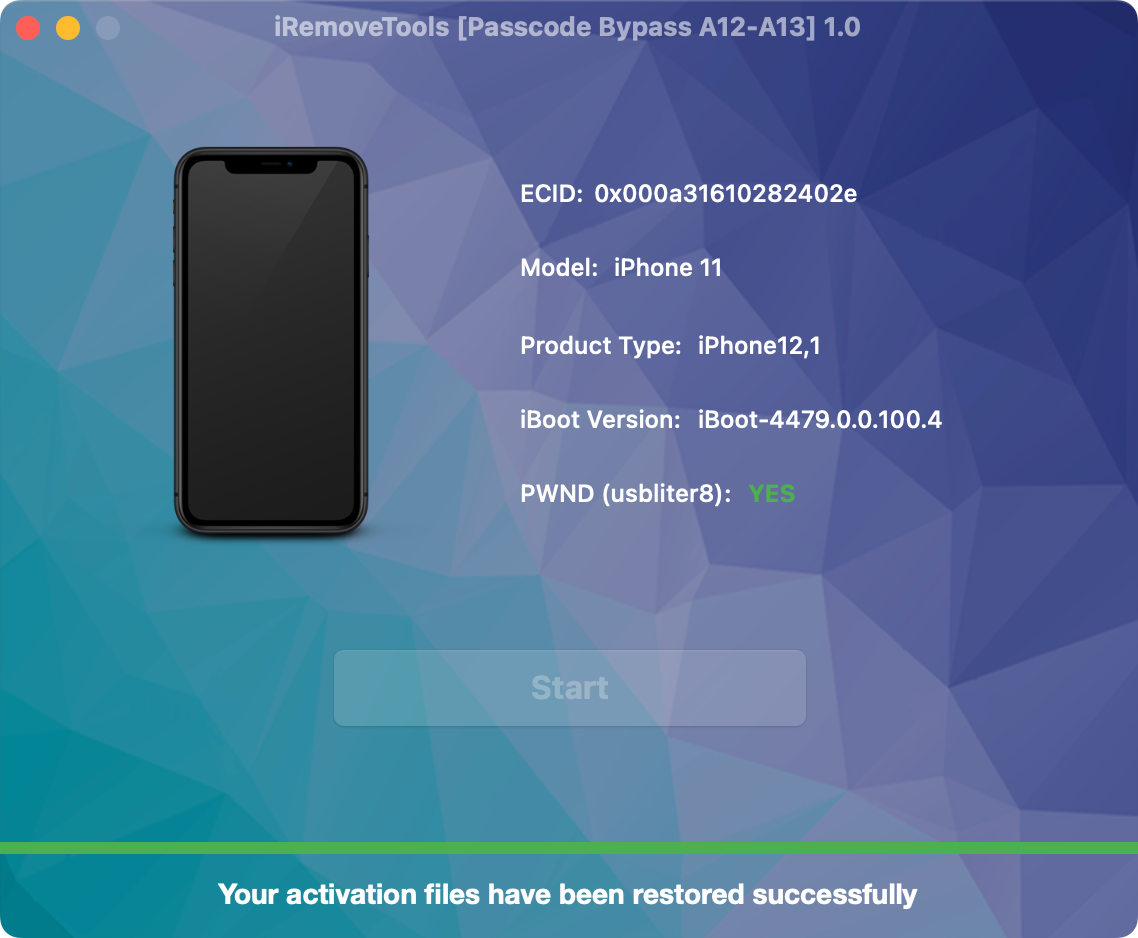
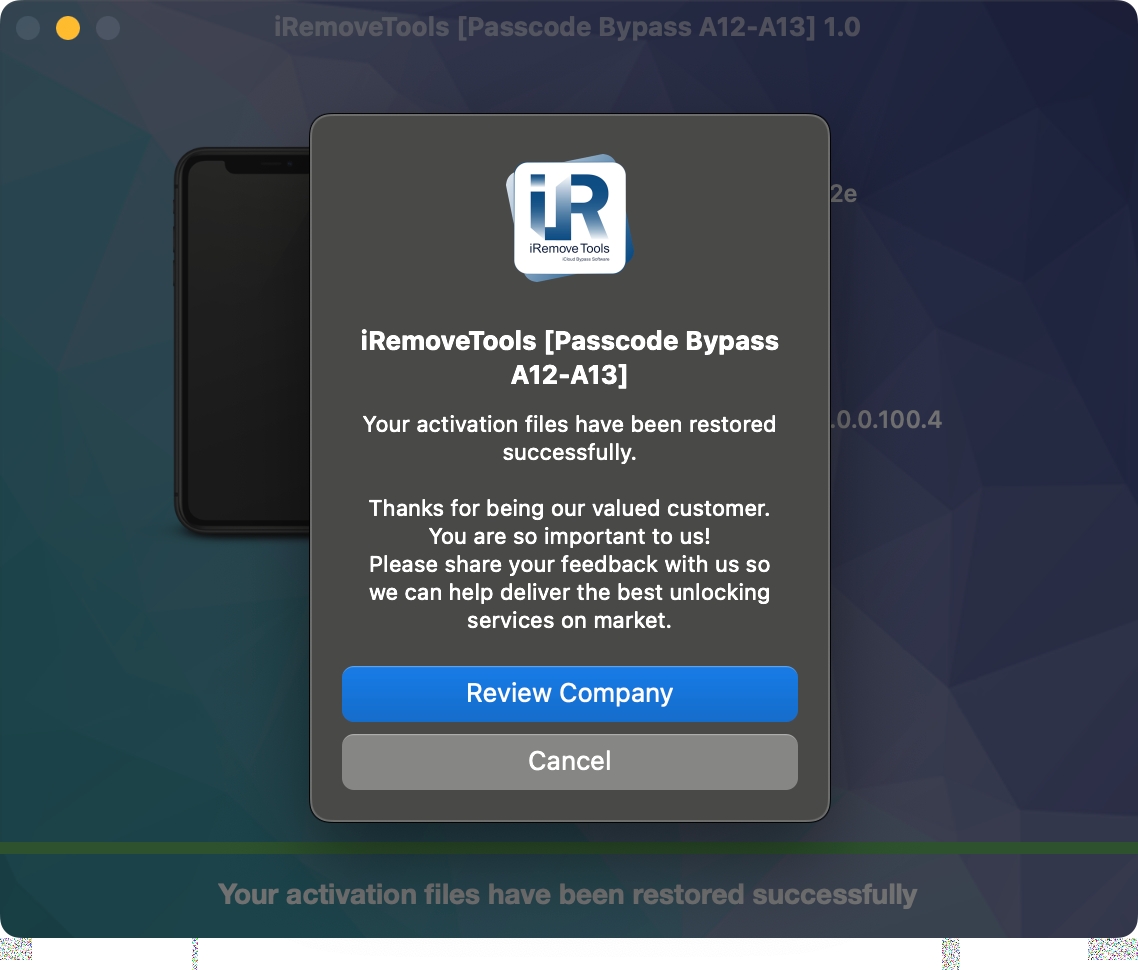
After the second process has finished, wait for the software to display the completion message before disconnecting the device.
![iOS passcode bypass process completed successfully]()
![iOS passcode bypass process completed successfully]()
Process Completed Successfully
Congratulations! The procedure has been completed successfully. You can now sign in with your own Apple ID and test all available device functions.
![iOS passcode bypass process completed successfully]()